Create an Ubuntu 16.04 Virtual Machine Image from Scratch
If you wish to run Ubuntu 16.04 virtual machines on your Platform9 OpenStack cloud today, you have two options to get a Ubuntu 16.04 Image in your image catalog to get started:
- Download Ubuntu 16.04 LTS cloud image from the Ubuntu official website here
- Create a new Ubuntu 16.04 LTS image from scratch
Option 1 is the easiest, but is tricky because Ubuntu 16.04 cloud image comes prepackaged with an existing cloud-init which is known to have issues as covered by our tutorial here.
(Also see here on what you need to do to configure default password for this image if using virt-manager: https://gist.github.com/smoser/4756561)
Hence, option 2 is the best option. Option 2 involves installing Ubuntu image on a brand new virtual machine using virt-manager and customize it to your taste. This tutorial describes just how to do that.
Step 1 – Download Ubuntu 16.04 LTS ISO
As a first step, fetch the Ubuntu image suitable to your platform.
[code lang=”bash”]cd /var/lib/libvirt/imageswget http://releases.ubuntu.com/xenial/ubuntu-16.04.3-server-amd64.iso[/code]
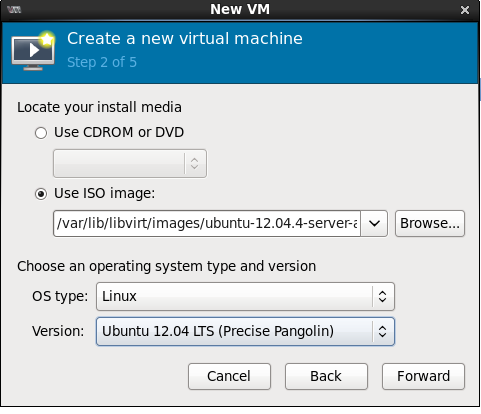
Step 2 – Create a virtual machine
Fire up your virt-manager and create a new virtual machine. Pick the ISO you just downloaded.
Use OS type = Linux, Version = Ubuntu 16.04 LTS (Xenial Xerus)
Step 3 – Follow Ubuntu Installation Steps
Follow the usual steps of installation for Ubuntu, and at the least pick Open SSH Server under components.
Step 4 – Set ‘nomodeset’ Grub Option
Open /etc/default/grub (See http://ubuntuforums.org/showthread.php?t=1613132 for more details)
Edit line GRUB_CMDLINE_LINUX_DEFAULT and add nomodeset to it

Step 5 – Run Grub Update
[code lang=”bash”]sudo update-grub[/code]Step 6 – Install the Platform9 Cloud-init Package
Get the .deb file from here.
Install it in your Virtual Machine.
Step 7 – Your Image Is Ready
At this point, you can use the virtual machine disk for creating new virtual machines.