Working with Storage Classes in Platform9 Managed Kubernetes
A storage class is used by a Kubernetes cluster to dynamically provision persistent volumes for a Kubernetes app deployment when the Kubernetes app requires persistent storage.
Currently, Platform9 supports storage classes for Amazon Web Services, and local storage options such as GlusterFS and Cinder to name a few.
You may create a storage class on a cluster by specifying the storage type that maps to the cloud provider for that cluster.
You may add new storage classes and delete existing storage classes for a cluster.
You may modify a storage class for a cluster by deleting the existing storage class, and creating a new storage class per the revised storage class specification.
Let us look at the operations that we can perform on storage classes with the Platform9 Clarity UI.
Add Storage Class
The storage class definition depends on the type of Kubernetes app to deploy on the Kubernetes cluster. For example, if you are using Amazon Web Services for persistent storage, refer to Amazon Web Services documentation to decide on the storage class type while adding a storage class.
A storage class may be specified as the default storage class for a cluster. If no storage class is specified while deploying an app on the cluster, the default storage class is used for the app deployment. At a given time, a cluster can have only one default storage class.
Each storage class has a provisioner that determines the volume plugin to be used for the provisioning of persistent volumes. For detailed information on provisioners, refer to Kubernetes Persistent Volumes documentation.
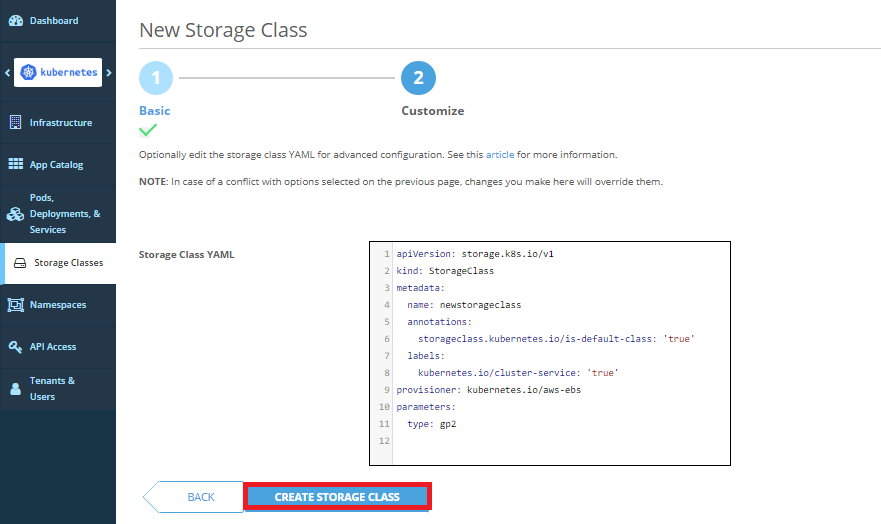
A YAML file is created based on the parameters specified during the creation of a new storage class. When the YAML file is presented to you, you may add additional parameters to the YAML file based on the storage class type. The YAML file also contains information on the provisioner.
You may create one or more storage classes on a given cluster.
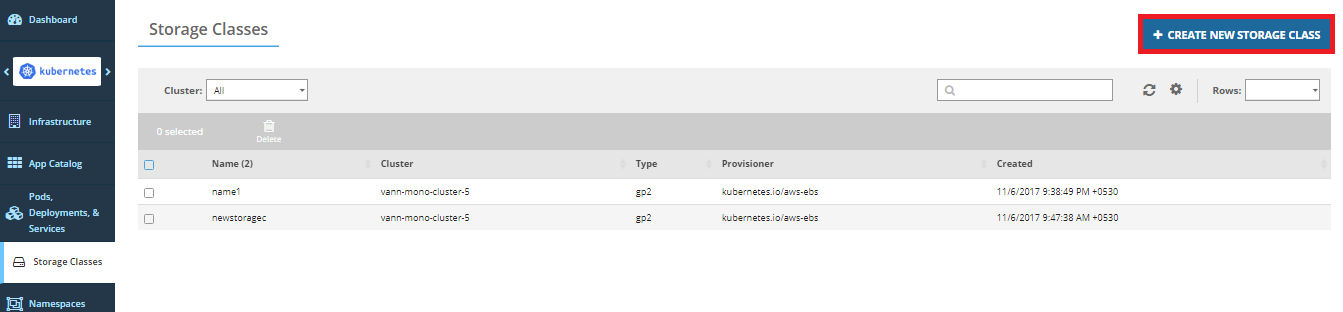
Follow the steps given below to add a new storage class.
- Navigate to Storage Classes and click Create New Storage Class.
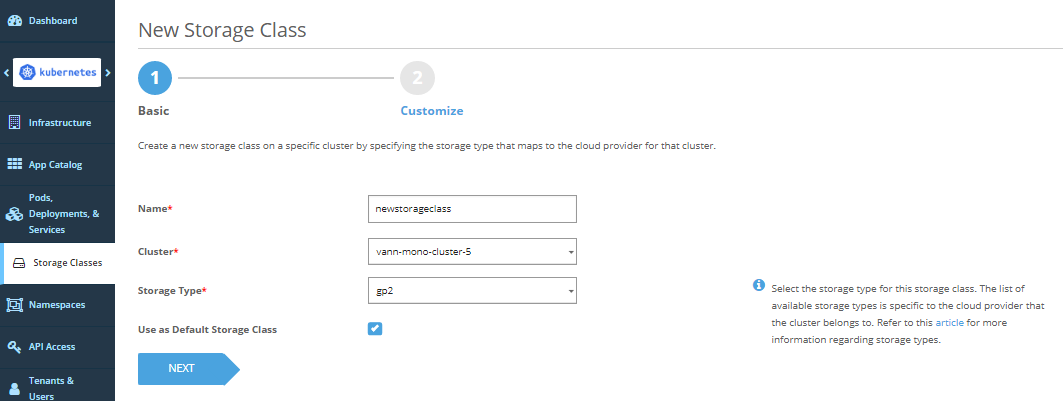
- Enter the name for the storage class.
- Select the cluster with which you want to associate the storage class, and the storage type for the storage class.
- Optionally, select the Use as Default Storage Class checkbox, if you want to use the storage class as the default storage class for the cluster.
- Edit the storage class YAML, if required, and then click Create Storage Class.
The newly added storage class can be used for persistent storage, by the cluster running the app.
Delete Storage Class
You may delete a storage class, when it is no longer required. You may delete multiple storage classes at a time.
Warning: When you delete a default storage class, any deployment that requests a volume without explicitly specifying a storage class fails.
When you delete a storage class, any deployment that requests a new volume with the deleted storage class fails.
Follow the steps given below to delete one or more storage classes.
- Navigate to Storage Classes and select the checkboxes for the storage classes to delete.
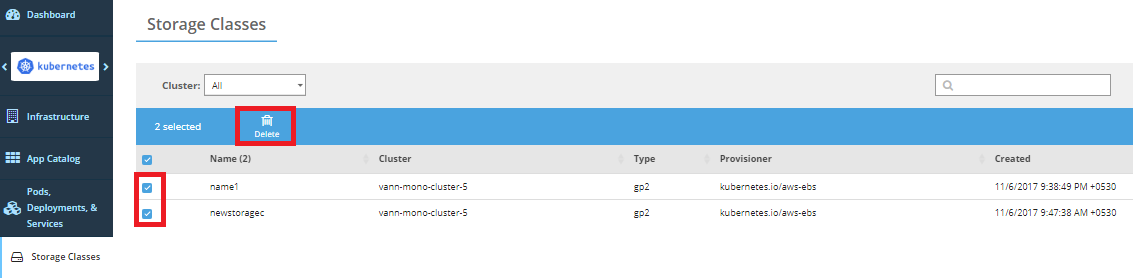
- Click Delete. A warning is displayed.
Click Delete Storage Classes on the warning to permanently delete the selected storage classes.
The selected storage class is deleted.