OpenStack Tutorial: How to Deauthorize a Host from Platform9
This tutorial describes the process of deauthorizing or removing a host from Platform9.
Step 1 – Remove All Images from the Host
If the host has been assigned the image library role, first check to see if there are images in your image catalog using the OpenStack Glance client.
Follow Getting Started with the OpenStack Command Line if the Glance client is not installed.
Also, export the environment variables from the “API Access” tab of the “Access and Security” view.
[code lang=”bash”]glance image-list[/code]If there are, then back up each image into a temporary location (optional).
[code lang=”bash”]glance image-download –file [/code]Then, delete each image.
[code lang=”bash”]glance image-delete <ID or Name>;[/code]Step 2 – Remove All Volumes Associated with the Host
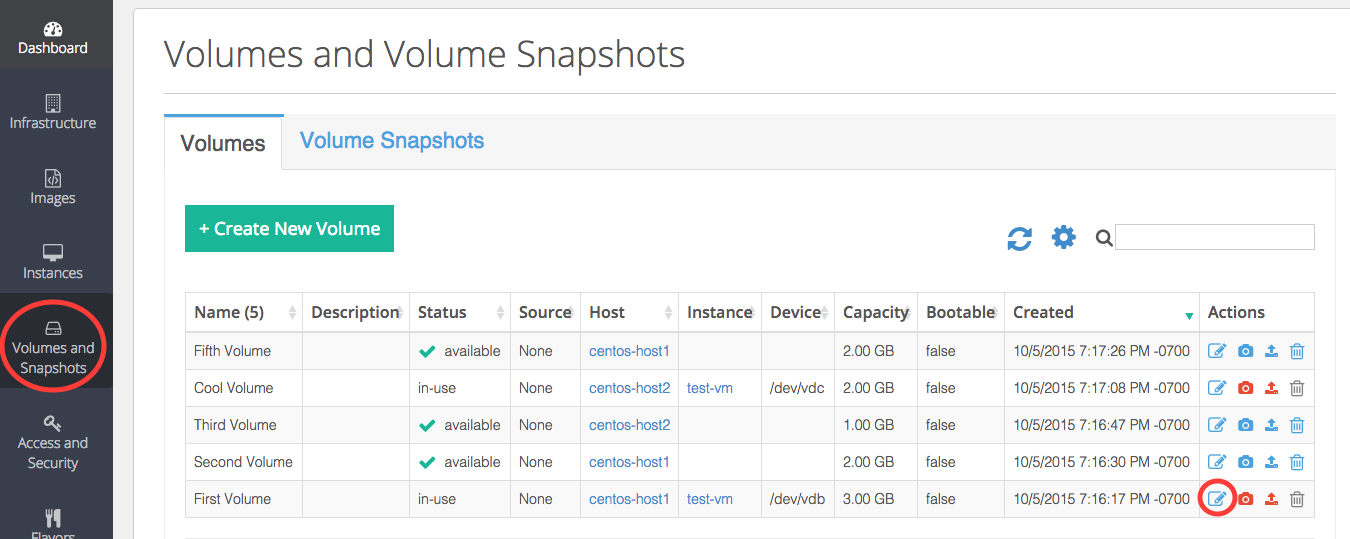
If the host has the block storage role, first ensure that all volumes associated with that host are in the available state.
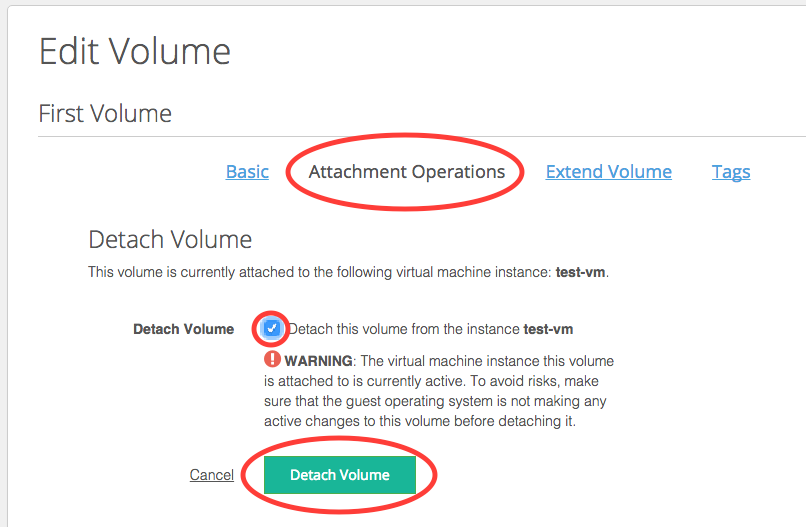
If the volumes are in the in-use state, detach them by editing the volume settings from the Actions column of the Volumes and Snapshot view.
In this case, we are deauthorizing centos-host1, so only volumes from this host need to be detached.
Confirm the detach operations.
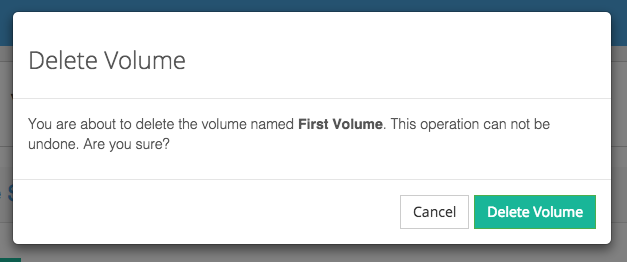
Then, delete the volumes associated with the host by clicking in the Actions column of the Volumes and Snapshot view.
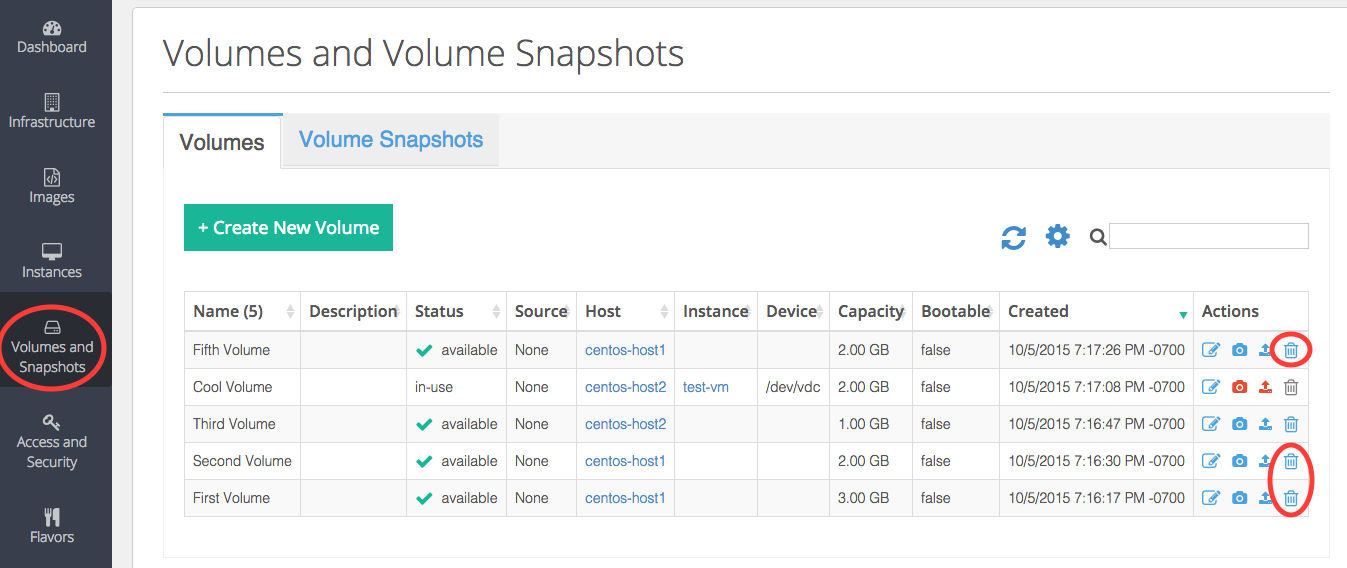
Confirm the deletion of the volumes.
Step 3 – Deauthorize the Host
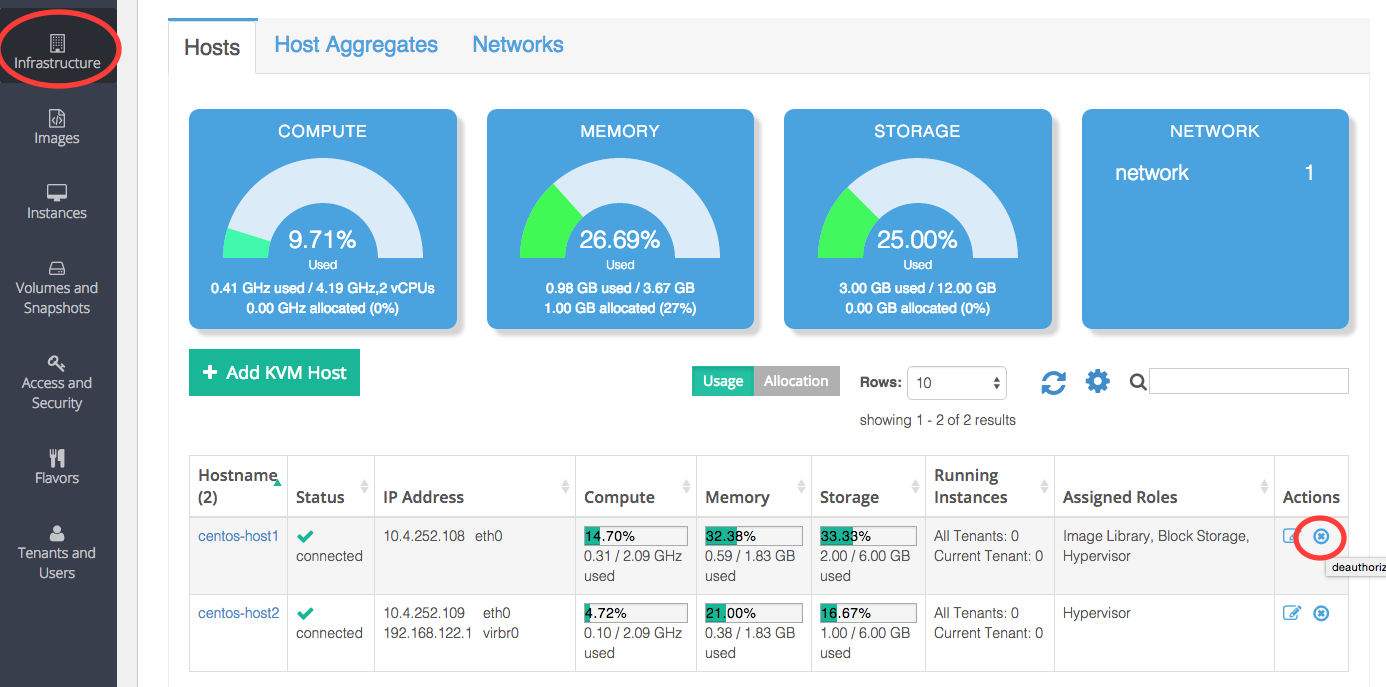
At this point, you are ready to deauthorize the host from Platform9. To do this, click on the ‘remove’ button in the ‘Actions’ column for that Host in the ‘Infrastructure’ menu.
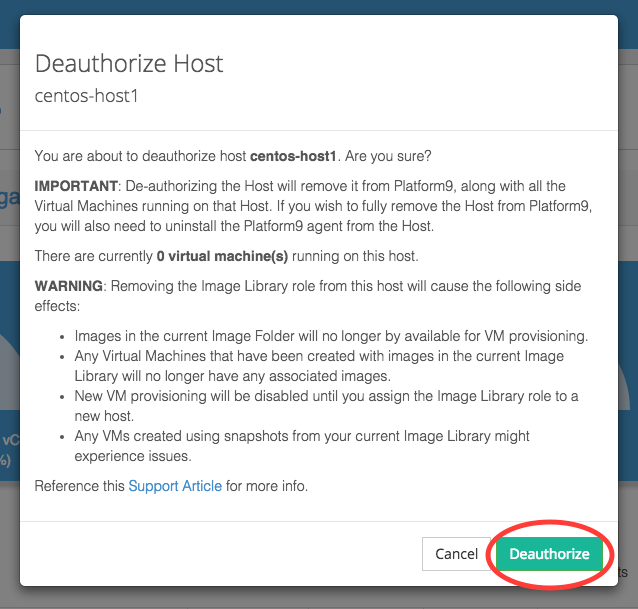
Confirm the deauthorization.
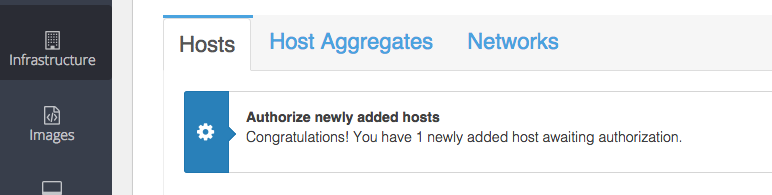
The host will reappear in the deauthorized state.
Step 4 (Optional) – Remove Platform9 Host Agent and Other Software from the Host
If you wanted to completely remove the host from Platform9, then you need to follow this last step to fully uninstall all Platform9 software from the Host.
Get the name of the Platform9 host agent running on your server:
For RedHat-based distributions:
[code lang=”bash”]sudo rpm -qa | grep pf9-hostagent[/code]For Ubuntu:
[code lang=”bash”]sudo dpkg -l | grep pf9-hostagent[/code]Uninstall the agent and its dependencies.
For RedHat-based distributions:
[code lang=”bash”]sudo yum -y erase <pf9-agent-name-you-previously-grepped>[/code]For Ubuntu:
[code lang=”bash”]sudo apt-get purge <pf9-agent-name-you-previously-grepped>[/code]This will uninstall the agent, along with any dependencies it installed on the server, such as OpenStack nova drivers, image library components, etc.
Finally, terminate the pf9-sidekick.js process if present. This process is used as an emergency rescue mechanism for failed upgrades wherein the host agent might stop functioning. By design, the process is not terminated when the host agent software is removed. Use the ps -C command to find the process’ ID, and if it exists, use kill to terminate it. This example works on both RedHat and Ubuntu based distributions:
[code lang=”bash”]> sudo ps -C pf9-sidekick.jsPID TTY TIME CMD
1344 ? 00:02:16 pf9-sidekick.js
> sudo kill 1344[/code]
That’s it! Your Linux/KVM server is now completely removed from Platform9.
Note: Any workloads running on this server remain completely untouched.