Managing Leases with Platform9 Clarity UI
Leases can be created on virtual machine (VM) instances to automatically reclaim resources after they have been used, and the resources are no longer required by the VM instances. Once a lease has been configured on the VM instance, the VM instance is deleted automatically on lease expiration, unless it is manually deleted before the lease expiration.
Before you can configure leases, you must configure a lease policy on the tenant. This tenant lease policy governs the expiration period for individual VM instance leases on the given tenant.
About Tenant Lease Policy
You can effectively manage your tenant resources with a tenant lease policy.
A tenant lease policy defines an upper limit for the expiration of VM instance leases belonging to the tenant. You cannot configure a VM instance lease with an expiration date beyond the timeframe defined in the tenant lease policy. If it is required to change a VM instance lease beyond the lease policy, you must first extend the timeframe in the tenant lease policy. Then, you can change the VM instance lease.
Configure Tenant Lease Policy
You must be an administrator to define and manage tenant lease policies.
Follow the steps given below to configure a tenant lease policy.
- Log in to Platform9 Clarity UI as an administrator.
- Click Tenants and Users.
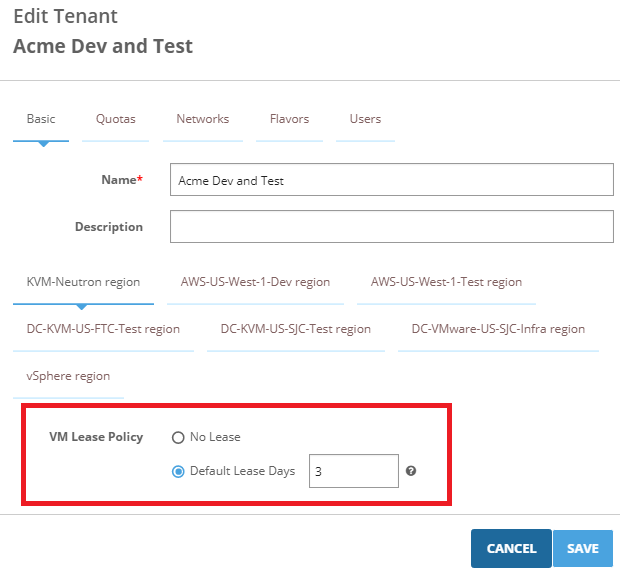
For an existing tenant, click Edit Tenant, select the region. Select the Default Lease Days option, and enter the number of days for which instance leases configured on the tenant would be valid, by default. Click Save.
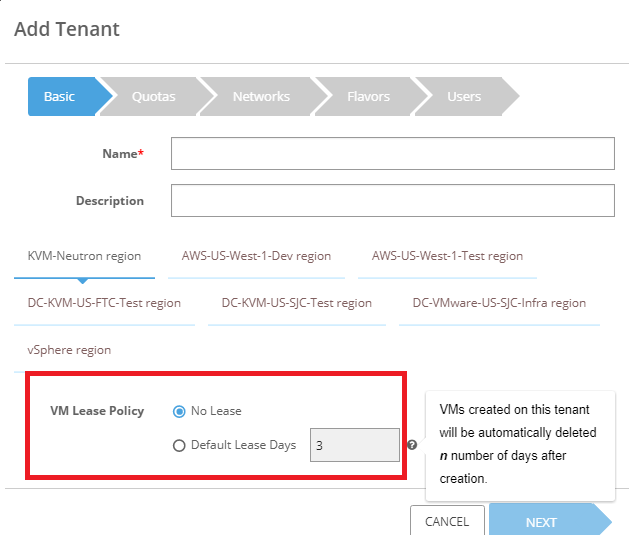
For a new tenant, click Add Tenant and select a region. Select the Default Lease Days option, and enter the number of days for which the VM instance leases configured on the tenant would be valid, by default. Click Save.
When you configure leases on VM instances, the lease expiration date can be defined such that it does not exceed the number of default lease days from the creation of the lease.
Configure Lease on Instance
A lease can be created on a VM instance by a self-service user or an administrator, while creating or editing an instance. The lease expires on the date and time, as specified for the lease.
You must configure the VM instance lease expiration, such that your work on the instance would be over before the lease expiration date and time.
You can change the lease expiration, when you edit the instance with which it is associated. A lease cannot be extended beyond the lease policy configured for the tenant. If you wish to extend the lease beyond the lease policy, contact your cloud administrator.
If you do not configure a lease on a VM instance, the VM instance inherits the default time frame defined in the tenant lease policy. The VM instances are deleted, based on this default time frame for such VM instances.
Follow the steps given below to configure lease on a VM instance.
- Log in to Platform9 Clarity UI as a self-service user or an administrator.
- Click Instances, and edit or add an instance.
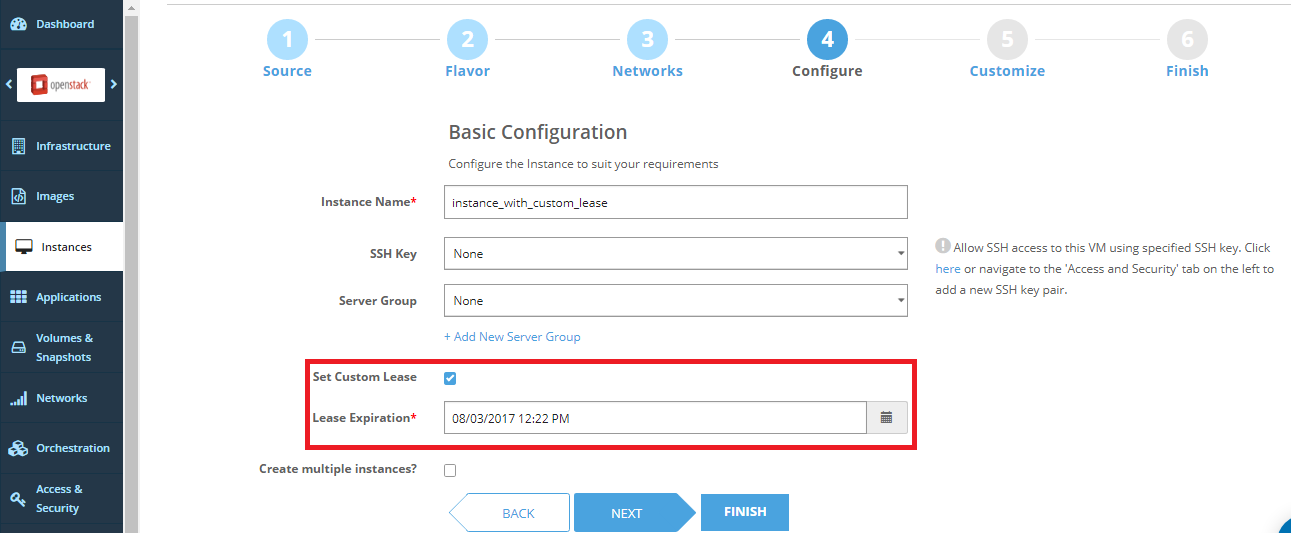
- Select the Set Custom Lease check box, specify the Lease Expiration, and save the instance.
The lease is visible in the list of instances, after the instance is saved.
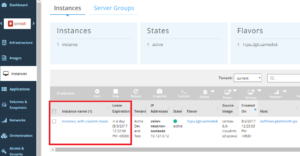
Note: You can add the Lease Expiration column by clicking the Settings icon seen above the list of instances on the Platform Clarity UI.