Private Cloud Director: Community Edition
The following instructions apply to installing Community Edition using defaults. Should you wish to customize the installation behavior, please see Custom Installation before installing Community Edition.
For a beginner-friendly guide to getting started with Private Cloud Director Community Edition, check out the Tutorials section: Beginner’s Guide to Deploying PCD Community Edition
For details on the latest release of Private Cloud Director Community Edition, see the Release Notes.
What Is Community Edition?
Private Cloud Director Community Edition is a free, community-supported, and full-featured version of Private Cloud Director. It's free forever and comes with Platform9 community support, currently available on Reddit at https://www.reddit.com/r/platform9/.
Community Edition delivers the same core functionality as our commercial version of Private Cloud Director, with the only differences being deployment models:
- SaaS-Managed: In this model, the infrastructure region of Private Cloud Director is managed by Platform9, while the workload region is managed by the customer. This approach simplifies infrastructure management for customers, allowing them to focus on their workloads.
- Self-Hosted: Both the infrastructure and workload regions are managed by the customer. The infrastructure region requires multiple servers to ensure high availability, making it suitable for organizations with robust IT resources and expertise.
- Community Edition: Designed for simplicity, Community Edition installs both the infrastructure and workload regions on a single server. It supports being deployed on either bare-metal or as a virtual machine, offering an accessible option for smaller-scale or experimental use cases.
The 2025.8 release of Community Edition does not support Private Cloud Director Kubernetes workloads, and is planned for a future release.
Prerequisites
The Community Edition host and hypervisor hosts can be any combination of bare-metal or virtual machines. Community Edition has been tested with Ubuntu 22.04 AMD64 cloud image, and hypervisor hosts have been tested with Ubuntu 22.04 AMD64 and Ubuntu 24.04 AMD64 cloud images. A full server distribution is not required, and a minimal distribution is not supported.
Hypervisor hosts deployed as virtual machines must have virtualization support available inside the VM. Virtual machines on ARM CPUs are currently untested.
If you want to verify that nested virtualization is working in a VM, you can check for virtualization support inside the VM by running the command below. If you receive output showing vmx or svm flags, then it is enabled. If you don't, then please see your virtualization provider's documentation on enabling nested virtualization.
egrep "svm|vmx" /proc/cpuinfoCommunity Edition host's requirements:
- Ubuntu 22.04 AMD64 AMD64 cloud image required
Ubuntu 22.04 minimal cloud image may cause installation failures due to missing packages.
Community Edition will install on Ubuntu 22.04 AMD64 server cloud image, but the prerequisites check may cause an installation failure with any other Linux distribution.
8 CPU minimum
- Intel Nehalem, AMD Bulldozer chip families or newer.
28 GB RAM minimum
100 GB local storage required
IPv6 enabled (an IPv6 address does not have to be assigned)
Local ports available: 443, 2379, 2380, 3306, 4194, 5395, 5672, 5673, 6264, 8023, 8158, 8285, 8558, 9080, 10250, 10255
Outbound destination ports: TCP - 53, 443; UDP: 53, 123
Swap must be disabled. See "Swap enabled" on Resolving failed prerequisites checks for information on how to disable swap and prevent it from being enabled on reboot.
See Common Issues for more details on configuring prerequisites
In order to create virtual machines, at least one hypervisor host must be available. Hypervisors will be authorized to run virtual machines managed by Community Edition.
- Hypervisor hosts: Ubuntu 22.04 AMD64 or Ubuntu 24.04 AMD64 cloud image required
Ubuntu 22.04 or 24.04 minimal cloud image may cause installation failures due to missing packages.
The hypervisor host prerequisites check requires Ubuntu 22.04 or 24.04, any other Linux or Ubuntu release will not pass the check.
- 8 CPUs and 16 GB RAM minimum
- 100 GB local storage minimum
In order to create virtual machines with persistent volumes, backend storage such as NFS must be available. The amount of storage necessary depends on the number and size of persistent volumes. Ephemeral VMs are stored locally on the hypervisor host.
Deploy Community Edition host
Please see Custom Installation for information on customizing your Community Edition installation before installing.
Private Cloud Director Community Edition (CE) can be deployed by any Ubuntu user account that has the ability to sudo. By default in Ubuntu, all users in the sudo group have the ability to sudo. Group membership can be validated with the command groups <username> and sudo permissions can be verified with sudo -l -U <username> .
The CE install can be started with the following command:
curl -sfL https://go.pcd.run | bashThe install script will prompt for your agreement with the Community Edition EULA. Accept with Y and the install will continue. Should you choose to not agree by pressing N the installation will abort.
The install script will run a prerequisites check before proceeding with the installation. Should the prerequisites check fail, see Common Issues for instructions on resolutions. After the check completes successfully, the install script will show its progress, and when completed it will present the fully qualified domain name of the workload region and administrator credentials.
You will also be prompted to provide feedback on the installation process using a simple voting mechanism.
Should the installation fail, you will be prompted with an option to upload a support bundle to Platform9's S3 bucket, and an option to include your email so we may follow-up and resolve. Both of these are entirely optional and are meant to help improve the user experience with Community Edition.
ubuntu@ce-host:~$ curl -sfL https://go.pcd.run | bashPrivate Cloud Director Community Edition Deployment Started...By continuing with the installation, you agree to the terms and conditions of thePrivate Cloud Director Community Edition EULA.Please review the EULA at: https://platform9.com/ce-eulaDo you accept the terms of the EULA? [Y/N]: yFinding latest version... DoneDownloading artifacts... DoneConfiguring system settings... DoneInstalling artifacts and dependencies... DoneConfiguring Docker Mirrors... Done SUCCESS Configuration completed INFO Verifying system requirements... ✓ Architecture ✓ Disk Space ✓ Memory ✓ CPU Count ✓ OS Version ✓ Swap Disabled ✓ IPv6 Support ✓ Kernel and VM Panic Settings ✓ Port Connectivity ✓ Firewalld Service ✓ Default Route Weights ✓ Basic system services Completed Pre-Requisite Checks on local node SUCCESS Cluster created successfully INFO Starting PCD management plane SUCCESS Certificates generated SUCCESS Base infrastructure setup complete SUCCESS pcd-virt deployment now complete SUCCESS Final touches... Private Cloud Director (Community Edition) deployment complete!How would you rate your Private Cloud Director (Community Edition) installation experience? (1-5, press Enter to skip): 5------------- deployment details ---------------fqdn: pcd.pf9.ioregion: pcddeployment status: readyregion health: ✅ Readyversion: PCD 2025.8-112-------- region service status ----------desired services: 25ready services: 25------------- deployment details ---------------fqdn: pcd-community.pf9.ioregion: pcd-communitydeployment status: readyregion health: ✅ Readyversion: PCD 2025.8-112-------- region service status ----------desired services: 55ready services: 55Login Details:URL: https://pcd-community.pf9.ioemail: admin@airctl.localnetpassword: wVXJbocBrZaqcjtSNote: If internal DNS is unavailable, add the management plane FQDN to /etc/hosts on local machine and then log into the UI using the provided credentials.ubuntu@ce-host:~$Local DNS Entries
If DNS is not available, add a DNS entry for the fully qualified domain names of the infrastructure (default: pcd.pf9.io) and workload regions (default: pcd-community.pf9.io) on a local machine, which will allow access to the Community Edition user interface using the workload region domain name. If these values were customized during installation, use the custom values instead.
Log In To The User Interface
Navigate to the UI FQDN (the default is pcd-community.pf9.io) in a web browser from the same machine with the manual DNS entries. Community Edition uses self-signed certificates, which will need to be accepted when logging in for the first time.
Keep default as the Domain, choose "Use local credentials" at the top right, and login with the credentials provided when the Community Edition install completed.
SSO login isn't available until it has been configured post-installation. If you receive a 404 error while attempting an SSO login before it is configured, that is expected behavior.
At this point, you are ready to start using Private Cloud Director.
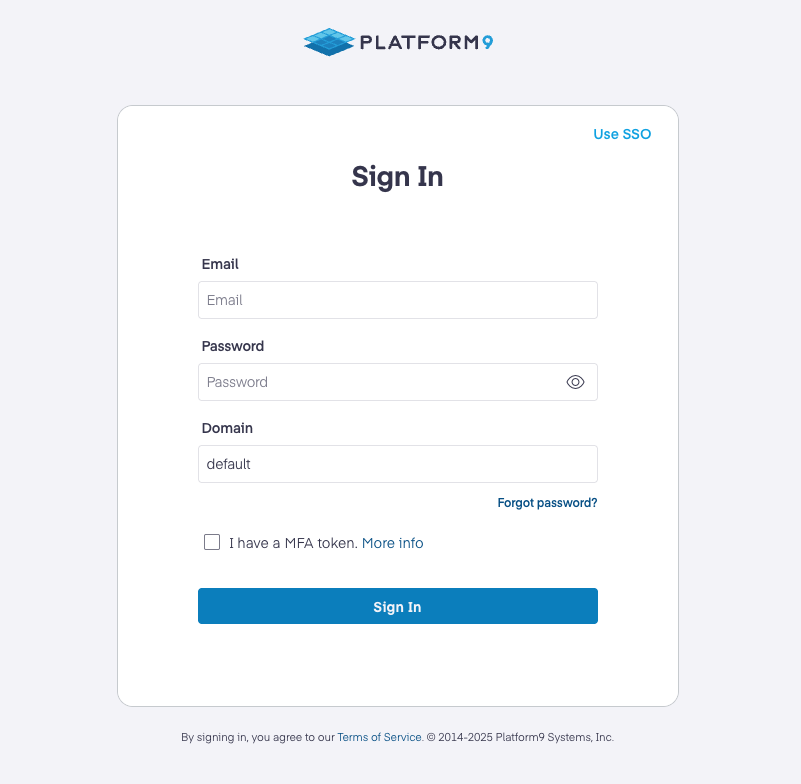
Private Cloud Director Community Edition local credentials login screen
Changing Administrator Email and Password
It is not recommended to change the administrator email and unique password that is provided at the end of the Community Edition install, as these are used internally between the infrastructure and workload regions. Instead, please create a new user with administrator access.
The administrator account is also used for Grafana authentication. Changing the administrator credentials on Private Cloud Director UI will affect Grafana access. If you need different user access levels, create additional users with appropriate permissions rather than modifying the default administrator account.
Creating a new domain administrator will not automatically grant that user access to Grafana. Grafana access is limited to the primary administrator account on PCD UI.
Create Cluster Blueprint and Onboard Hypervisors
After Private Cloud Director Community Edition is installed, the next steps are to create a cluster blueprint, create a new cluster, and then begin onboarding hypervisors to that cluster.
- Follow Cluster Blueprint article for more information on what cluster blueprints are and how to create one.
- Create new cluster using Infrastructure > Clusters.
Once the cluster blueprint and first cluster are created, onboard hypervisor hosts to the cluster and assign roles to them based on the blueprint you setup above.
After a host is onboarded, create at least one Virtual Network or Physical Network for virtual machine connectivity.
Create Virtual Machines
Read Virtual Machine for steps to provision the first virtual machine on your cluster.
YouTube Playlist
Check out Platform9's YouTube channel for a Private Cloud Director playlist.
Grafana username and password
Grafana uses the same administrator credentials as the workload region (PCD UI). These credentials are:
- Username: admin@airctl.localnet
- Password: Can be retrieved from the Community Edition host with the following command:
/opt/pf9/airctl/airctl get-creds --config /opt/pf9/airctl/conf/airctl-config.yamlBy default, Grafana is available at https://pcd-community.pf9.io/grafana/login.
Reset Grafana administrator password
Resetting the Grafana password independently of the PCD UI administrator password is not recommended, as it may cause synchronization issues. The Grafana password should match the UI administrator password.
Use this procedure only if specifically directed to do so by support or if you need to restore synchronization.
The Grafana administrator password can be reset using the Community Edition host's command line.
In the below example, pcd-community is the default name for the workload region namespace. If you have modified the FQDN or region name with a custom install, use the appropriate namespace.
$NS=pcd-communitykubectl exec -it deploy/grafana -n $NS -- grafana cli admin reset-admin-password <strong password>Log file locations and service names
Community Edition log files
Log files for hypervisor hosts can be found in the /var/log and /var/log/pf9 directories.
Logs for Community Edition can be found at /var/log/pf9/fluentbit/ddu.log This file is structured as JSON and contains all Kubernetes pod logs. Logs from specific Kubernetes pods can be retrieved using the kubectl logs command.
Hypervisor host services
Platform9 hypervisor host service names begin with pf9 .
Examples:
pf9-hostagentpf9-imagelibrarypf9-ostackhost
Reinstall or uninstall Community Edition
Private Cloud Director Community Edition and Kubernetes can be fully uninstalled with the following command:
sudo /opt/pf9/airctl/airctl delete-cluster --config /opt/pf9/airctl/conf/airctl-config.yamlRetrieve administrator credentials
Should you need to retrieve the administrator credentials, run the following command on the CE host.
sudo /opt/pf9/airctl/airctl get-creds --config /opt/pf9/airctl/conf/airctl-config.yamlValidating an installation
You may validate an installation of Community Edition using the following command. Your deployment is healthy if both deployment details show a Ready task state and the number of ready services matches the number of desired services. This same output is presented immediately after a successful CE installation.
/opt/pf9/airctl/airctl status --config /opt/pf9/airctl/conf/airctl-config.yamlAn example of a healthy installation:
root@pcd-ce01:~# /opt/pf9/airctl/airctl status --config /opt/pf9/airctl/conf/airctl-config.yaml------------- deployment details ---------------fqdn: lab04.pf9.ioregion: lab04deployment status: readyregion health: ✅ Readyversion: PCD 2025.8-112-------- region service status ----------desired services: 25ready services: 25------------- deployment details ---------------fqdn: lab04-community.pf9.ioregion: lab04-communitydeployment status: readyregion health: ✅ Readyversion: PCD 2025.8-112-------- region service status ----------desired services: 55ready services: 55Expanding a Ubuntu logical volume
If you are using LVM (logical volume management) and find that the logical volume size is smaller than the physical volume size, you can expand the logical volume to the size of the physical volume.
First, find the name of the filesystem path that the root of the filesystem (/)is mapped to with df -h. Then use the following example and run the commands using the correct path in your installation.
Example: If the logical volume is named ubuntu--vg-ubuntu--lv, first resize the logical volume:
sudo lvresize -l +100%FREE /dev/mapper/ubuntu--vg-ubuntu--lv
And then, resize the filesystem to match the logical volume:
sudo resize2fs /dev/mapper/ubuntu--vg-ubuntu--lv
Troubleshooting
See Common Issues for troubleshooting or resolving issues.