Platform9 Managed OpenStack Setup Guide for Linux/KVM
This OpenStack Tutorial will walk you through steps to get your Platform9 Managed OpenStack up and running for Linux/KVM environments.
Pre-requisites
This tutorial describes the Prerequisites for Getting Started with Platform9 for Linux/KVM
Step-By-Step Guide
Once the pre-requisites are setup and you have access to your Platform9 account, log in to your Platform9 portal with the default username and password. The “Dashboard” menu will provide a step-by-step guide to getting started with Platform9.
Step 1: Configure Neutron Networking Settings
Before you can start adding hypervisors to Platform9, you need to first configure Neutron networking options.
Follow this guide to configure your Neutron Networking Settings.
Step 2: Add Hosts To Platform9
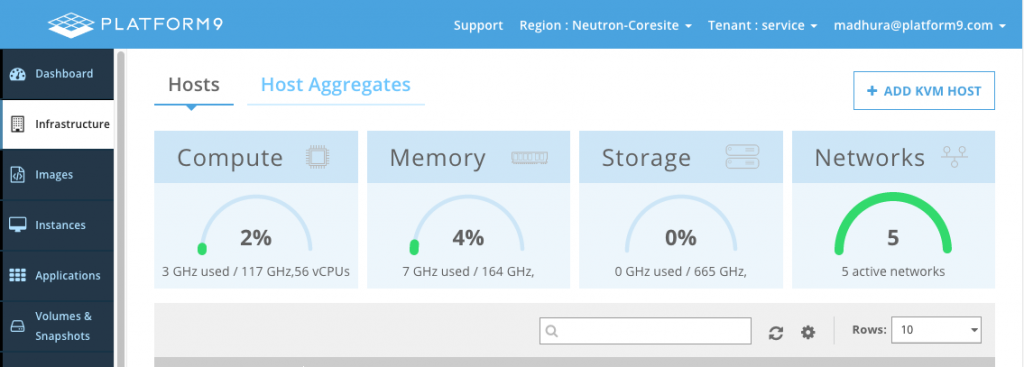
Once networking is configured, you can now start adding one or more physical servers to Platform9. Navigate to “Infrastructure” and click on “Add Host” button.
The “Add Host” page will walk you through three simple steps to download the Platform9 agent and deploy in on your Linux server.
-
- Download the host agent installer specific to the Linux operating system you are using (Enterprise Linux or Ubuntu)
- Copy the host agent installer to your physical server, or make it available via a shared folder.
- Install the host agent on your Linux server:

Step 3: Authorize Hosts
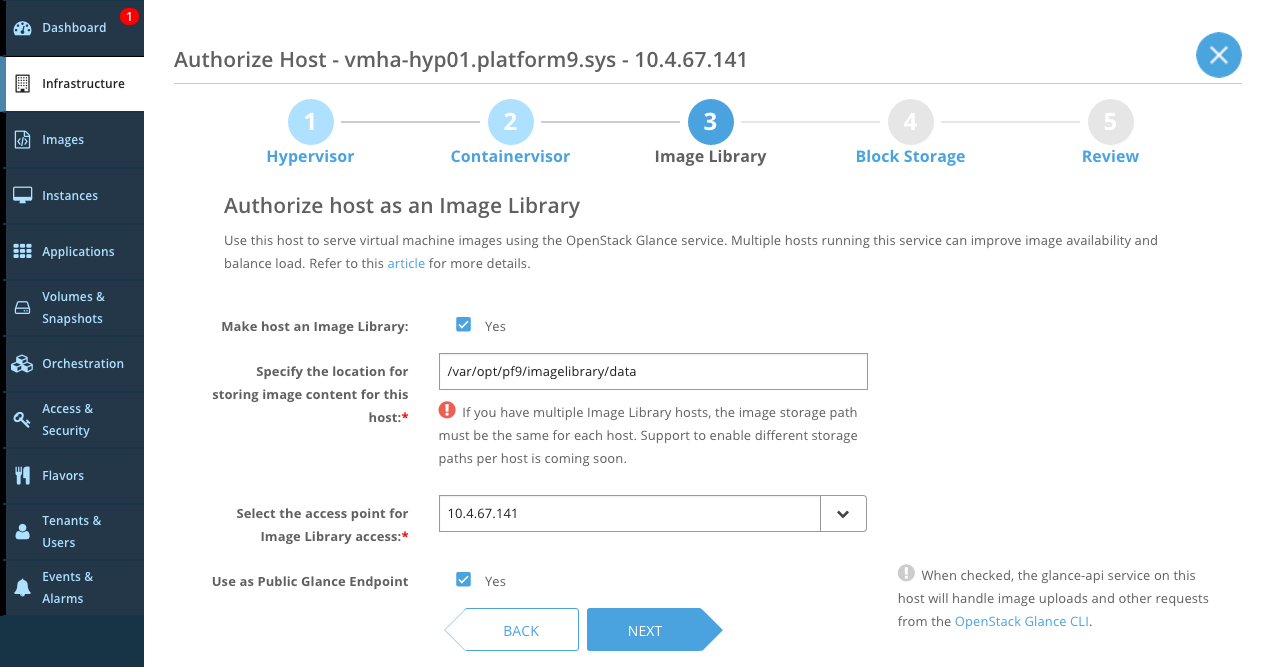
Once you install the agent software on your Linux server, the agent makes an outbound call to the cloud-based Platform9 controller specific to your account. At this point, an alert will appear in the Platform9 dashboard notifying you that a new server is awaiting your authorization.
Step 4: Configure Image Library
Each Linux server added to Platform9 can be authorized to run different roles. For example, if you want to run virtual machine on a host, that host should be assigned the Hypervisor role. Note that you must designate at least one server with the Image Library role. Doing this enables Platform9 to utilize the storage associated with that server to create an OpenStack Glance-based image catalog.
Step 5: Create Tenants and Invite Users
As a final step, you are now ready to start creating tenants and inviting your team members and others in your organization to start using your Platform9 private cloud.
- Tenant: A tenant is a unit of multi-tenancy. You always log into Platform9 in the context of some tenant. The default tenant that Platform9 creates for you when you get started is called the “service” tenant. Any virtual machines that Platform9 discovers from your environment are in this tenant. You can create new tenants to map to different teams within your organization, assign them a CPU, memory and storage quota and then invite users to join the tenant.
- Self-service portal: Each user that you invite to join Platform9 private cloud gets self-service portal access to the cloud.
Congratulations! Your Platform9 private cloud is now ready to go!
If you encountered any issues during this OpenStack tutorial, consult the Troubleshooting Guide or contact us at support@platform9.com.

