How to run a PMK Kubernetes Cluster on a Virtual Machine on Windows
This tutorial describes how to create a single node Kubernetes cluster quickly and easily using Platform9 Managed Kubernetes (PMK) on a Windows machine.
Platform9 Managed Kubernetes (PMK) lets you spin up a Kubernetes cluster with physical servers or a virtual machine in minutes. This tutorial demonstrates this process by creating a single-node Kubernetes cluster using a VM running on a Windows machine. It goes through details of setting up your Windows host machine to support this process. The goal of this tutorial is to show users how to create a VM that runs Ubuntu 18.04 on a Windows machine, and then demonstrate you how to use that VM to create a Kubernetes cluster via the PMK UI.
Pre-requisites
To complete this tutorial, you will need the following:
- A computer running a recent version of the Windows operating system (a machine running Windows 10 is used for this tutorial), Oracle VM VirtualBox for spinning up your virtual machine,
- A download of the Linux ISO for Ubuntu 18.04 or 20.04, and
- An account with Platform9 Managed Kubernetes Free Tier.
Installing Oracle VirtualBox on Windows

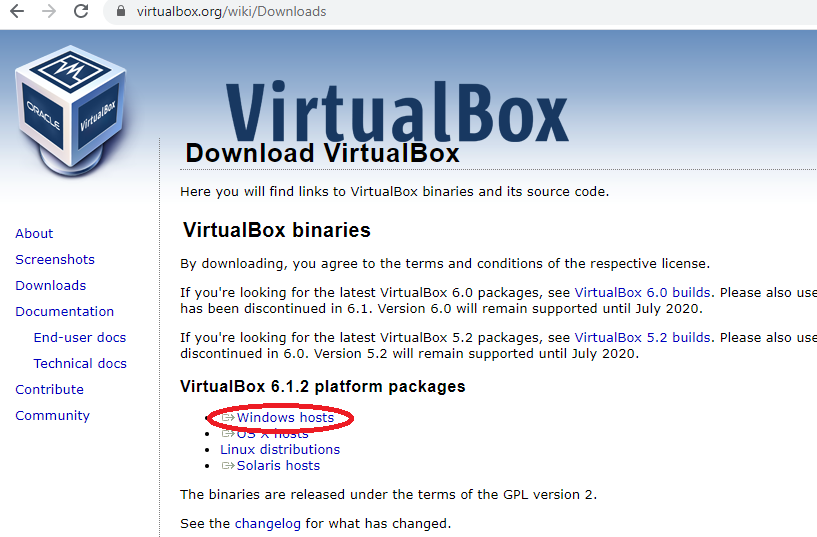
The first step in creating your virtual machine is to set up the software that will create and manage it. We’re using Oracle VM VirtualBox, which is open source, very intuitive and available for free download. To download the most recent version (6.1.2) for Windows, simply visit the downloads page and click on “Windows hosts” below “VirtualBox 6.1.2 Platform Packages.”
Once the file is downloaded, locate it in your 'Downloads' folder and double click on it to install VirtualBox as a Windows Application. Follow the steps below to install VirtualBox
- When prompted to run pre-requests check, Click “Continue” to allow the prerequisite checks.
- On the next screen, click "Install" to begin the installation.
- Once install is successful, Click “Close” on the installer wizard. VirtualBox is now installed and ready to be used.
Install Ubuntu VM & Configure a Single Node PMK Cluster
Now that VirtualBox is installed, follow How to run PMK Mac Guide Steps 2 to 6 to create a Ubuntu VM on your VirtualBox and create a single node PMK cluster using it.