Create RBAC Profile
This document describes the step by step process to create an RBAC profile in PMK and then to deploy it on your Kubernetes cluster.
Create a New Profile
Step 1. Go to the Cluster Profiles tab in the PMK UI, then click on Add RBAC Profile
Step 2. Select a cluster that the RBAC policies will be collected from and name it. This enables you to use the cluster as a default baseline for the new profile.
Step 3. Now select the Roles to add to the profile. Once selections are completed, click Next.
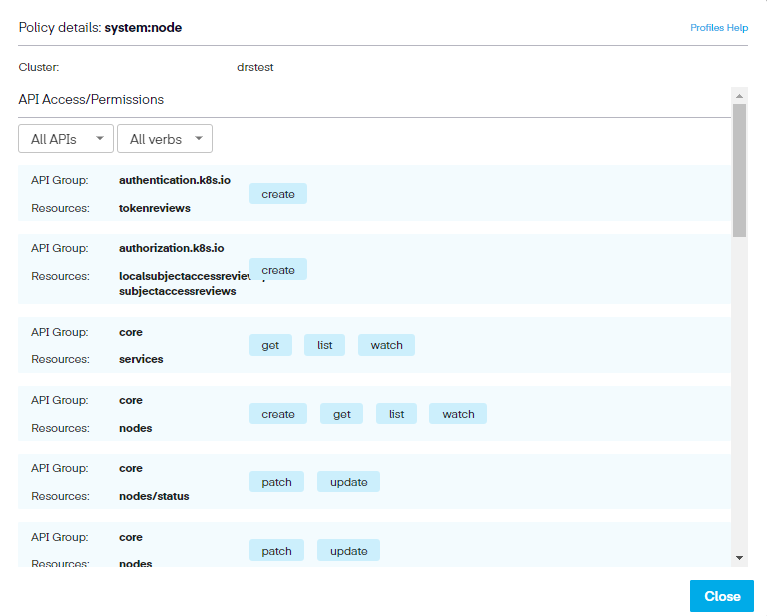
Next to each option, a small magnifying glass link opens the policy details that point out the permission settings available to that ClusterRole.

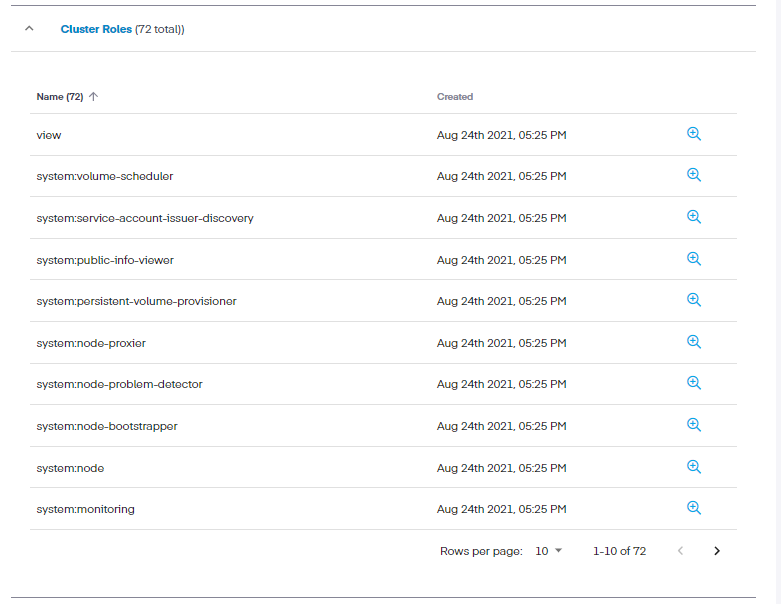
Step 4. In the ClusterRoles section, we repeat the process of selecting the needed ClusterRoles. Again, there are a significant number of options available (74 in total). To view the entire list, click the Rows per page dropdown menu and select 100.
Step 5. We can now begin choosing the RoleBindings. Identify the settings you want to allow and then click Next.
Step 6. Now we move onto ClusterRoleBindings. Select the settings you want to allow and then choose Next.
Step 7. This opens the Review page, where we can assess our choices before completing the profile. In the review section, we have asked the profile engine to connect to this cluster and use the settings for these Roles, ClusterRoles, RoleBindings, and ClusterRoleBindings. The profile engine then contacts the agent running in the cluster and tells it to create the profile. Once completed, it moves to a ‘Draft' status. This simply means that the profile has been generated but cannot be used yet. Since the UI polls every 30 seconds to check for updates, the changes happen quickly.
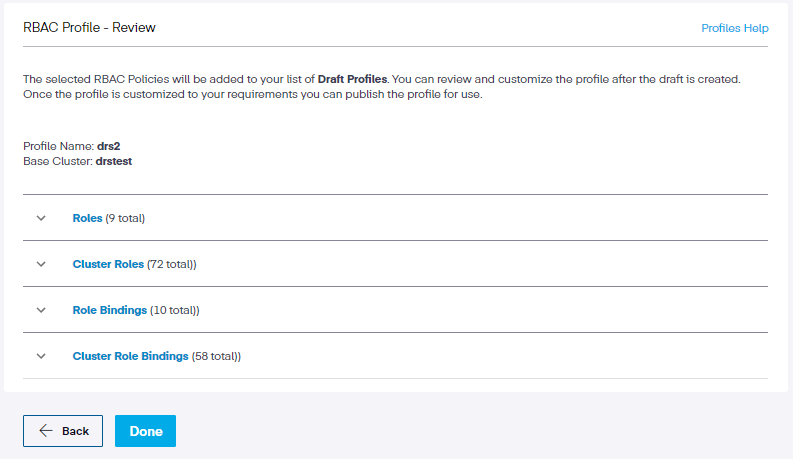
Under each policy, we can click the dropdown to review the choices we have made.
Permission information can be reappraised by clicking the magnifying glass icon link across from each setting. Also, we can sort the permissions based on API access or Verbs, which show only those resources authorized for that action.
Step 8. Lastly, click Done. This saves the profile and adds it to our list of profiles as a draft. We can then publish the profile and then deploy it.
Update the Profile to Published State
New profiles are created in a Draft state by default and cannot be deployed to clusters. Once a Profile is created and ready for use, users can transition it from a Draft state to Published state. Profiles in Published state can then be deployed to a cluster. An optional state is Archived state. Archived is a read-only state. Once a Profile is Archived, it cannot be deployed.
Next Steps
Now that you created the profile, you can Deploy Profile to Cluster