Getting started with Platform9 free tier on Azure
This article describes the steps to create a free Platform9 account and Kubernetes cluster that is managed by Platform9 Managed Kubernetes (PMK) on Azure cloud.
What you’ll need
- Access to the inbox of a valid email address
- Azure account that meets the Azure Prerequisities
- SSH key to secure the instances - you can save your own in Azure or create a key on Azure
Create a free Platform9 account
Already have an account? Access your Platform9 instance
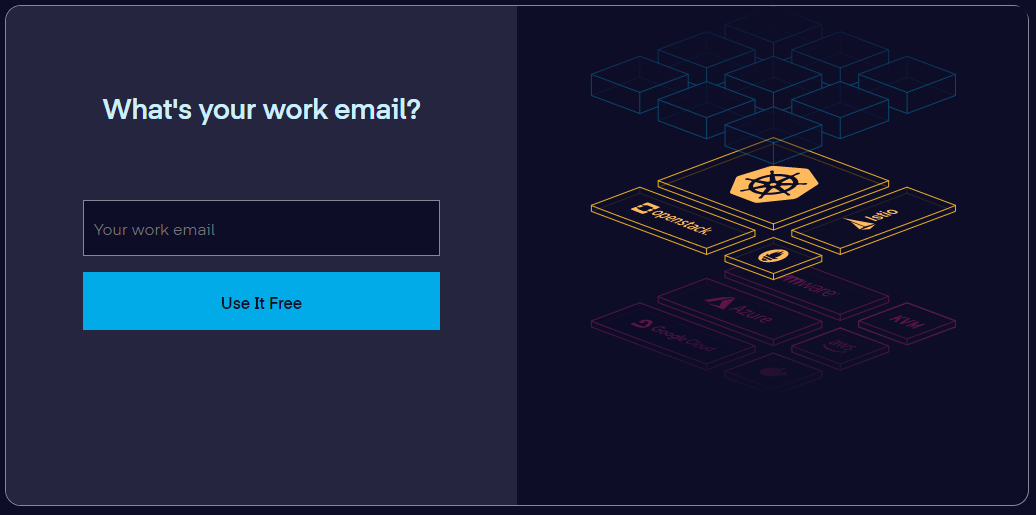
First navigate to Platform9 signup and provide your email address. Your address will be validated, so please make sure you have access to the inbox.
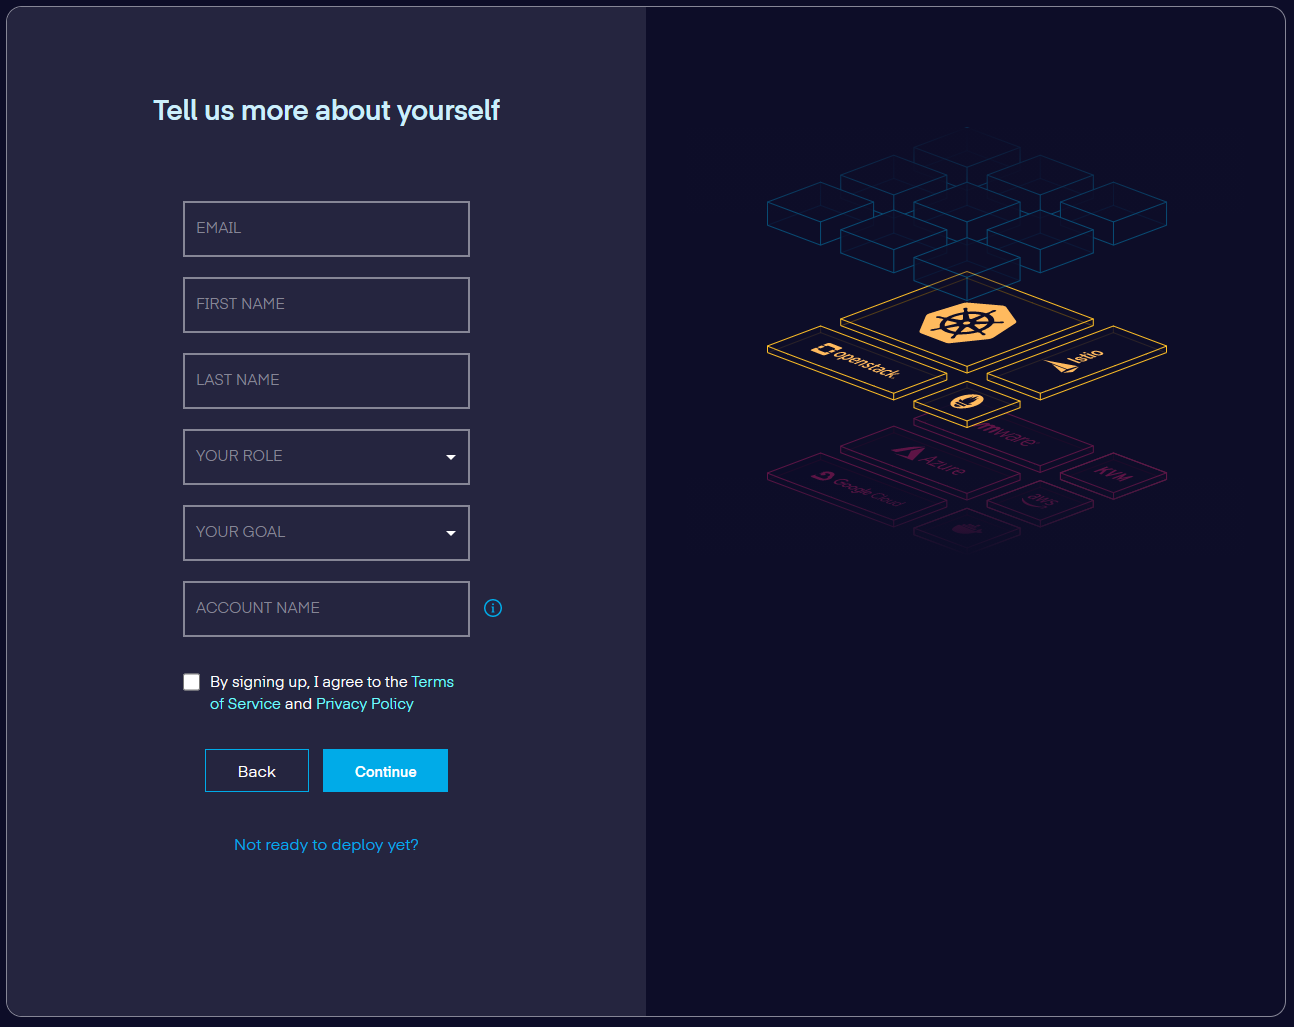
Then provide the details of how you would like your account configured. For your account name try to not use spaces or special characters. Your first initial and last name are a good fit.
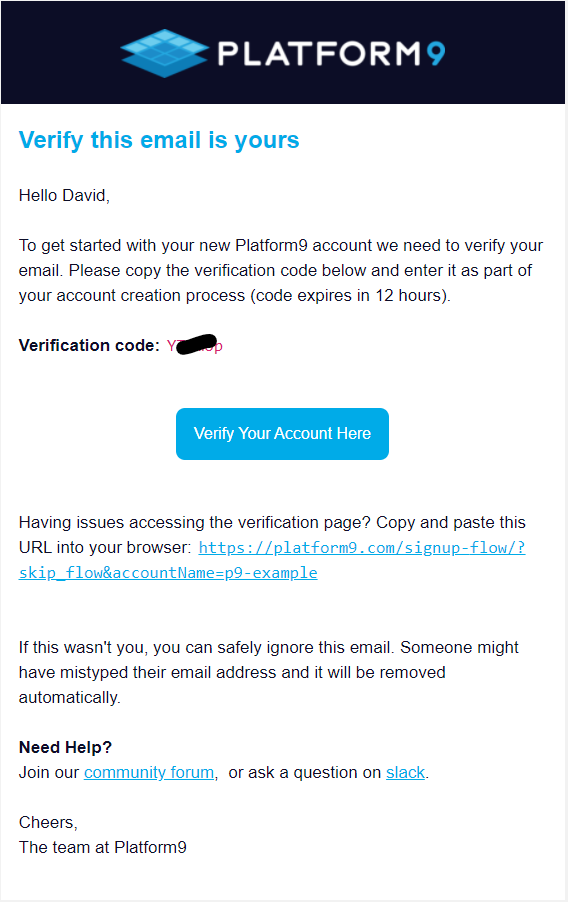
Now head to your inbox and copy the verification code sent to your email and click the button to finish setup.
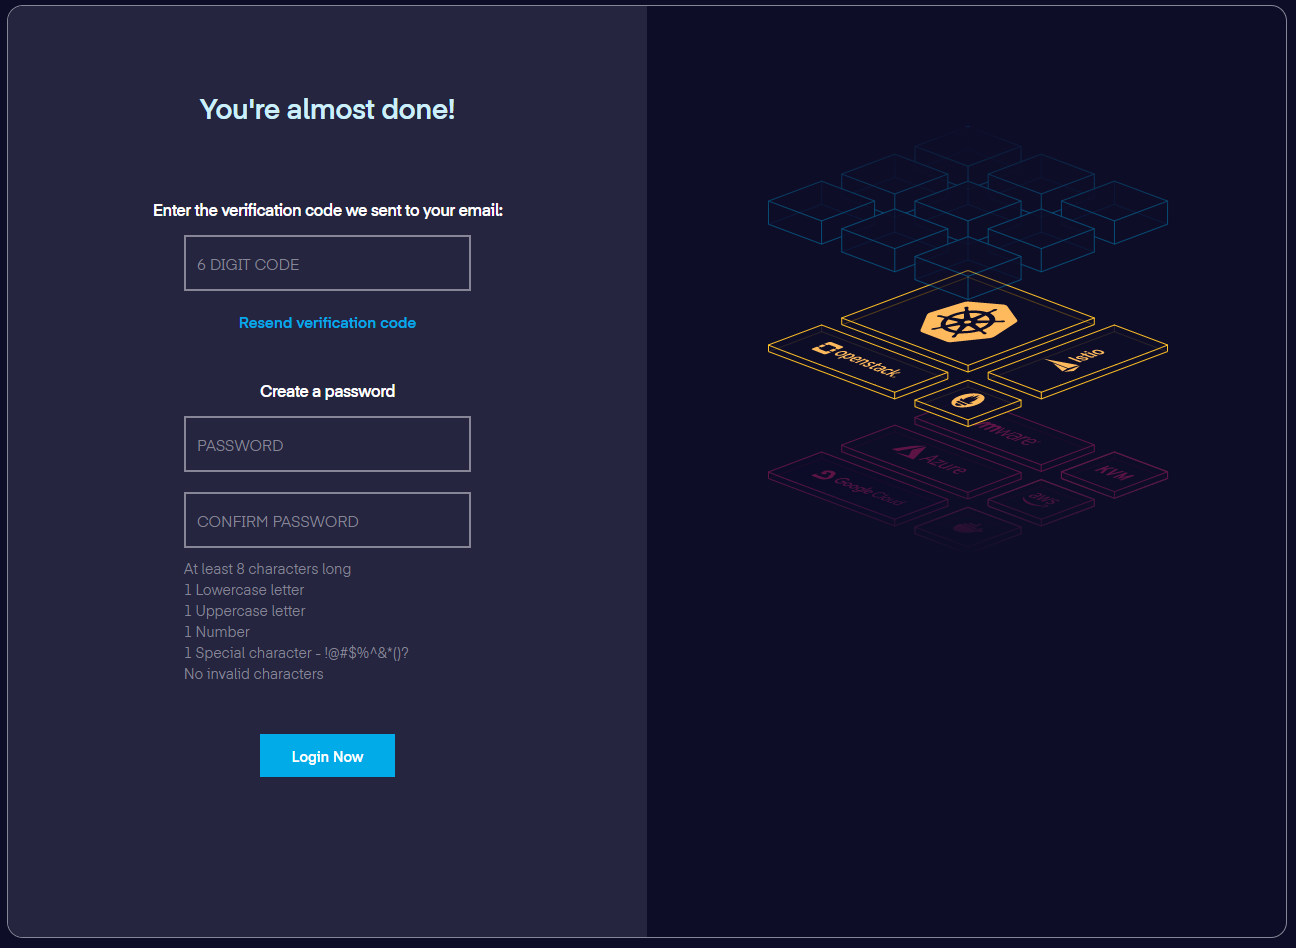
Provide the code along with a password to secure your account
Click the log in button to be directed to your new Platform9 instance
Log in to your Platform9 instance
Log in to your Platform9 account. You can access log in by going to https://platform9.com/login or by going directly to your instance. The address will look similar to: https://pmkft-xxxxxx-xxxxx.platform9.io.

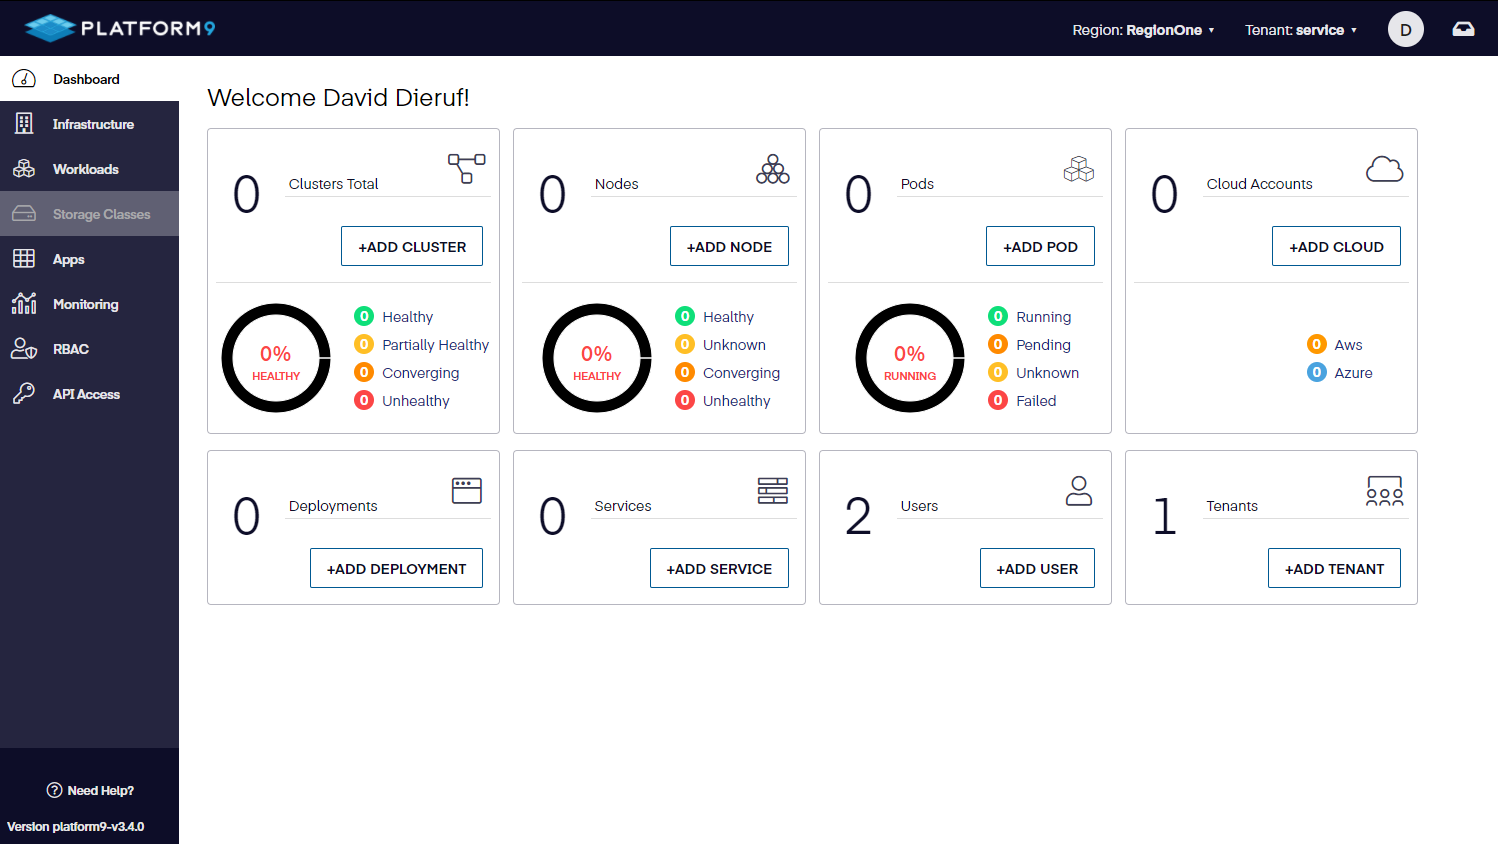
Once you sign in you’ll be directed to your instance’s dashboard. This is a summary of clusters, nodes, pods, and cloud accounts associated with your Platform9 account. Your brand new so of course there is nothing associated… yet!
Connect your Azure account with your Platform9 instance
Before associating your account make sure it meets the minimum requirements, read more here. To use your Azure account you will need to provide information from an Azure service principle. We recommend creating a new principle, to keep Platform9 created objects separate from your personal Azure objects. The pre-req's detail the steps.
From your dashboard click the "Add Cloud" button and choose "Microsoft Azure" as your cloud provider type. Name the new provider something memorable like 'my-azure-provider' and provide your Azure credentials.
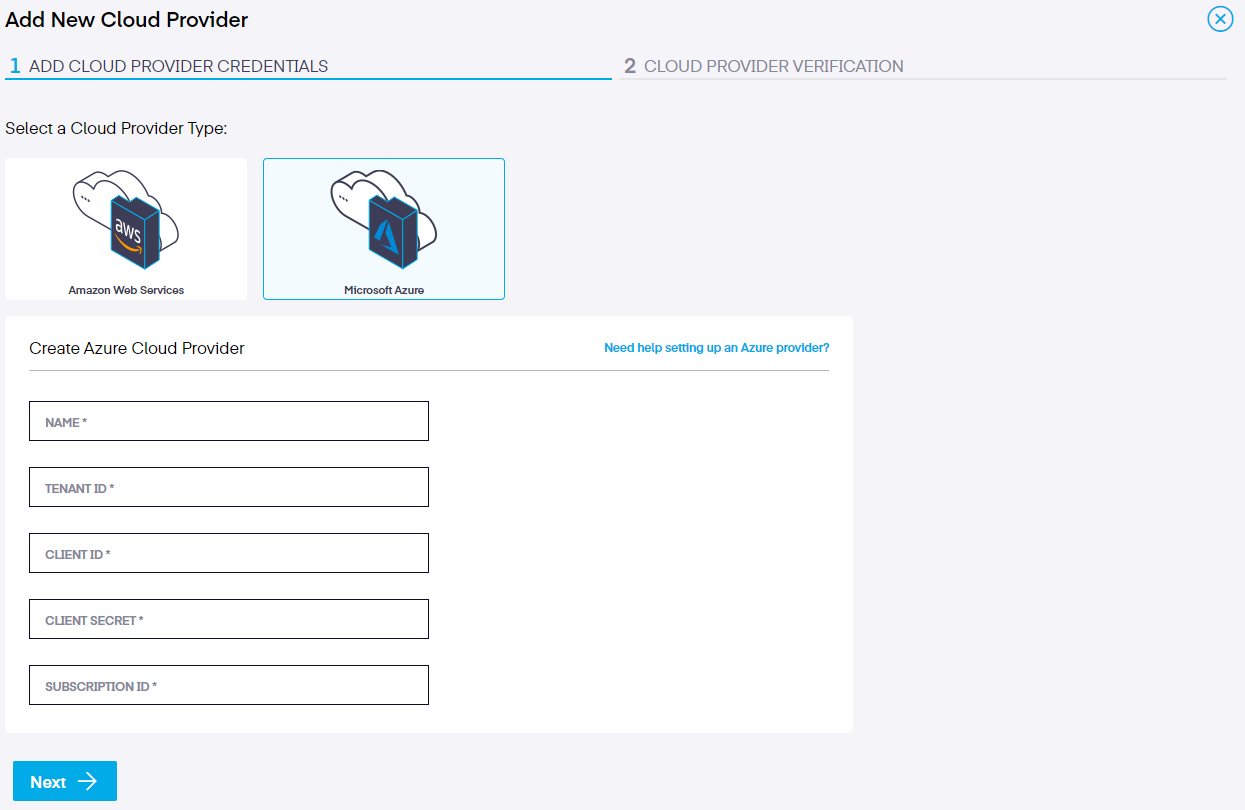
azure-cloud-provider-add.png
When you click "Next" your Azure account will be validated for correct permissions. Once validated choose the Azure region to use when creating your new cluster.
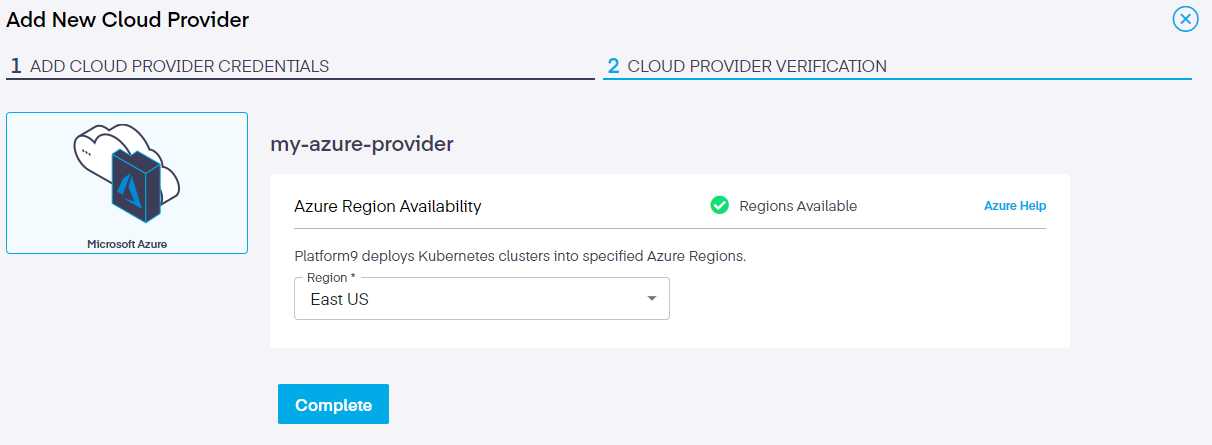
azure-provider-verification.png
"Complete" to create your new cloud provider and be directed back to the cloud providers listing.
Create a simple one-click cluster
From your dashboard click the "Add Cluster" button and choose "Microsoft Azure" as your infrastructure provider. Choose the "One-Click Cluster" button to get started.
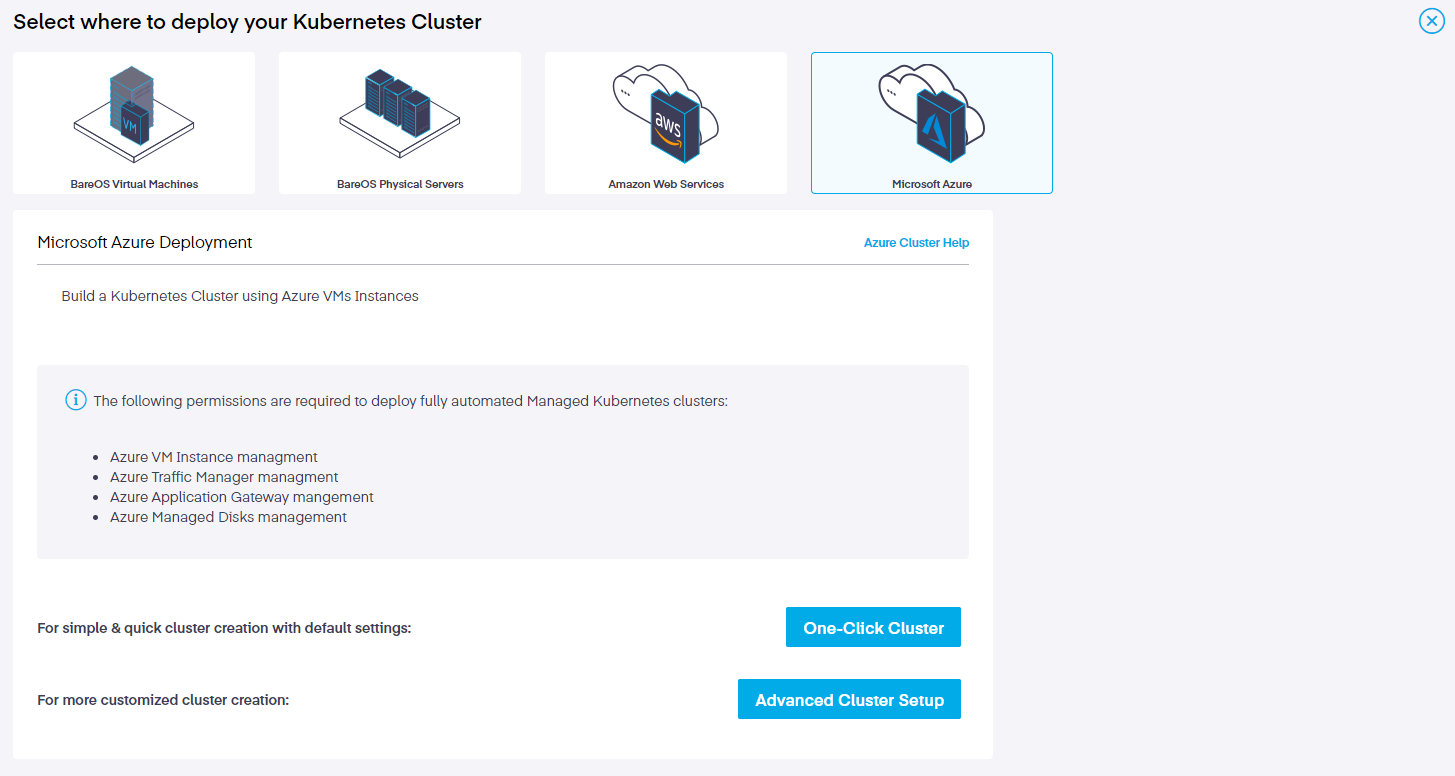
azure-one-click-cluster.png
Name your cluster something memorable like "my-azure-cluster" and choose the appropriate values to tell the Platform9 system where to create the cluster. If oyu don't have an SSH key available, Azure provides a convenient way to create and store keys in their portal.
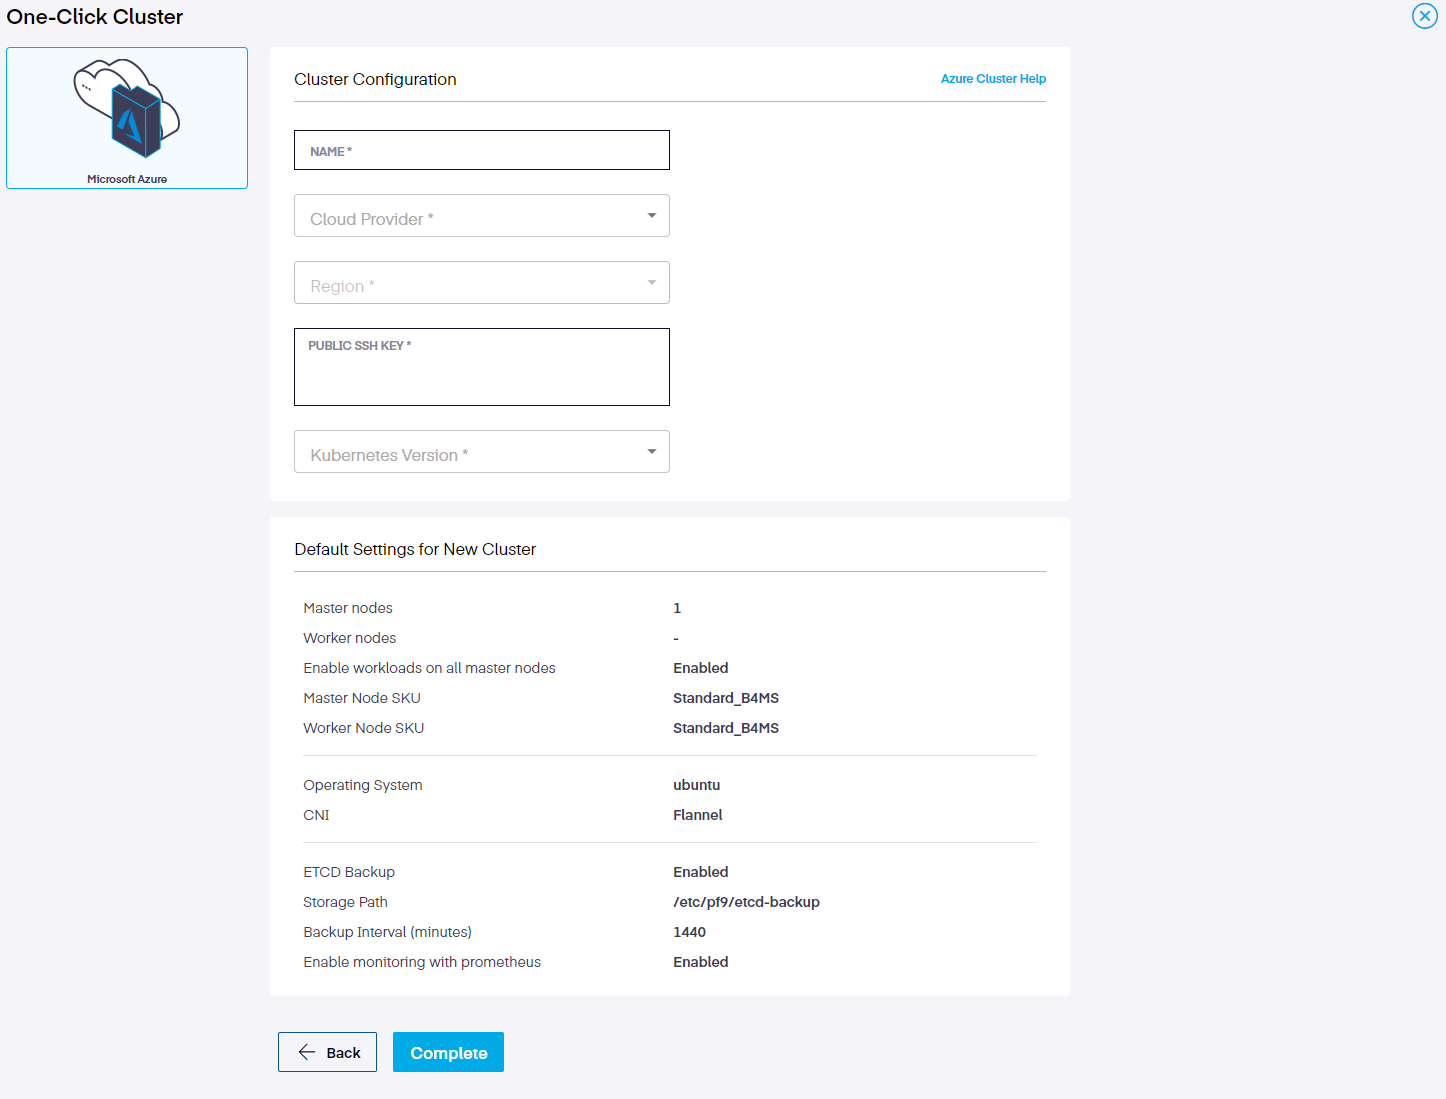
azure-one-click-configure.png
"Complete" to begin the creation of your new cluster.
The Platform9 system will create a single Azure virtual machine, promote it to be a Kubernetes master node, and enable your workloads to run on it. Routing will be automatically configured as well as full observability.
After creation successfully initializes you will be directed to the "Node Health" tab where you can watch the progress.
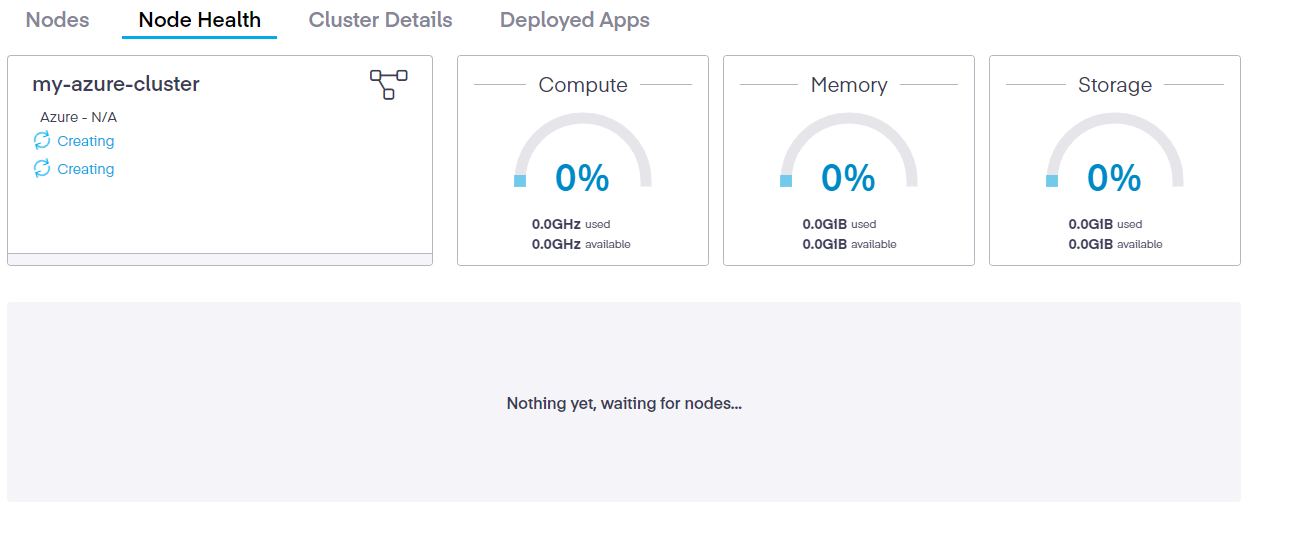
azure-note-health-creating.png
As the deployment progresses the screen will update with steps completed and a final message of "Connected" and "Healthy".
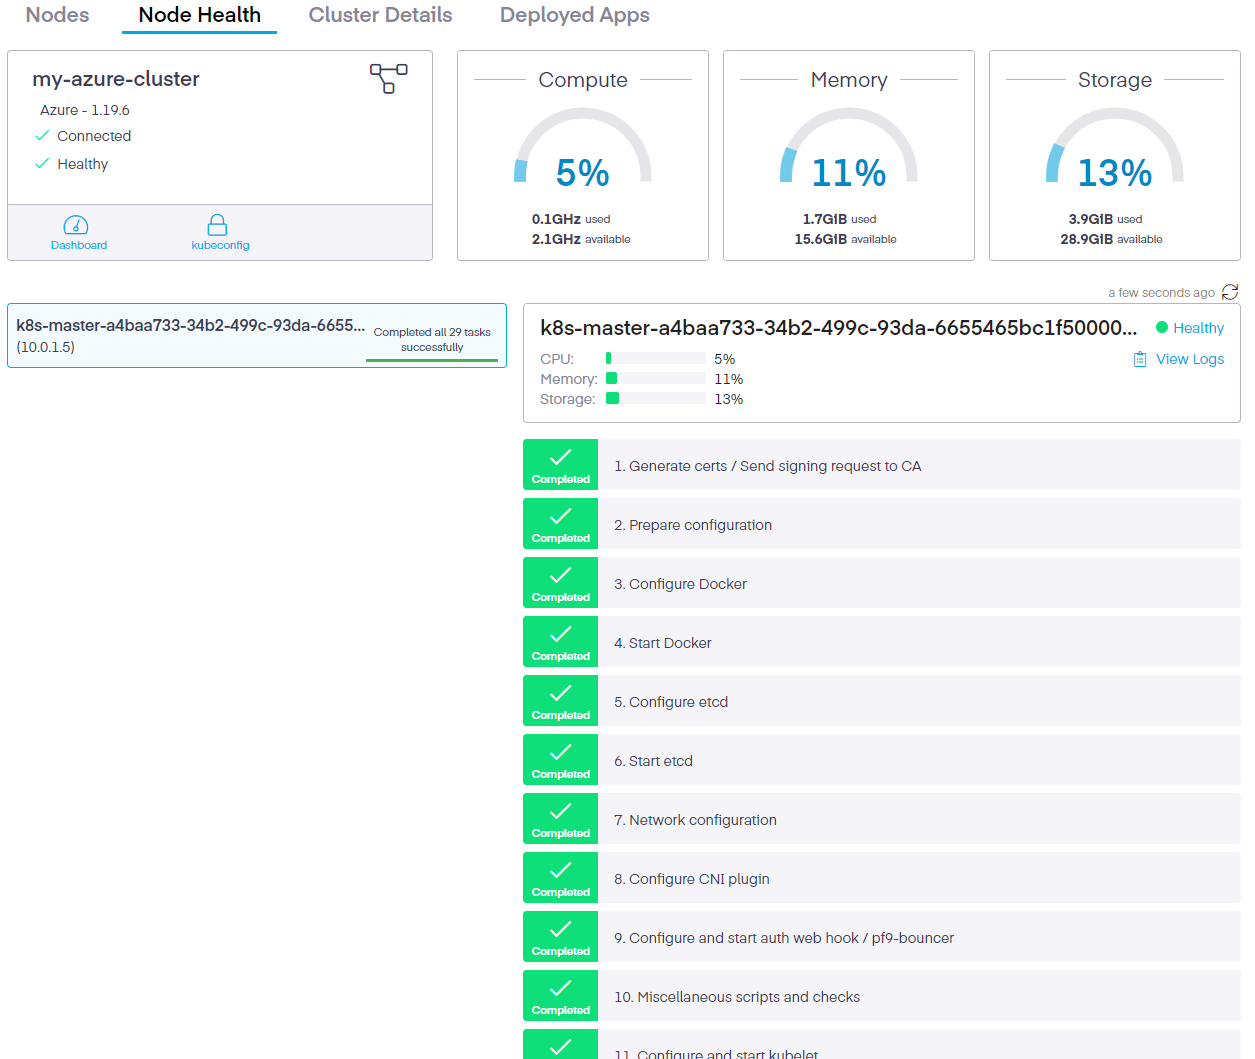
azure-one-click-finished.png
Navigate back to your dashboard to see a summary of the new management plane
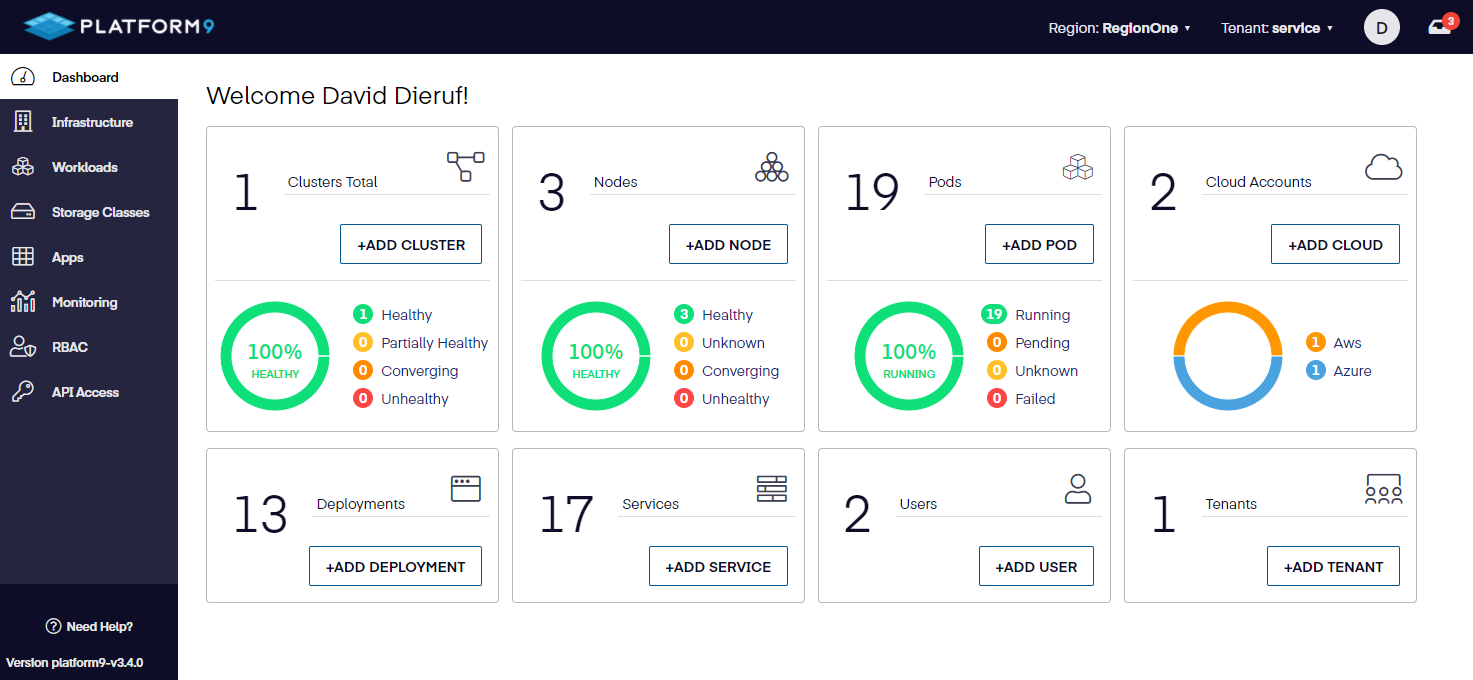
dashboard-azure-aws-provider.png
Removing a one-click cluster from your Azure account
Navigate to the "Infrastructure" area
Choose the "Clusters" tab
Select the cluster to remove and click the "Delete" icon
It will take a few minutes to terminate the Azure instance running as the Kubernetes master. In the "Nodes" tab the associated instance will automatically remove after termination.