Azure Native Clusters
Platform9 Managed Kubernetes has the ability to import existing Microsoft Azure AKS Clusters. Once imported you can view clusters created by Platform9 in Azure, AWS or BareOS, side-by-side with AKS Clusters It also can leverage Platform9 Management features such as our built-in Monitoring, the Helm3 service for deploying applications, and RBAC for fine-tuning and controlling user and service account permissions.
Platform9 provides native integration with Microsoft Azure to create Kubernetes clusters (non-AKS, leveraging VM instances) and manages the lifecycle of each component required to run a Kubernetes Cluster.
To create a Kubernetes cluster on Azure, you need to first create an Azure Cloud Provider within the PMK dashboard by providing Azure credentials. which are then securely stored in the Platform9 SaaS Management Plane.
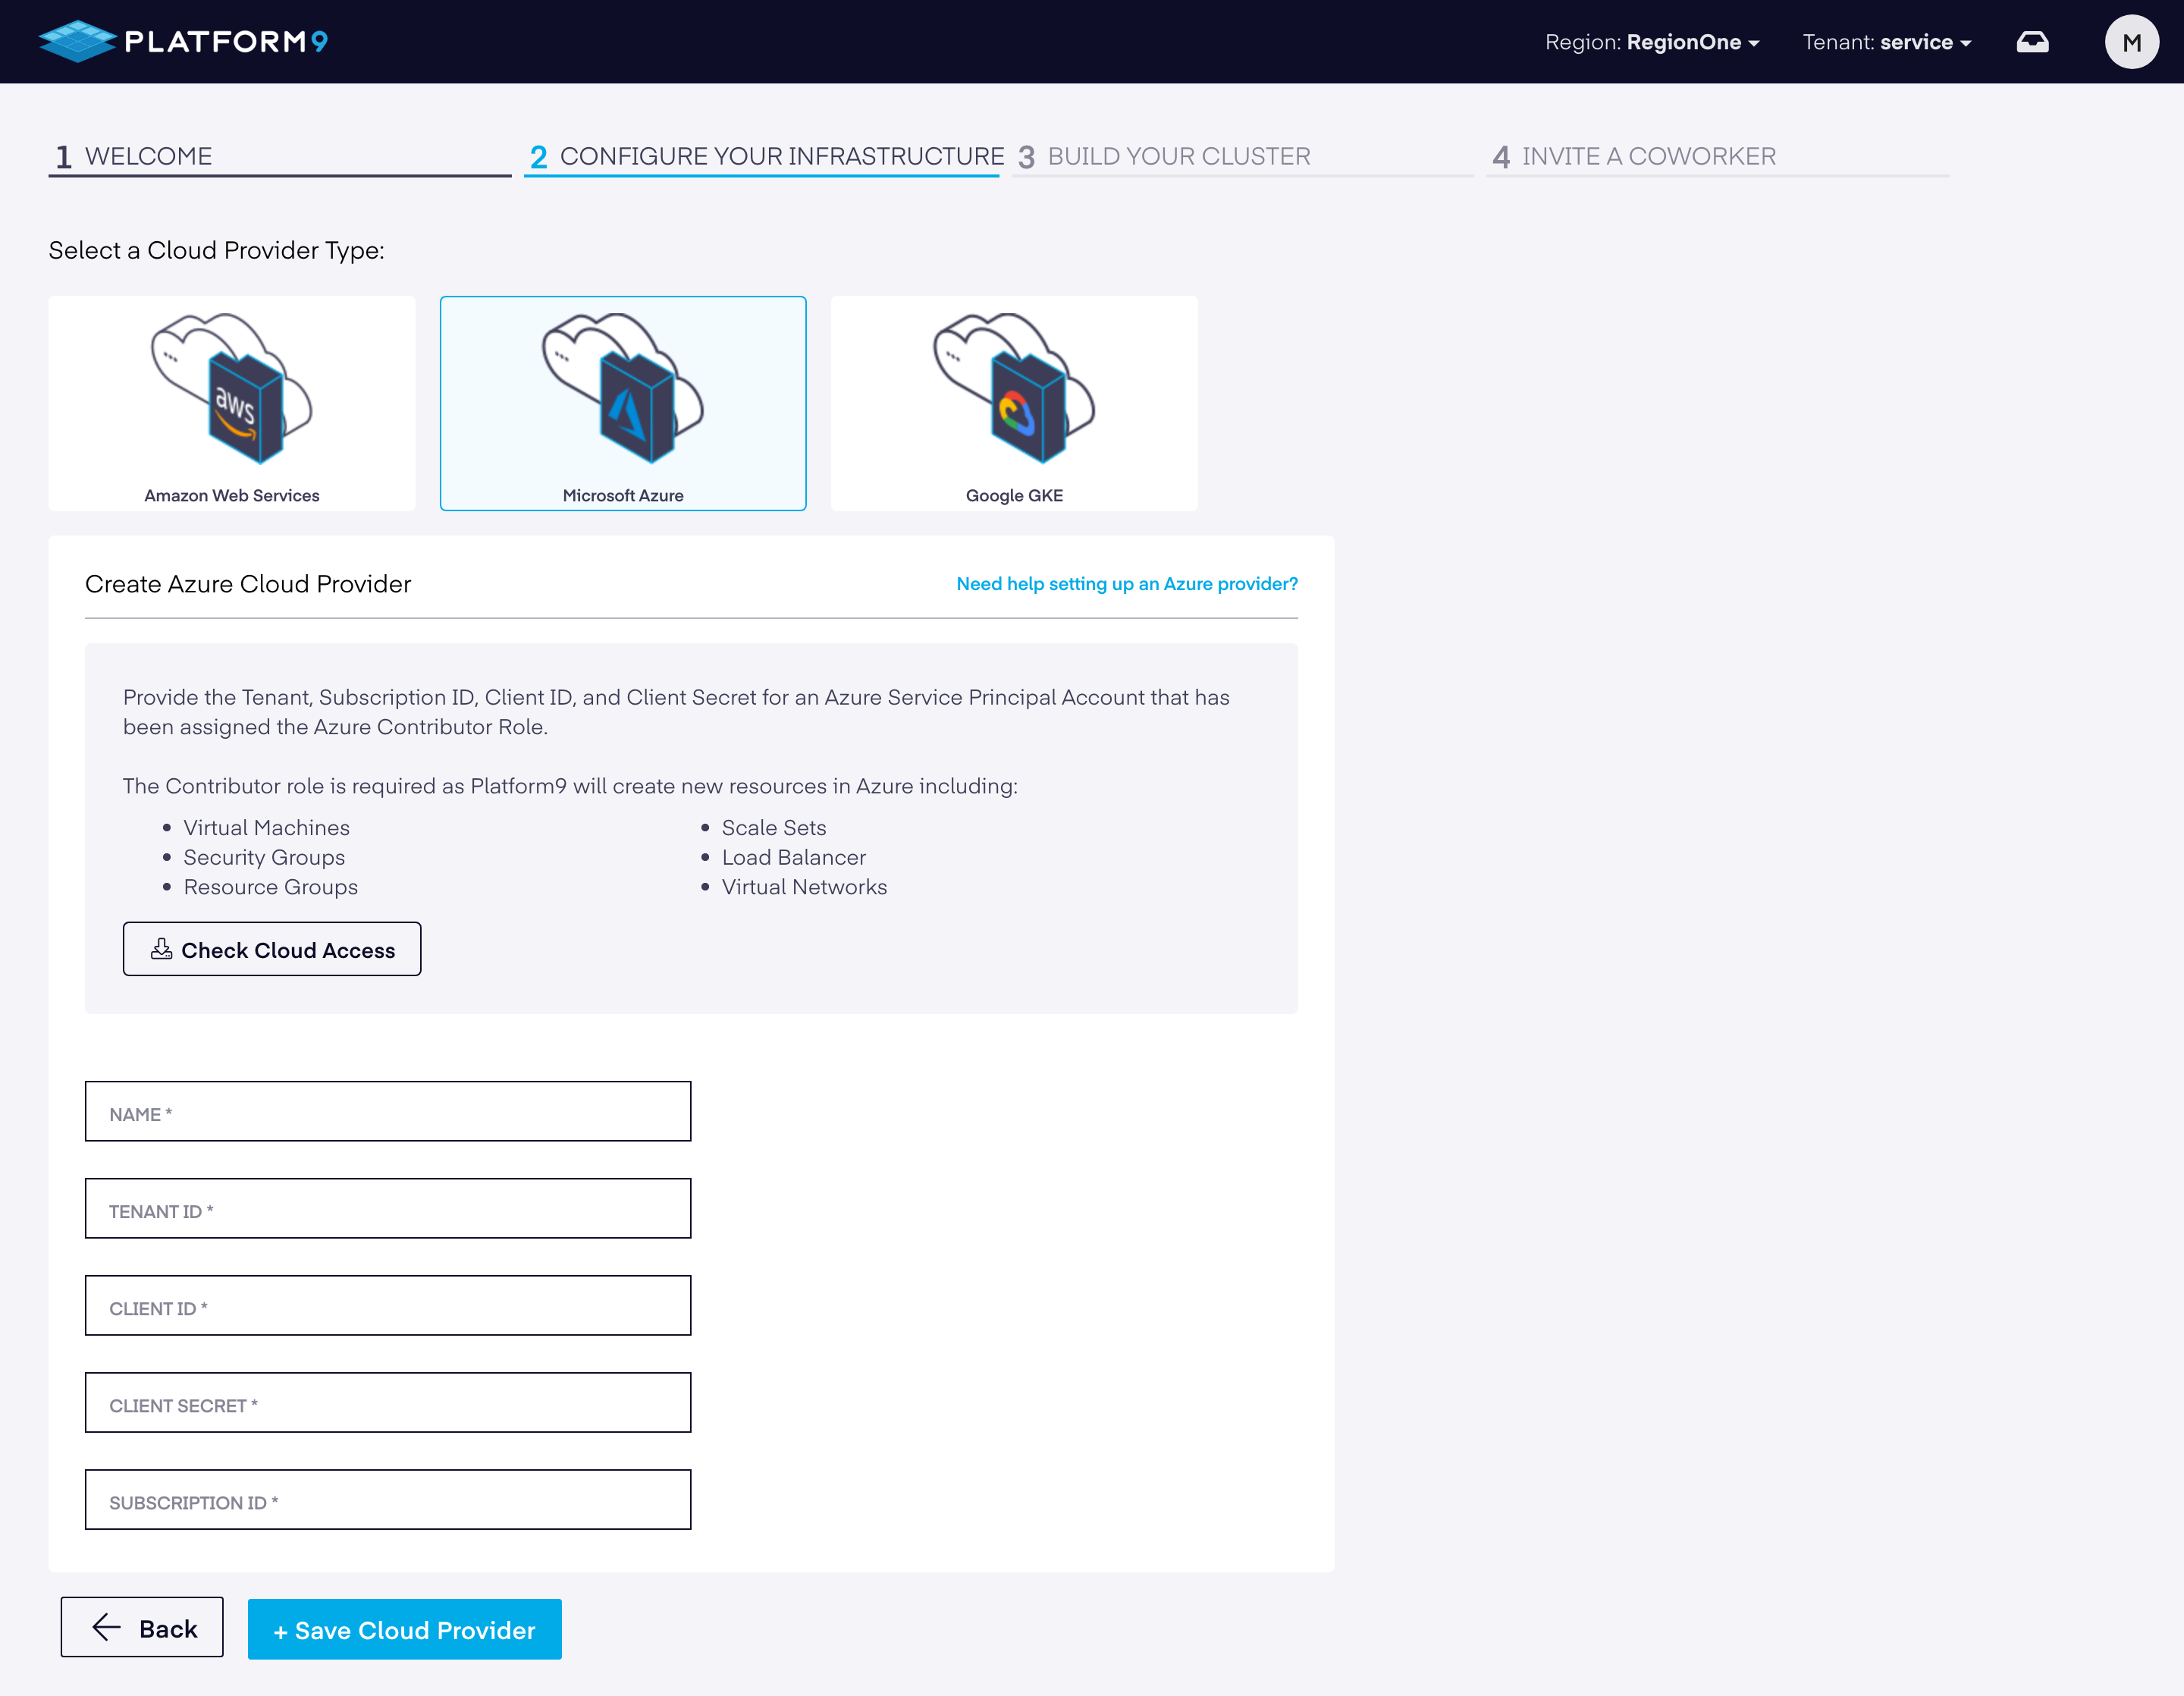
The following items are required to create an Azure Cloud Provider:
| Field | Description |
|---|---|
| Tenant ID | Tenant ID of the service principal you created for PMK |
| Client ID | Client ID of the service principal you created for PMK |
| Client Secret | Client secret you created for PMK |
| Subscription ID | ID of the subscription that correlates to the service principal |
Prerequisites
Below are the steps to get the required credentials for your Azure account:
- Create a Service Principal with Contributor Role
- A Service Principal in Azure is an identity for an external application to use to programmatically access Azure resources.
Create a new Service Principal in your Azure account that is associated to the Subscription ID you intend to use, and assign the Service Principal the Contributor role.
The Contributor role is required as Platform9 will create new resources in Azure, including:
- Virtual Machines
- Security Groups
- Resource Groups
- Virtual Networks
- Scale Sets
- Load Balancer
The service principal that was used to create the Cloud Provider must have access to the AKS Cluster as an Azure Kubernetes Service Cluster Admin Role.
For help creating a Service Principal and assigning the correct role, refer to the Microsoft Azure documentation: Create a Service Principal.
- Obtain the Tenant and Client IDs for the Service Principal You will need to supply the Tenant and Client IDs of the Service Principal so that Platform9 can make programmatic sign-in requests to your Azure account.
How to find Tenant and Client IDs
- Create a new Client Secret Authentication to Azure requires a unique Secret, to generate a new secrete follow the Azure documentation for how to create a new client secret.
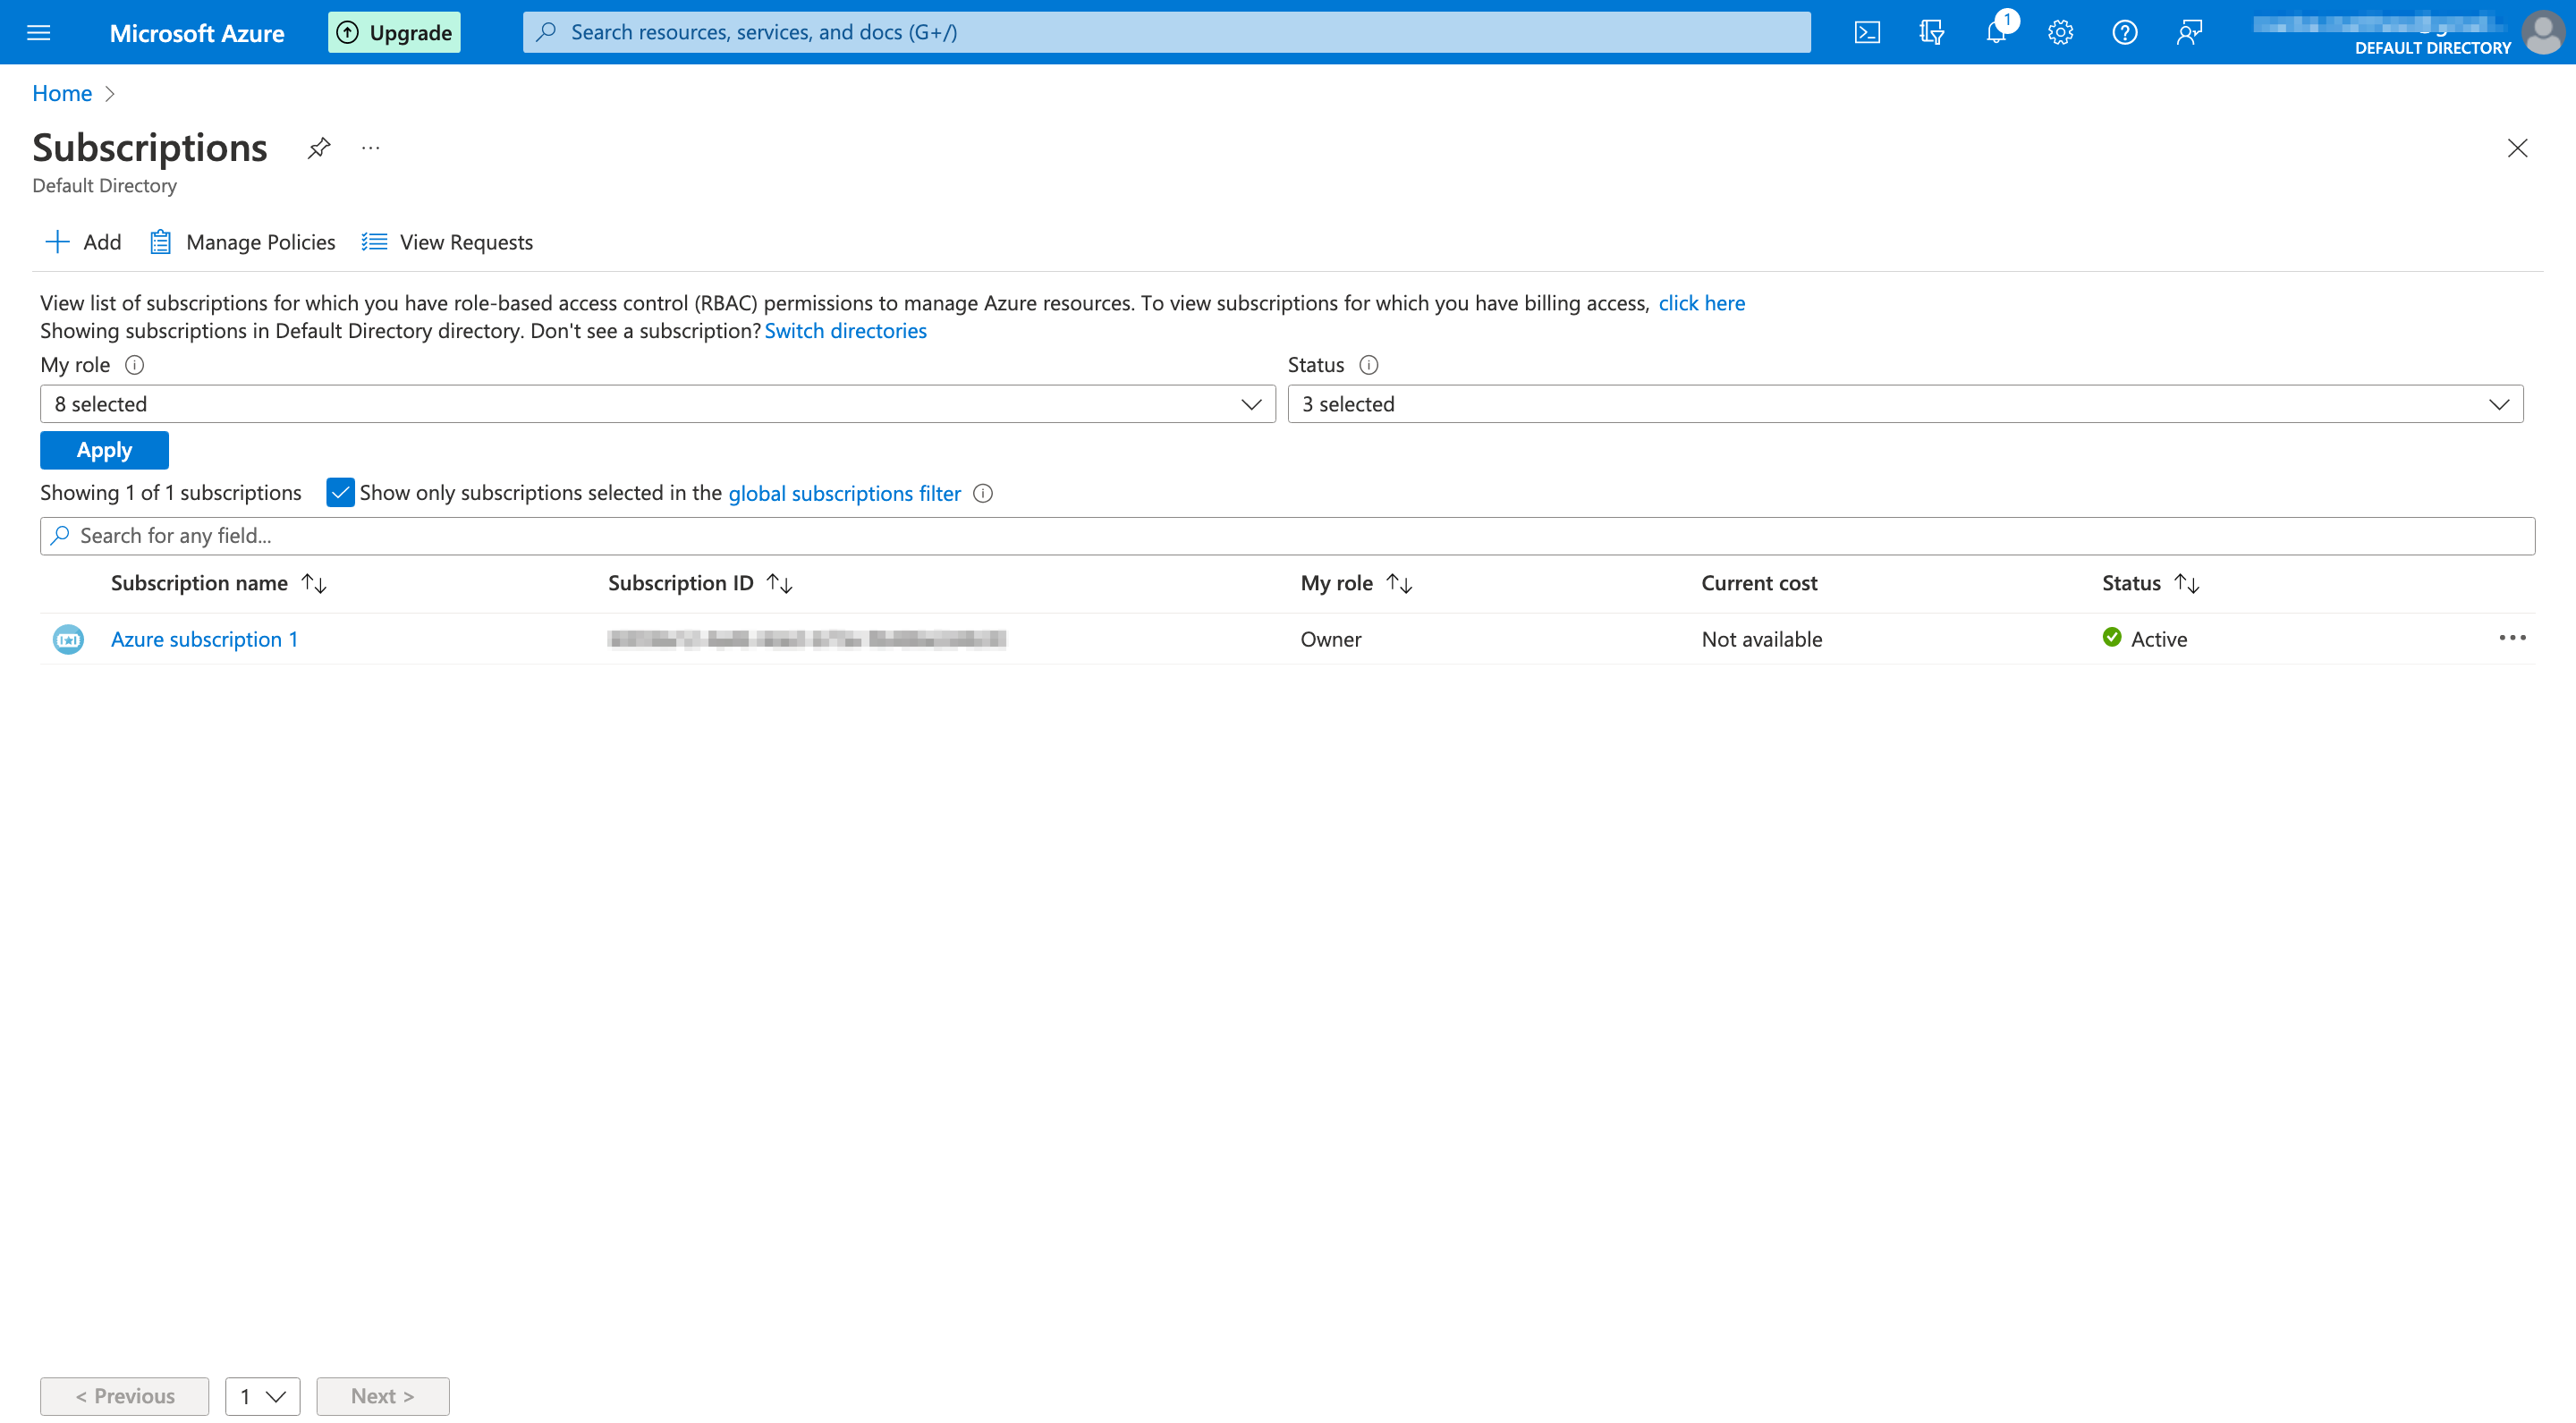
- Get your Azure Subscription ID, The Subscription ID is a GUID that uniquely identifies your Azure subscription. Follow the steps below to find your Subscription ID
- Log on to the Azure portal.
- In the left navigation panel, click Subscriptions.
- The list of your subscriptions is displayed along with the subscription ID.
Ensure that the Service Principal belongs to the Subscription ID you plan to use in Platform9. A mismatch between the Subscription ID and the Service Principal will result in a failure to execute API request to your Azure account
Supported Operating Systems
Regardless of what infrastructure or cloud provider you are creating the PMK clusters on, PMK supports the following operating systems for the nodes of those Kubernetes clusters.
- CentOS 7+ (64-bit)
- RHEL 7+ (64-bit)
- Ubuntu LTS 18.04 (64-bit)
- Ubuntu LTS 20.04 (64-bit)
Create Service Principal
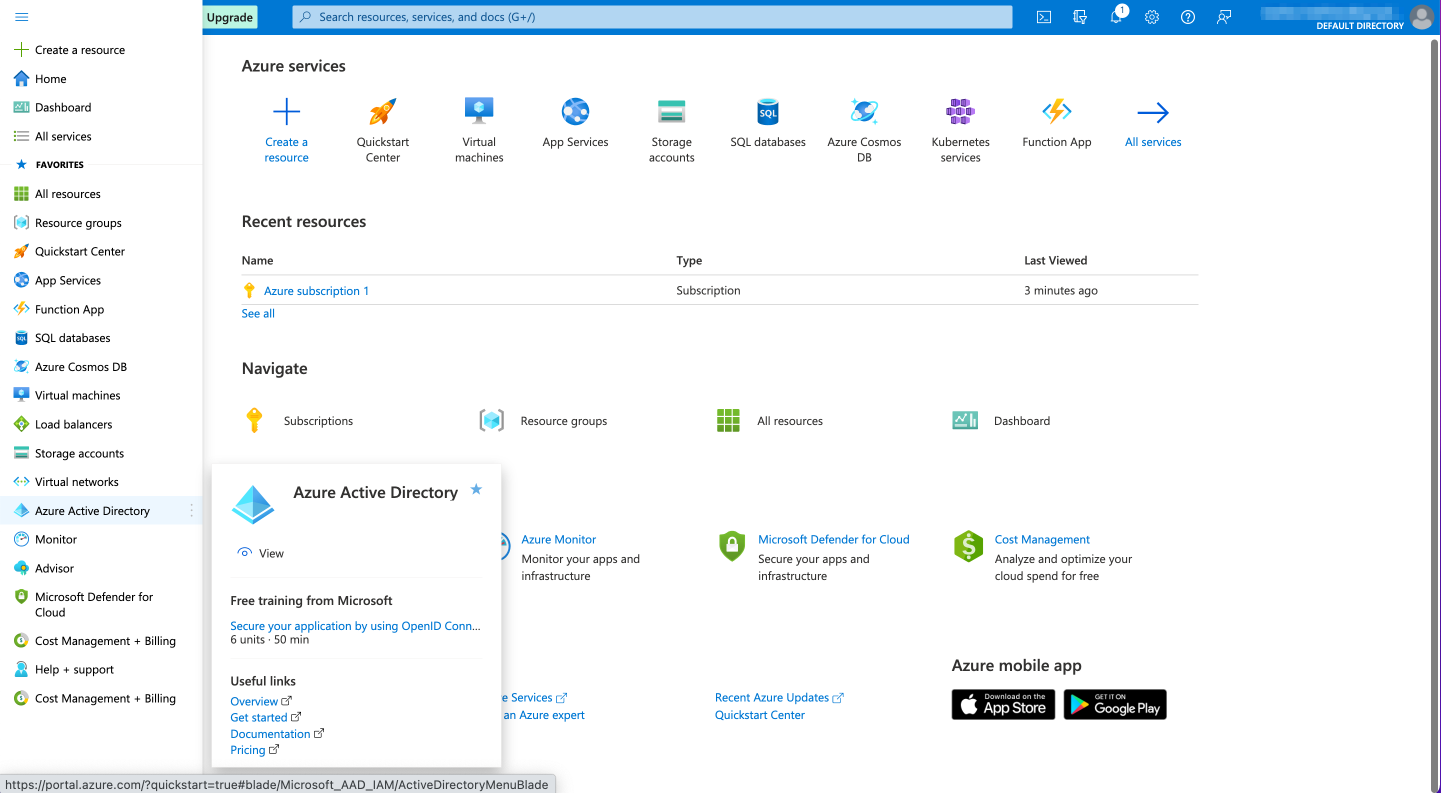
- Login to the Azure Portal, and select "Azure Active Directory" from the dropdown at the top lefthand side of the page.
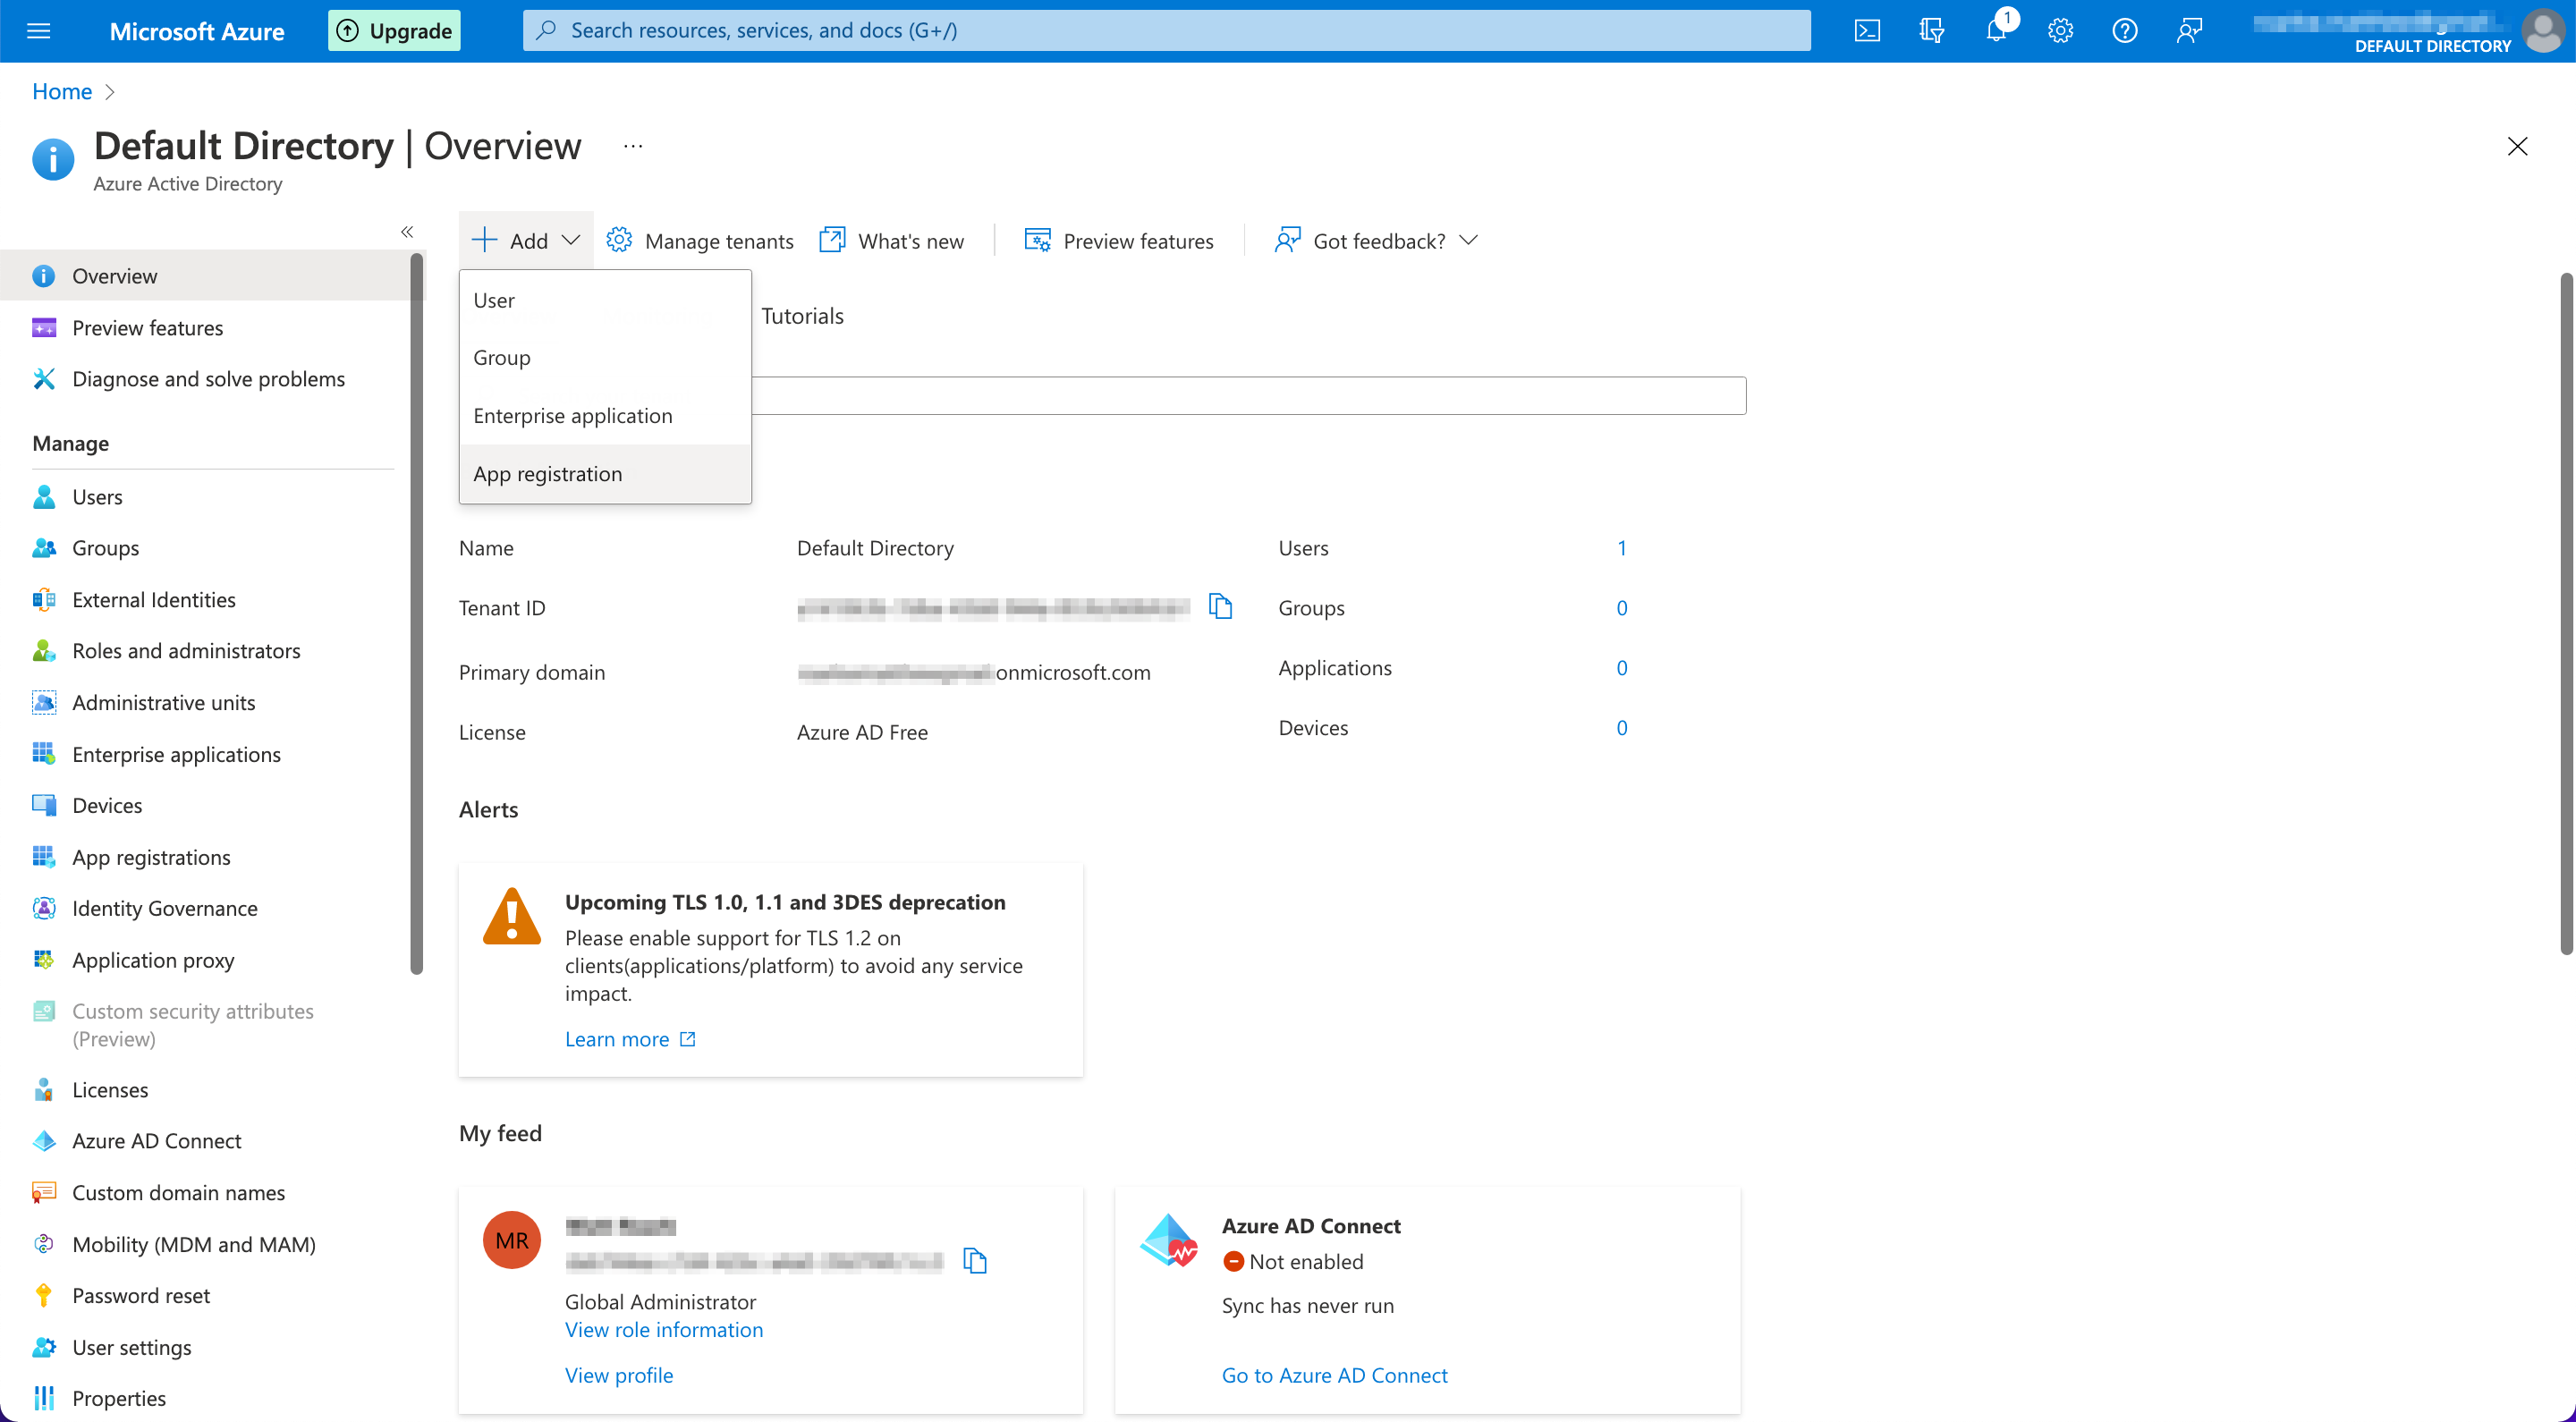
- From the "Default Directory" overview page, click on "+ Add", and select "App registration".
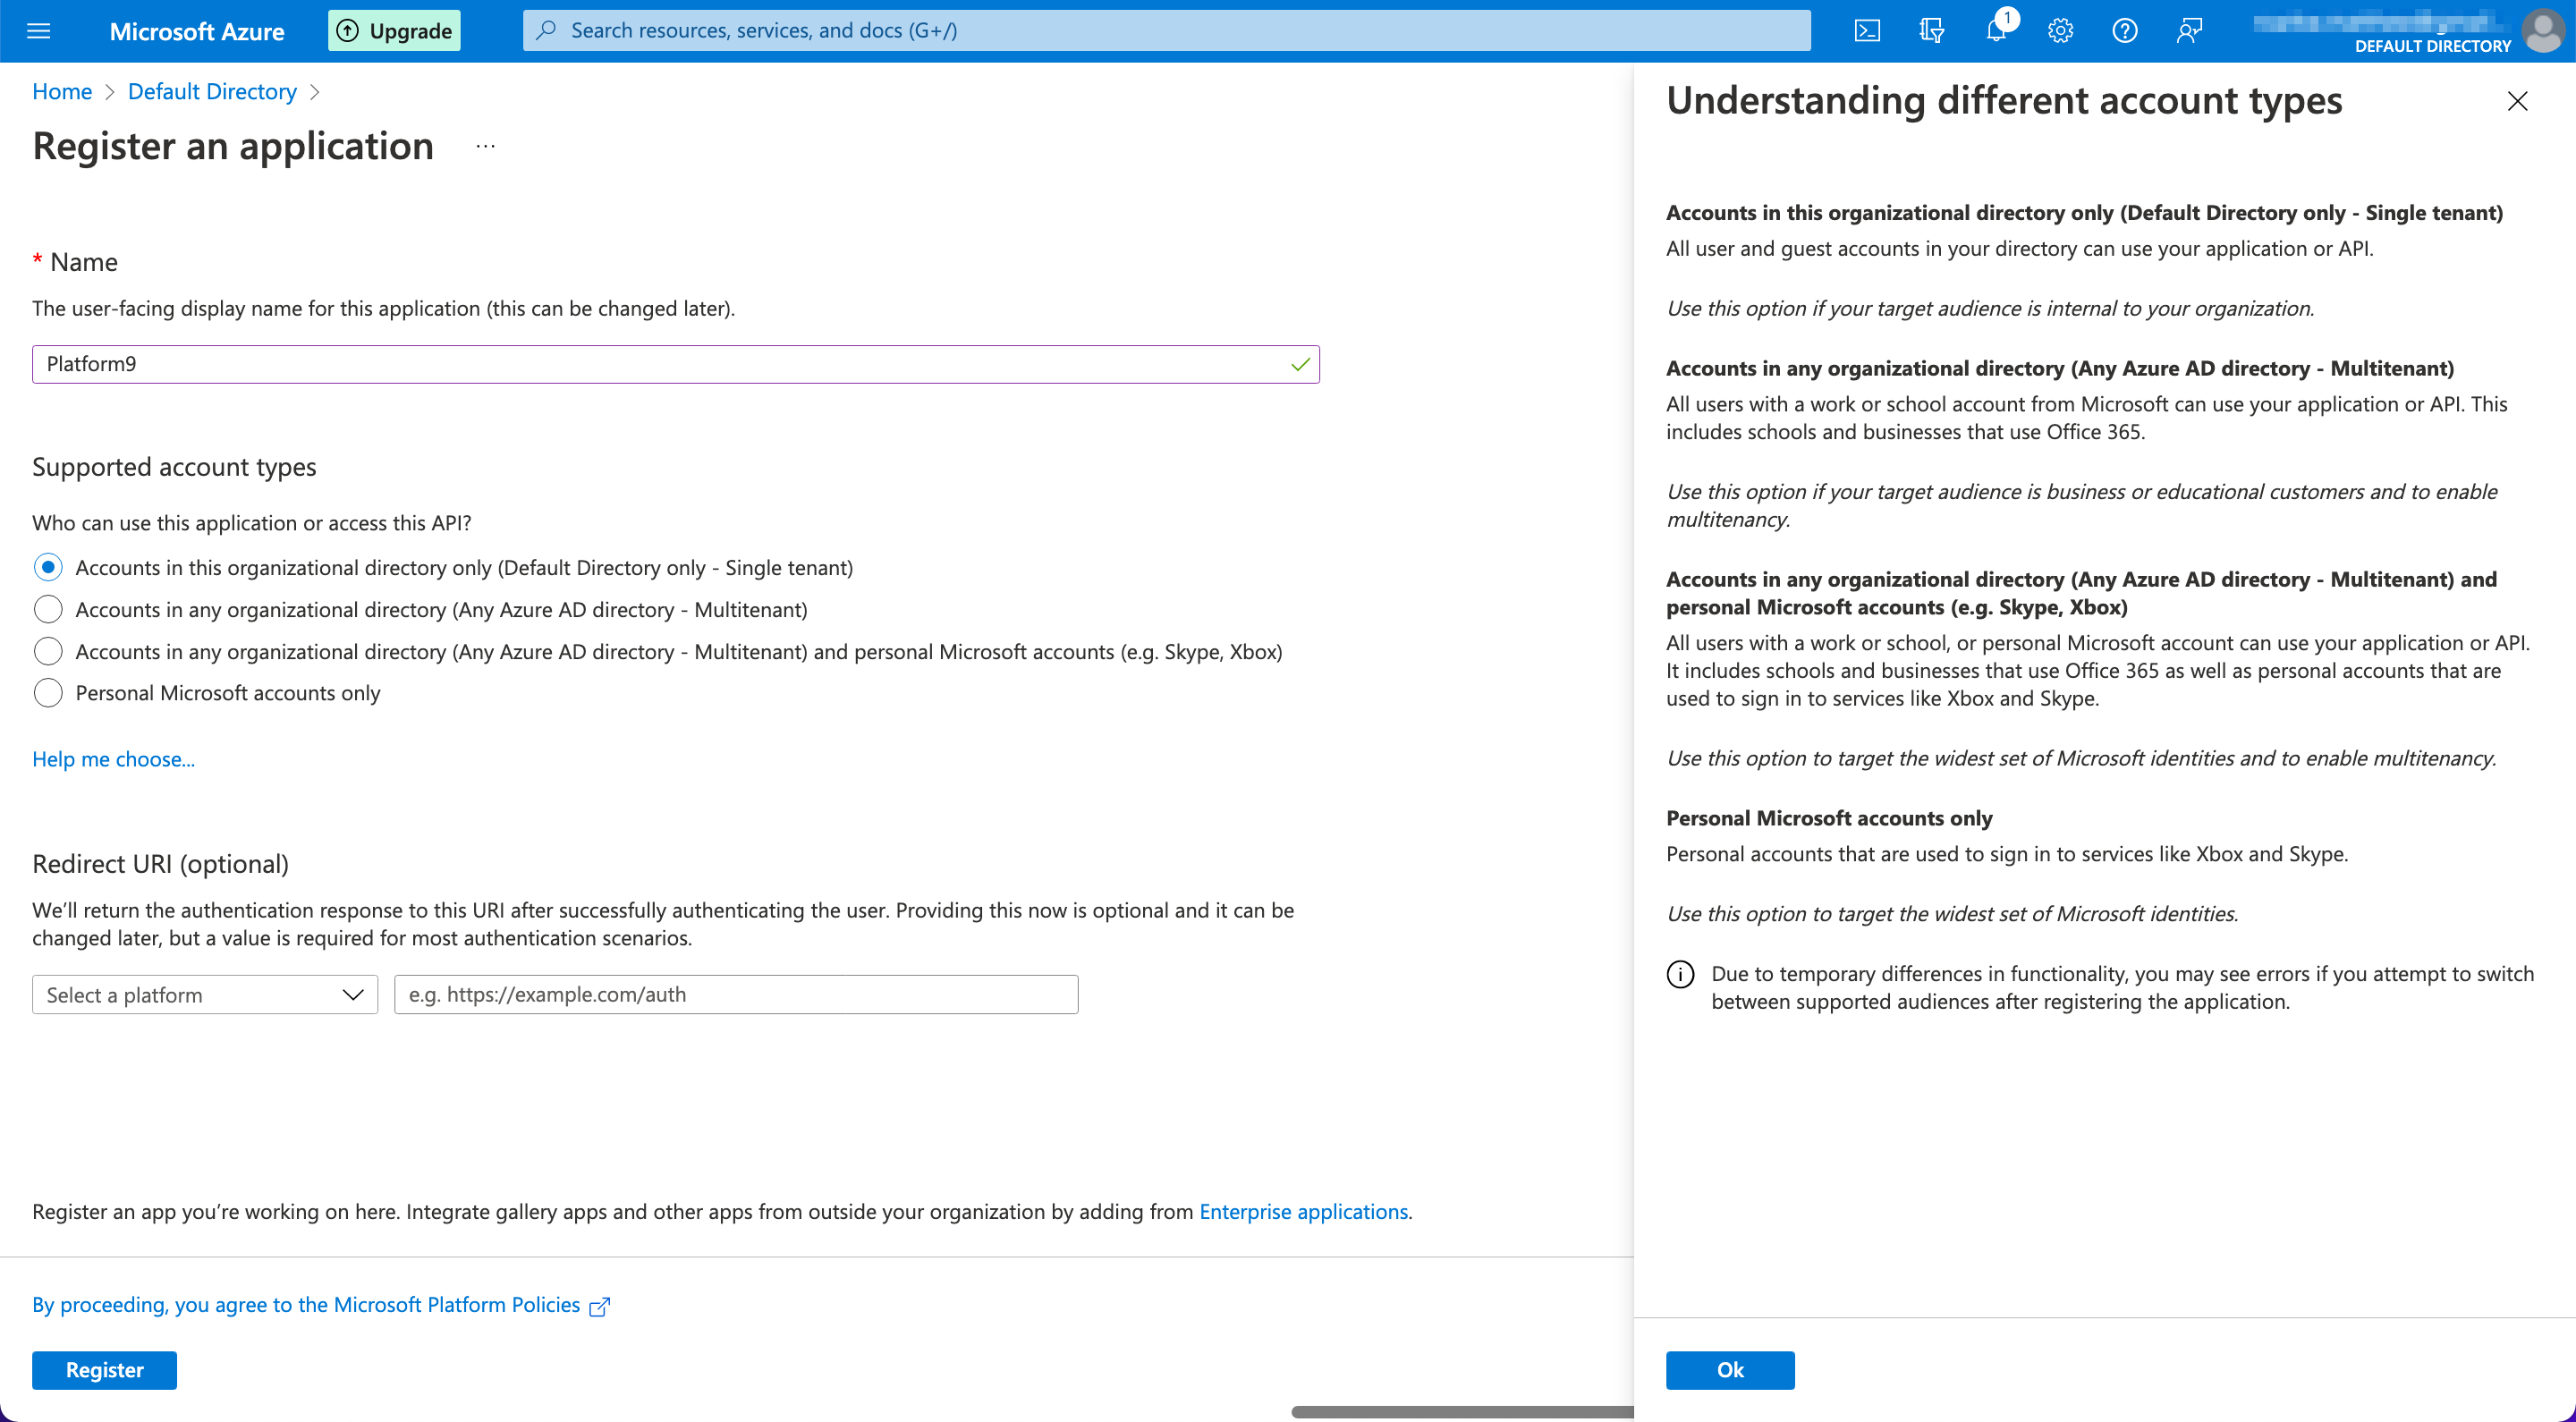
- From the "Register an application" page, enter the following information and make the following selections.
| Field | Description | Suggested Value |
|---|---|---|
| Name | The user-facing display name for this application. | Platform9 |
| Supported account types | Who can use this application or access this API? | Default
|
| Redirect URI (optional) | An authentication response is sent to this URI after successfully authenticating the user. | N/A |
The application is successfully created.
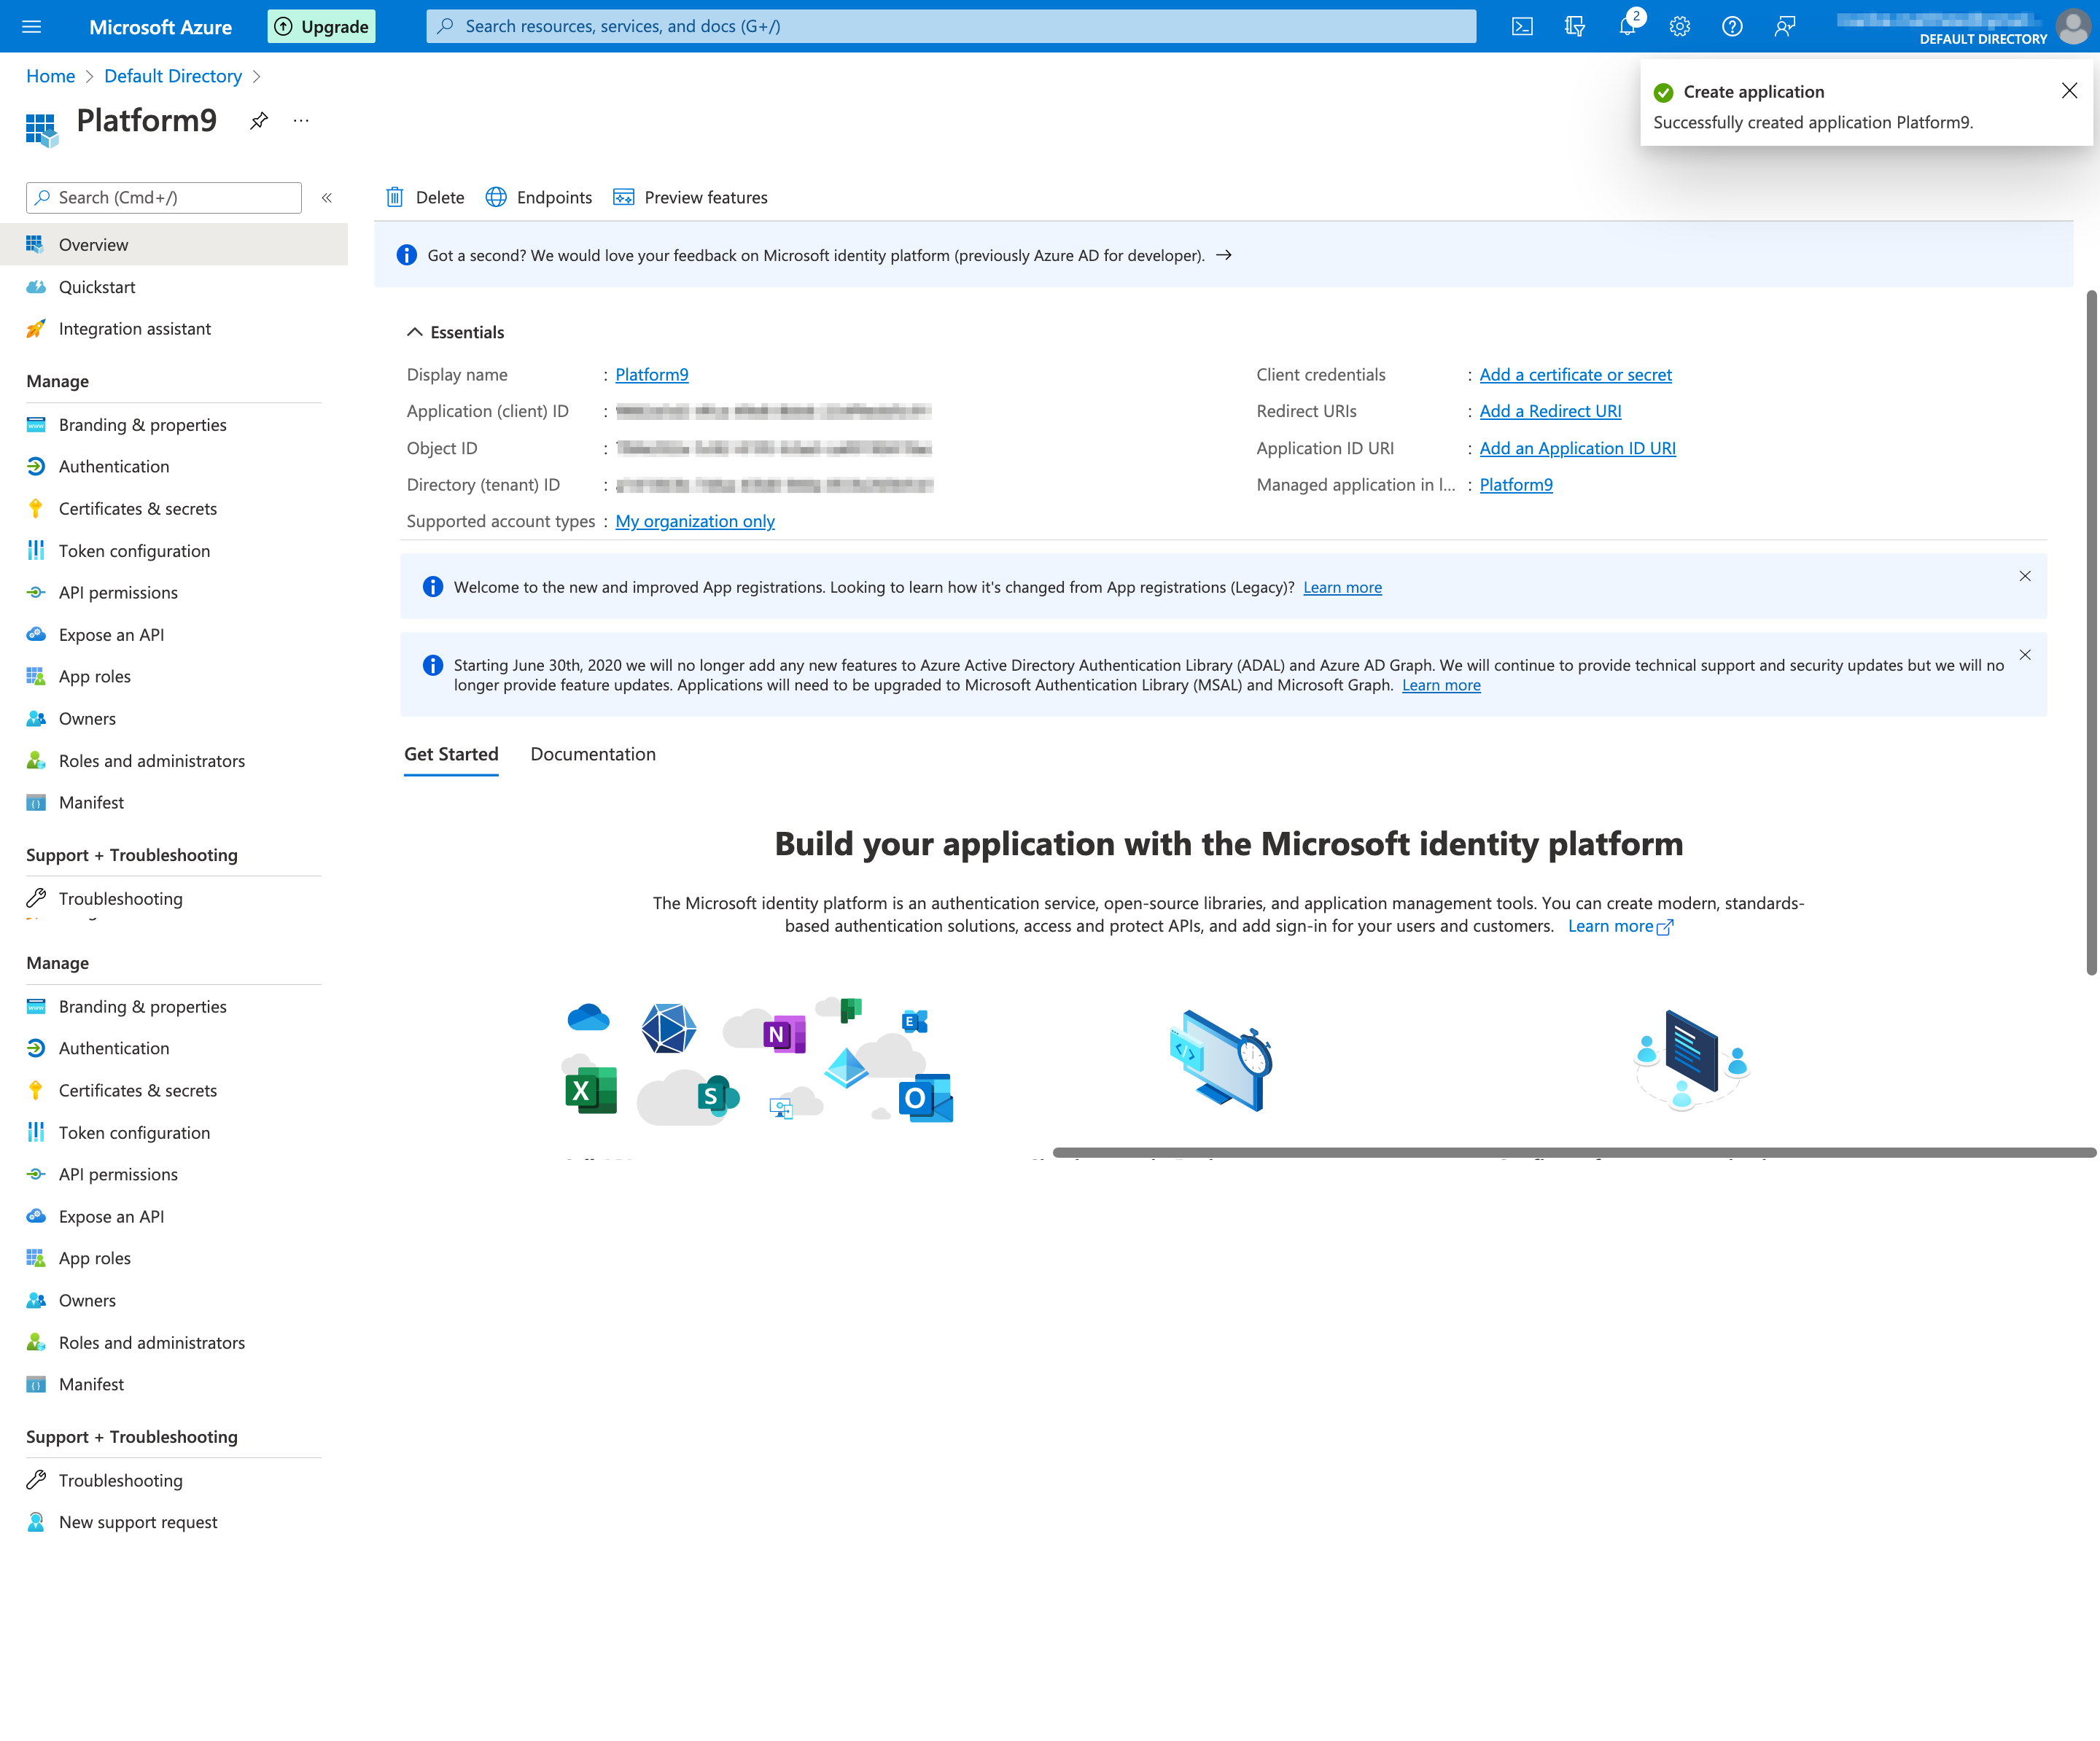
- Click on "Add a certificate or secret" next to "Client credentials" from the Overview page.
- Click on "+ New client secret", fill in the description, and select the expiry time.
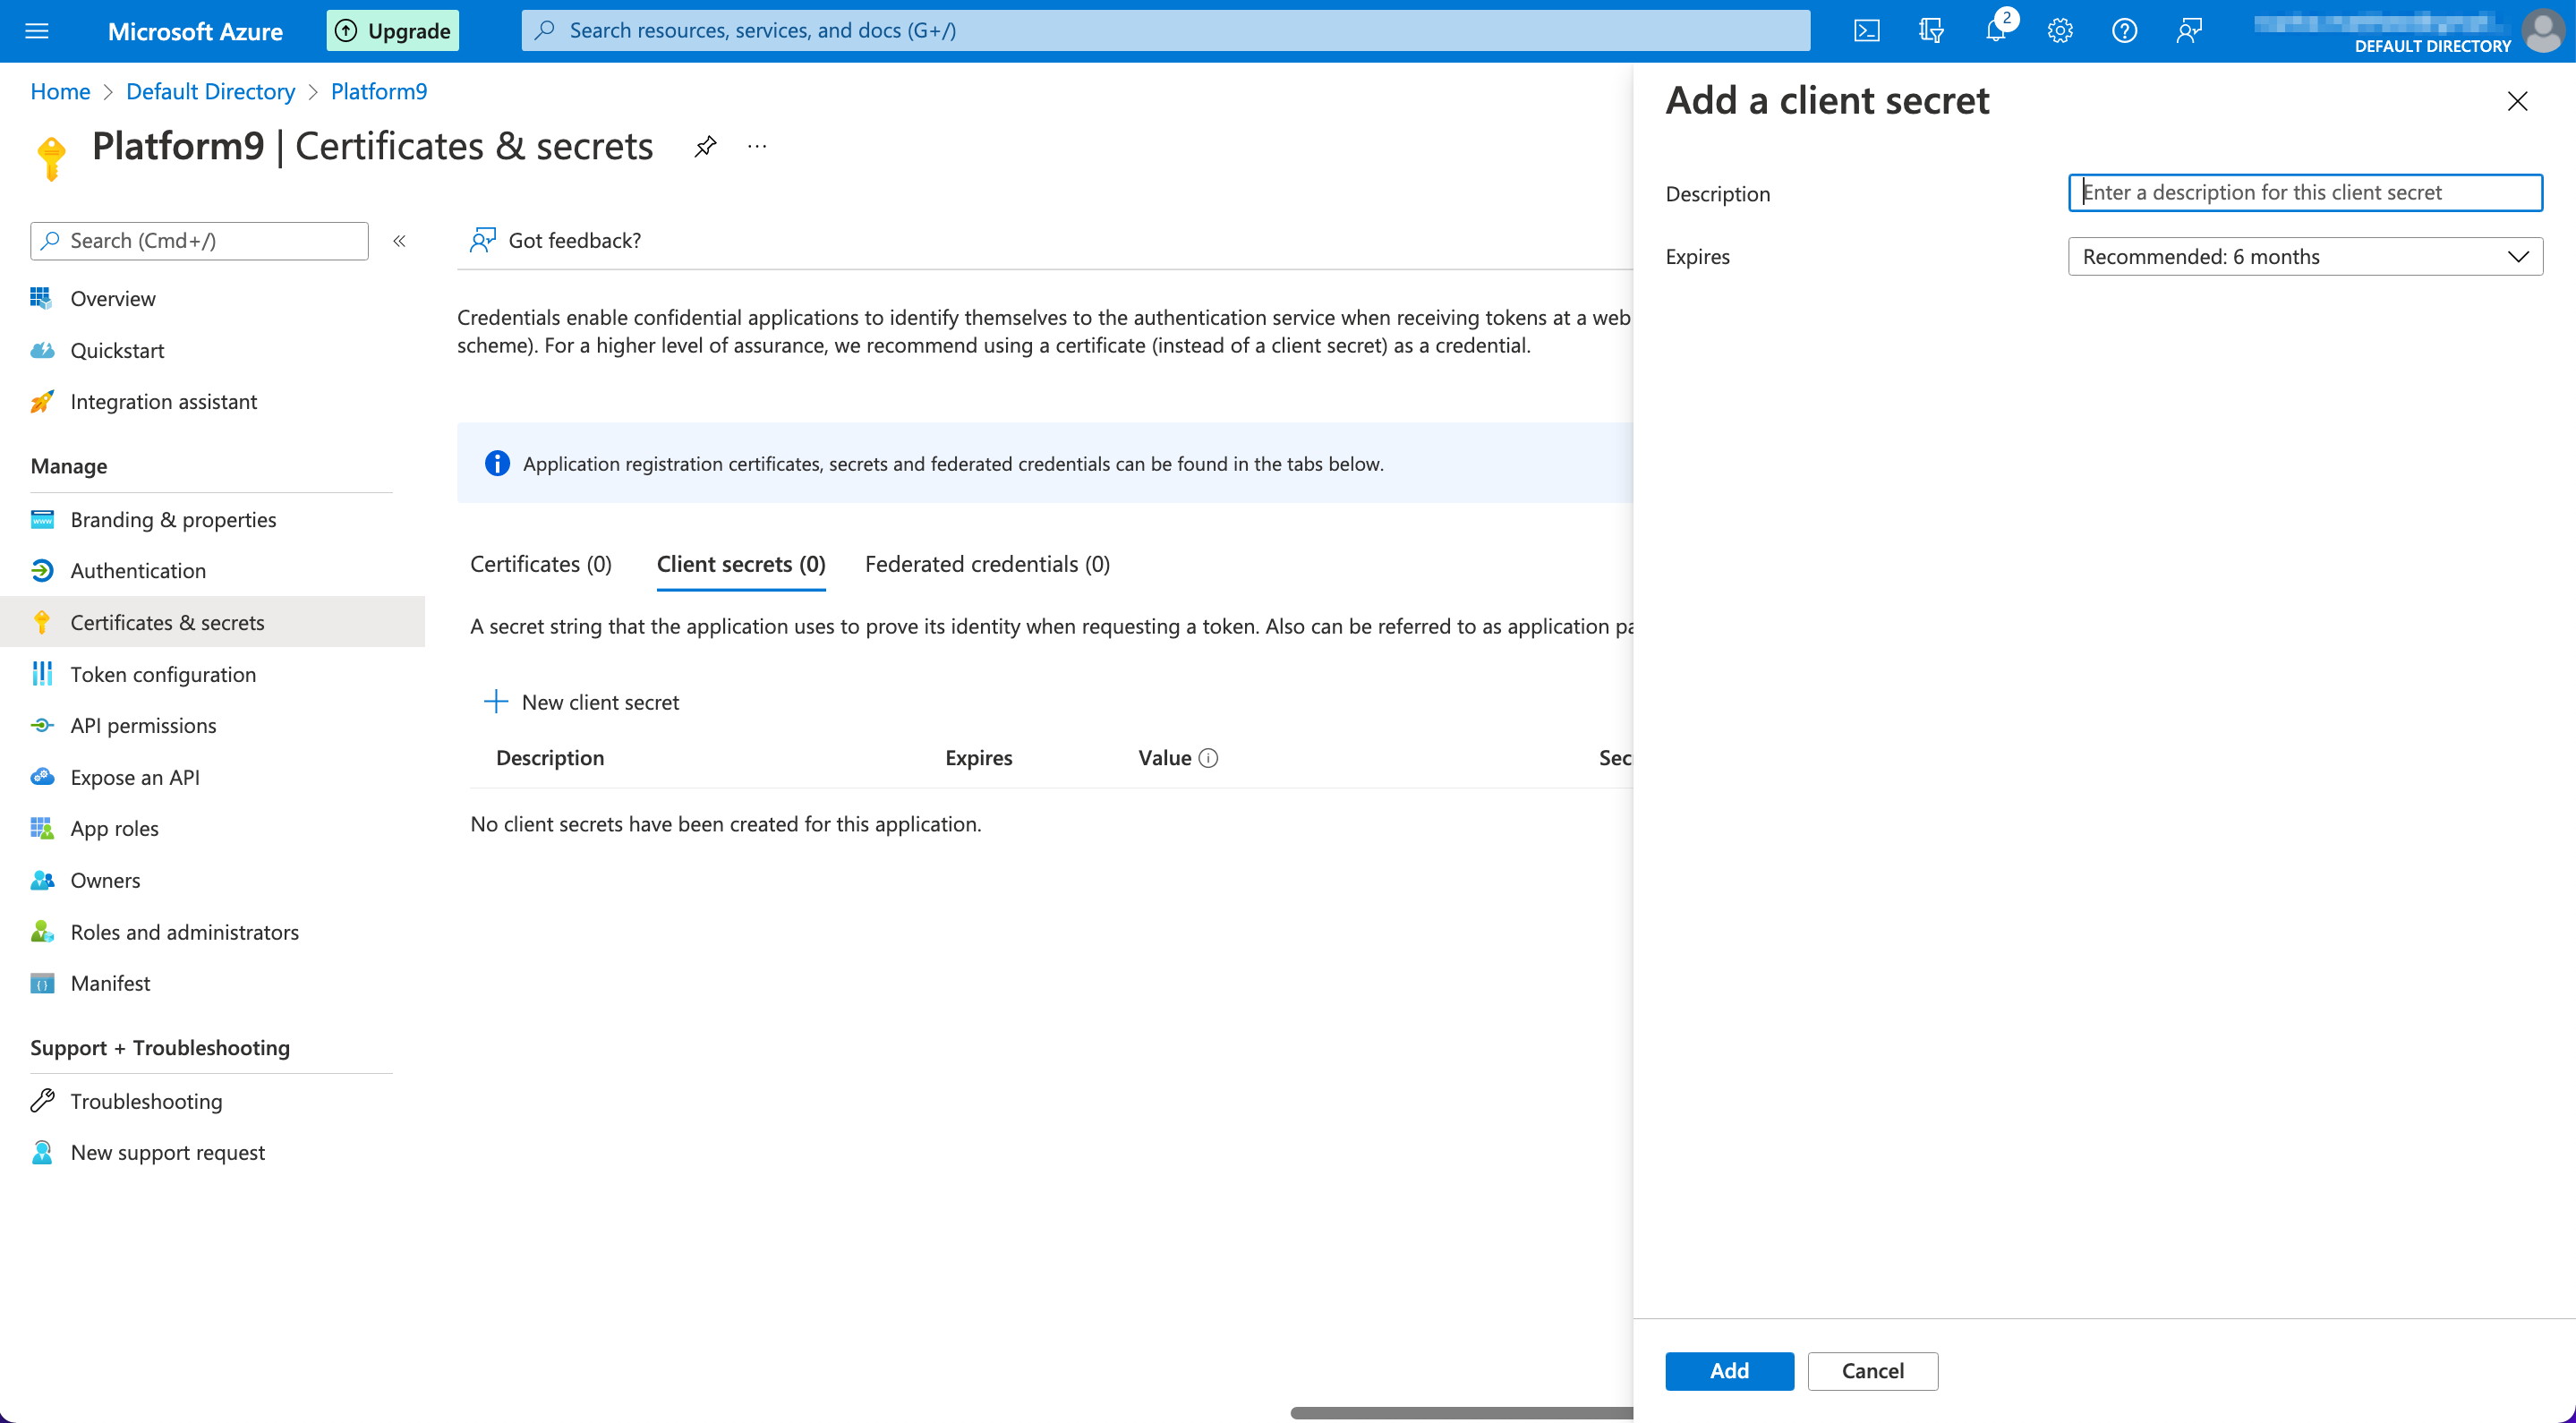
The client secret/credentials are now successfully created.
The values from the Overview page (such as Client and Tenant ID), in combination with the Client secret value created above, may now be entered into the setup via the PMK dashboard. Your Subscription ID may separately be found under the "Subscriptions" page of the Azure Portal.
Assign App Role
- From the Azure Home page, click on "Subscriptions".
- Select the name of your subscription.
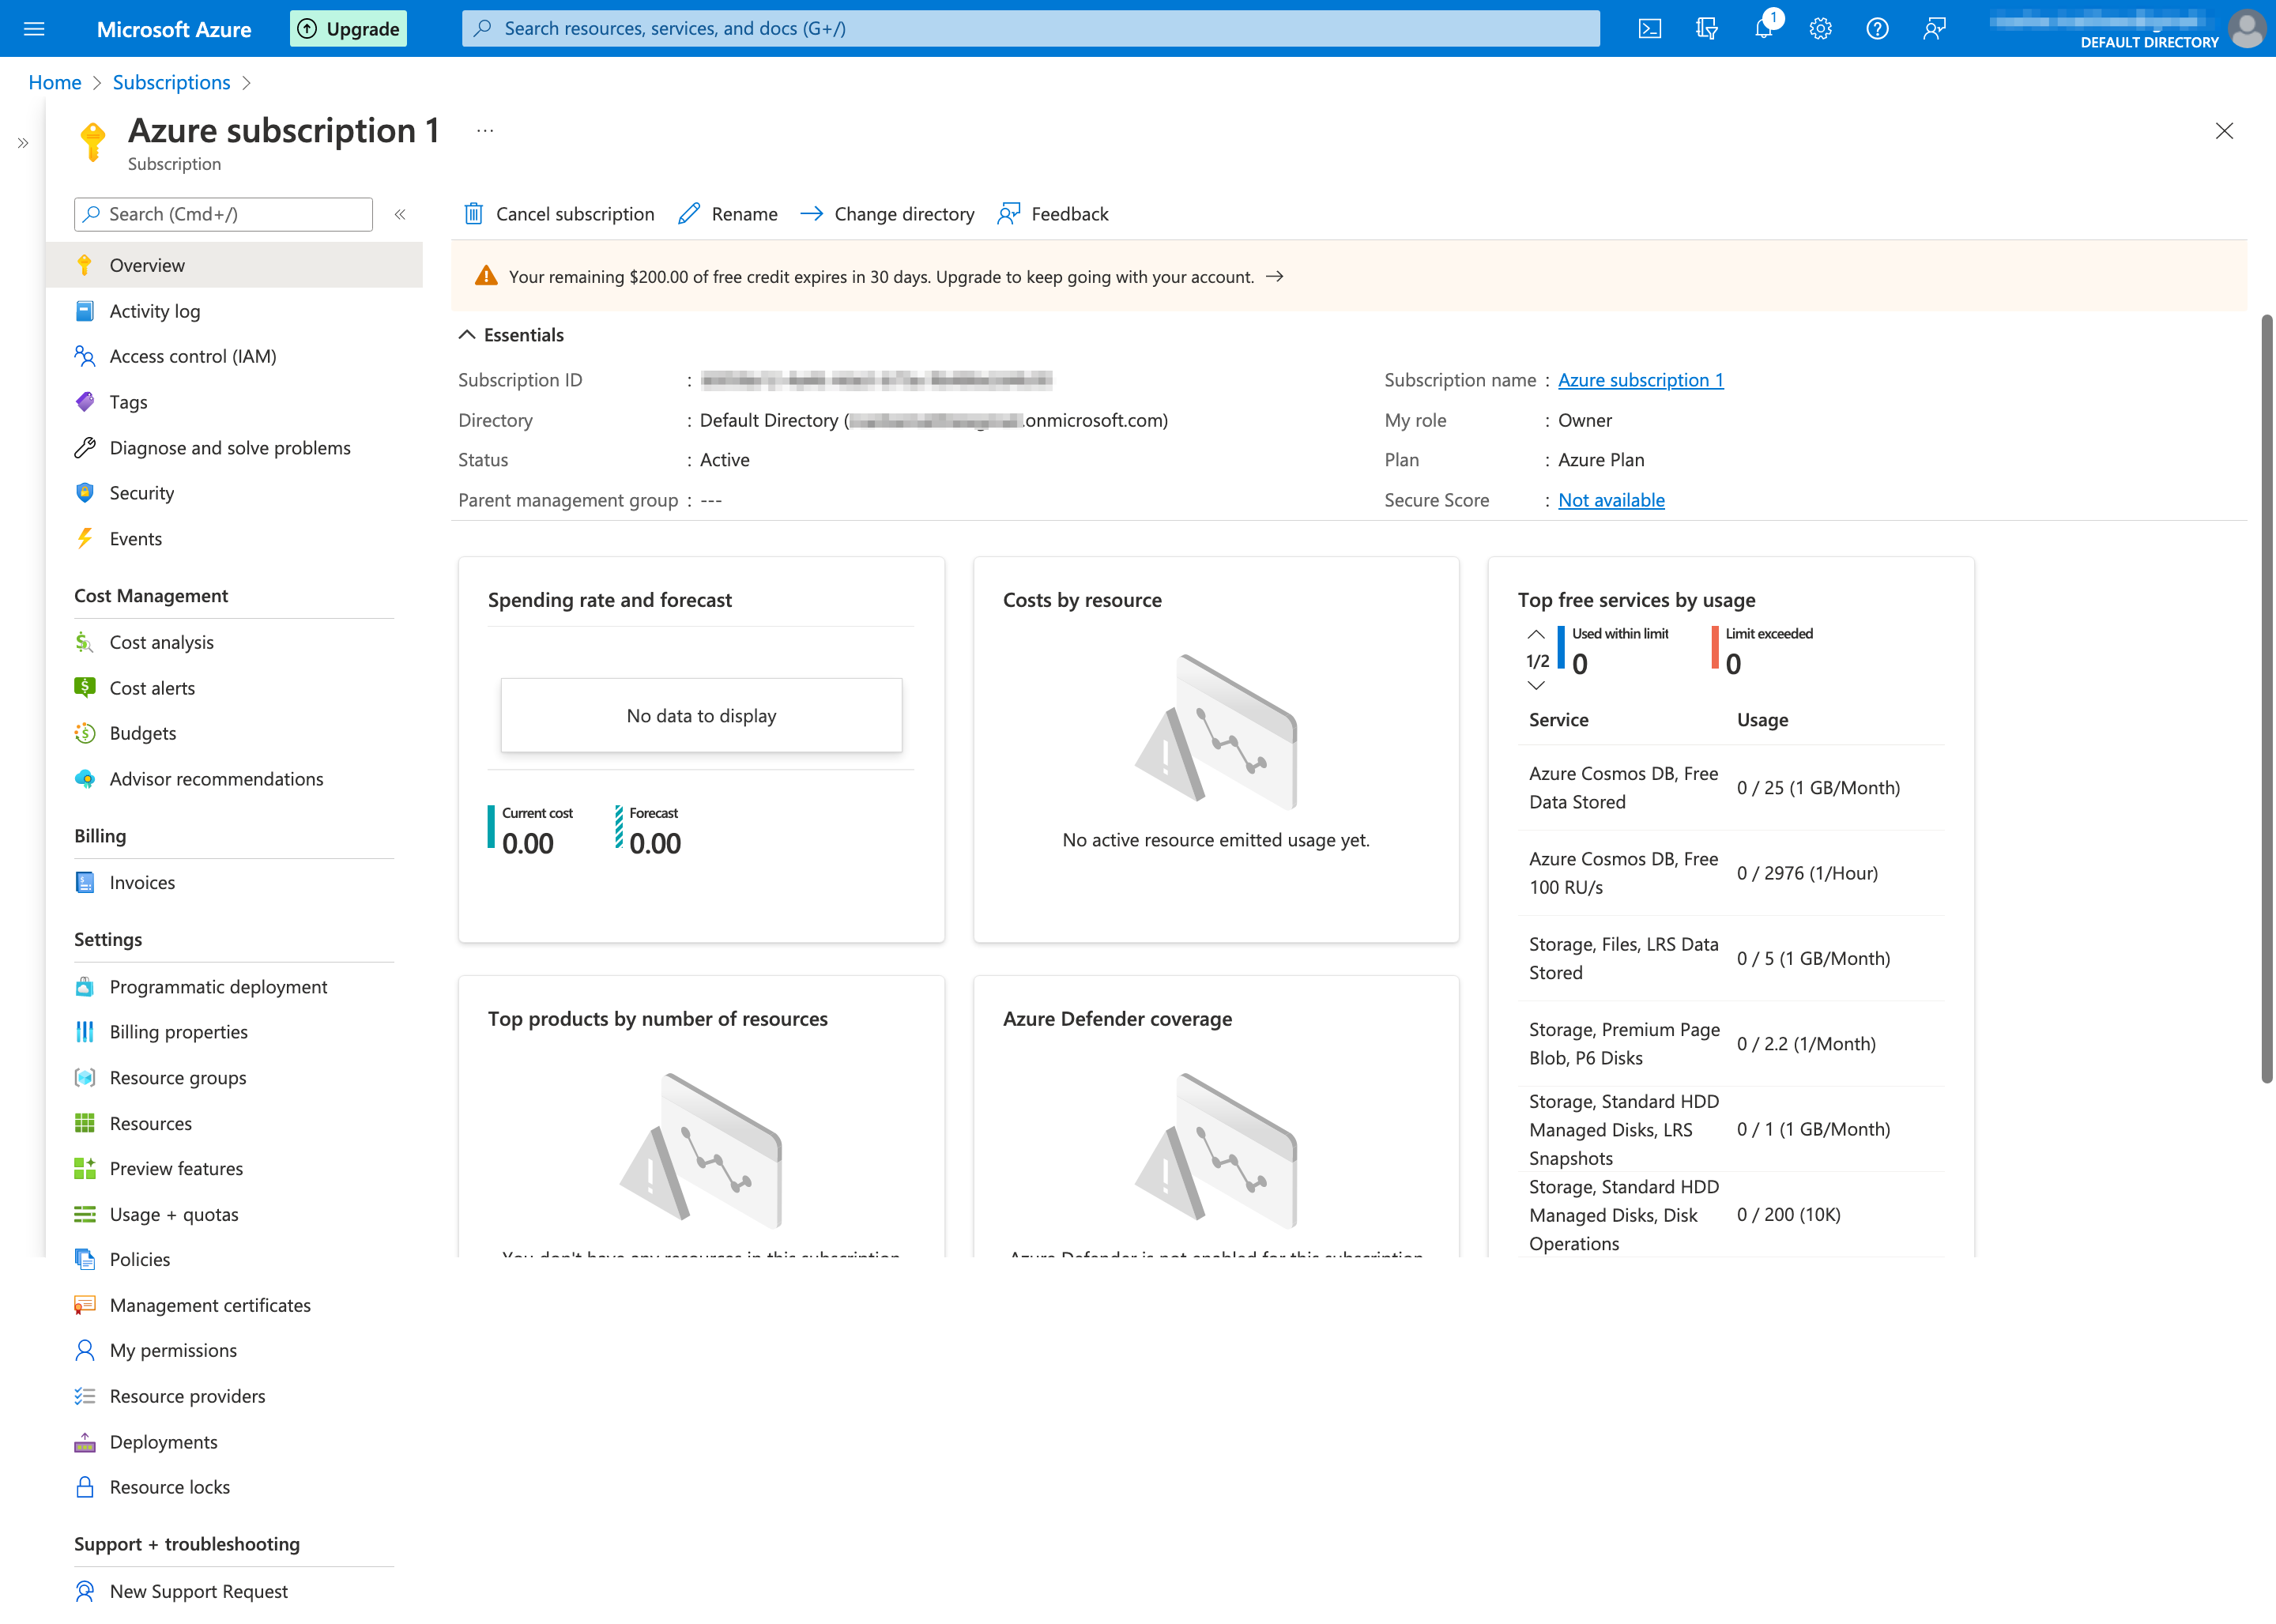
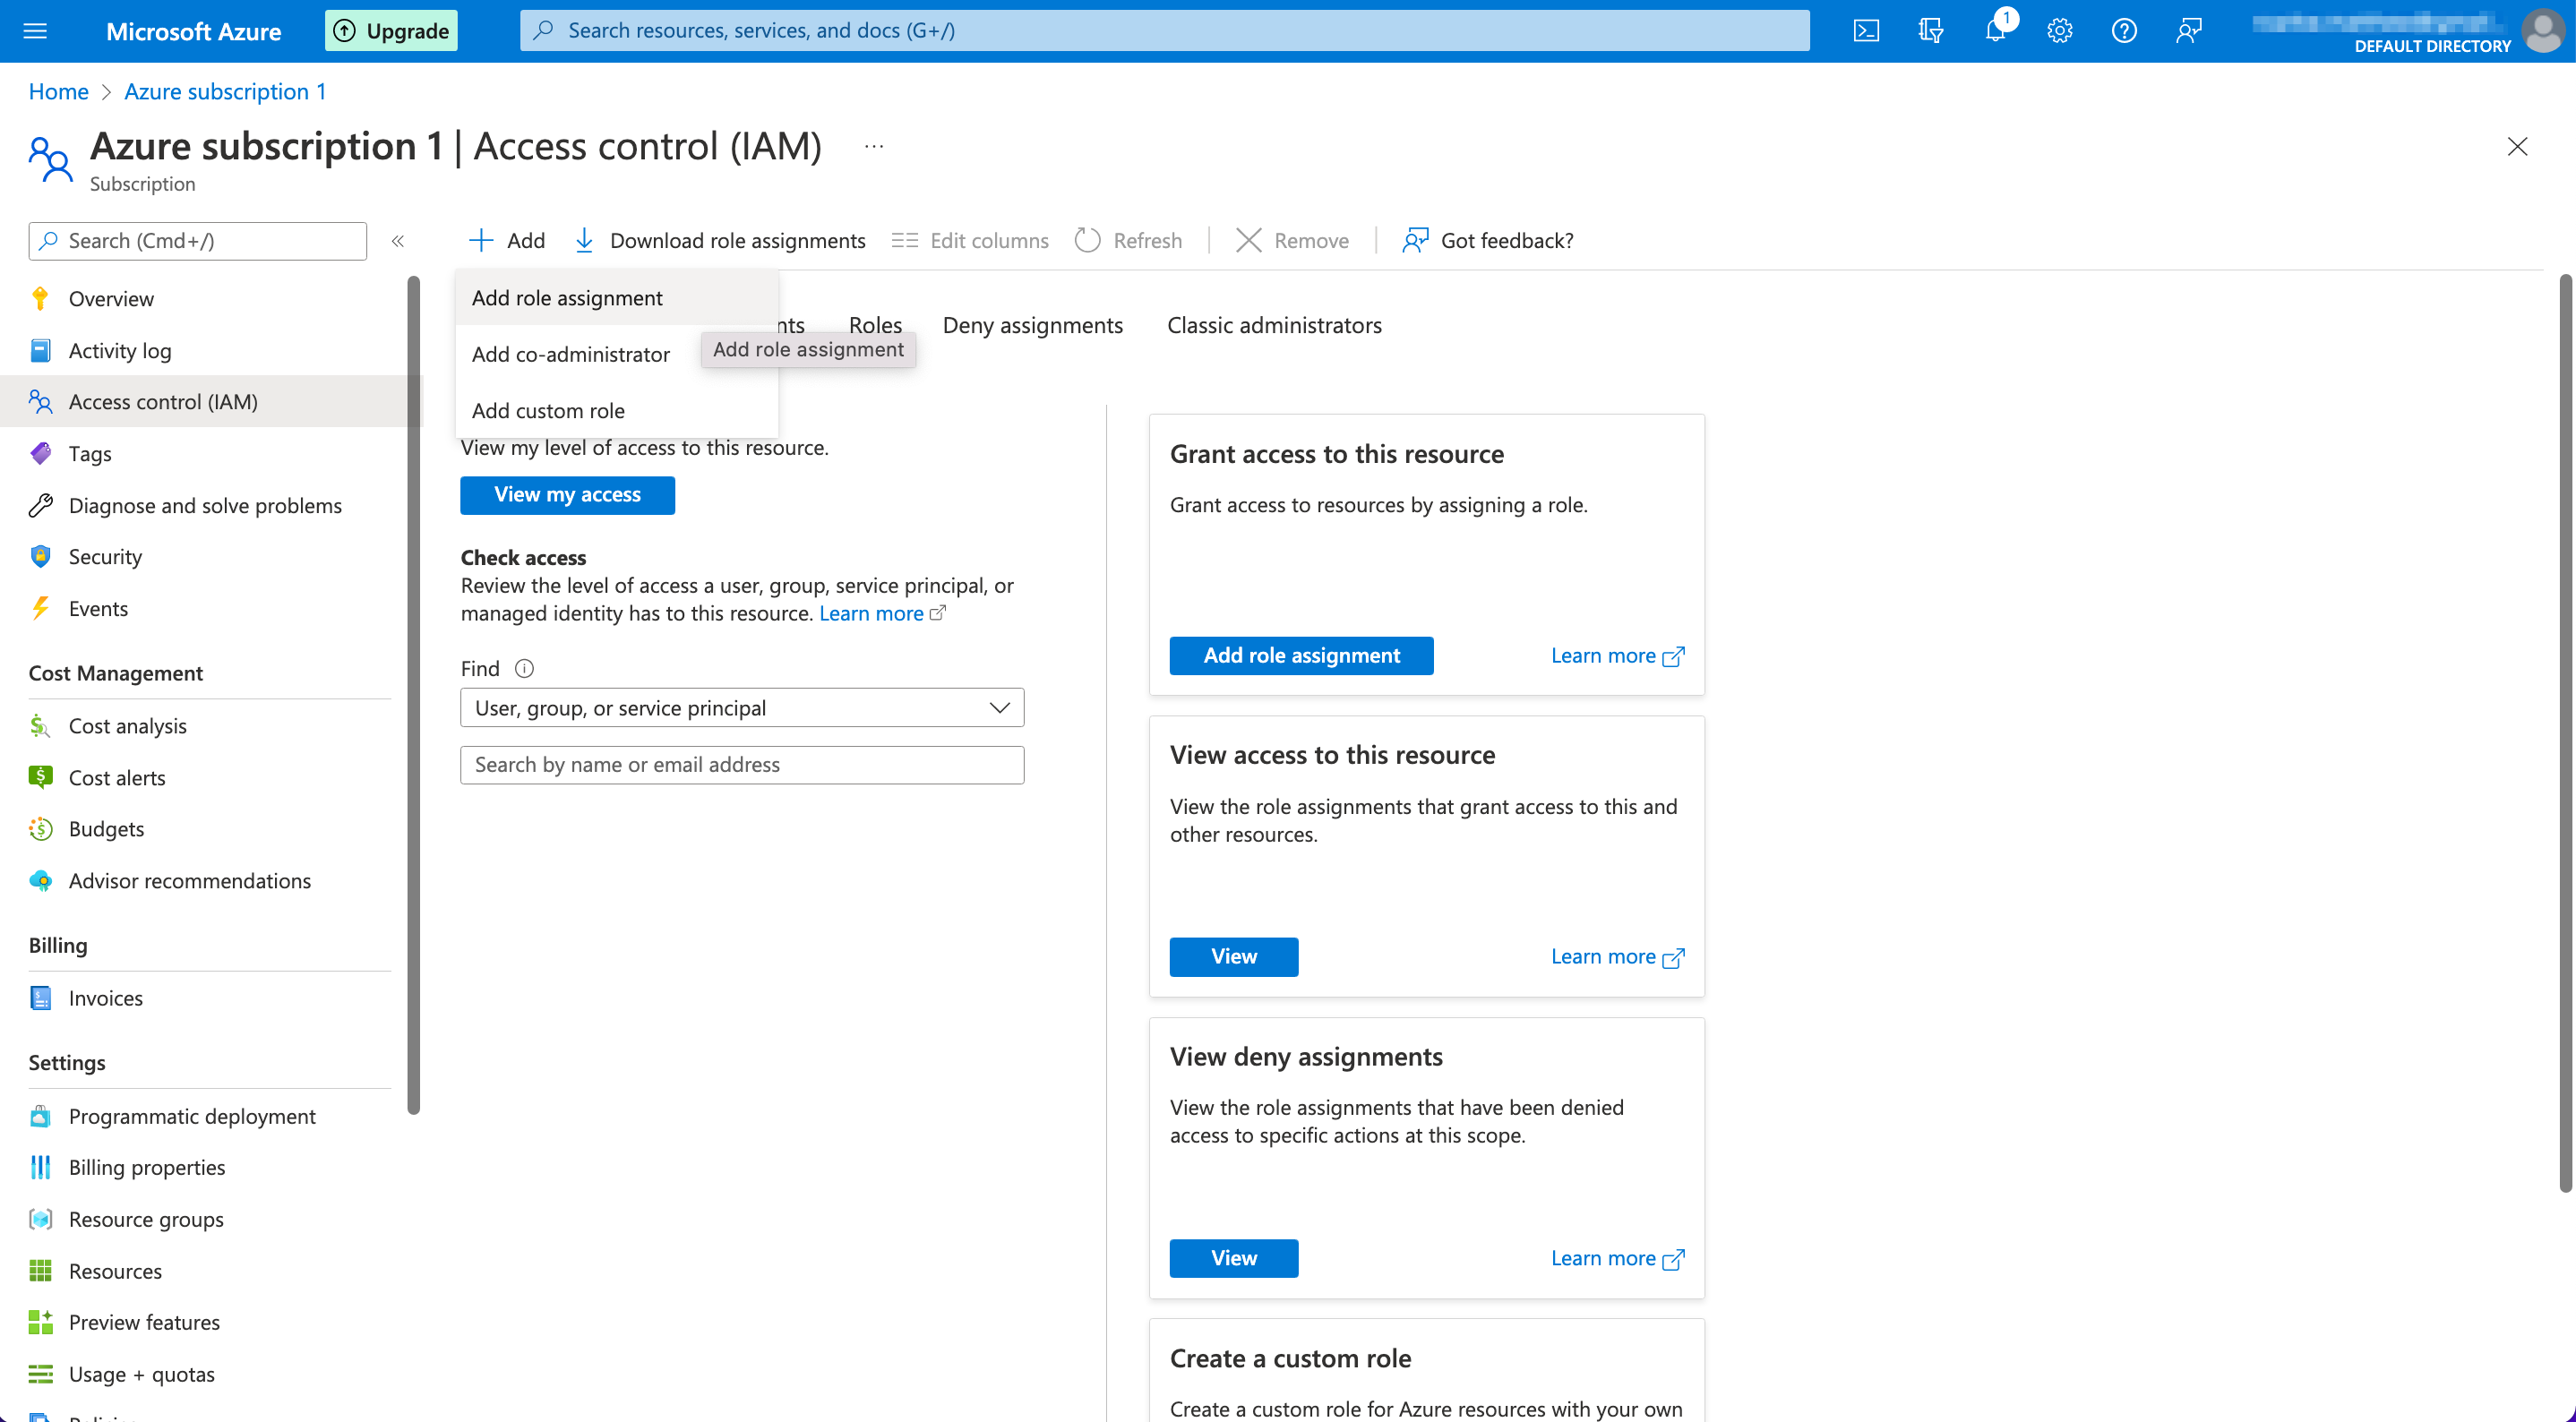
- Select "Access control (IAM)" from the lefthand side menu.
- Select the "Role assignments" tab, and click on "Add" at the top – choose "Add role assignment".
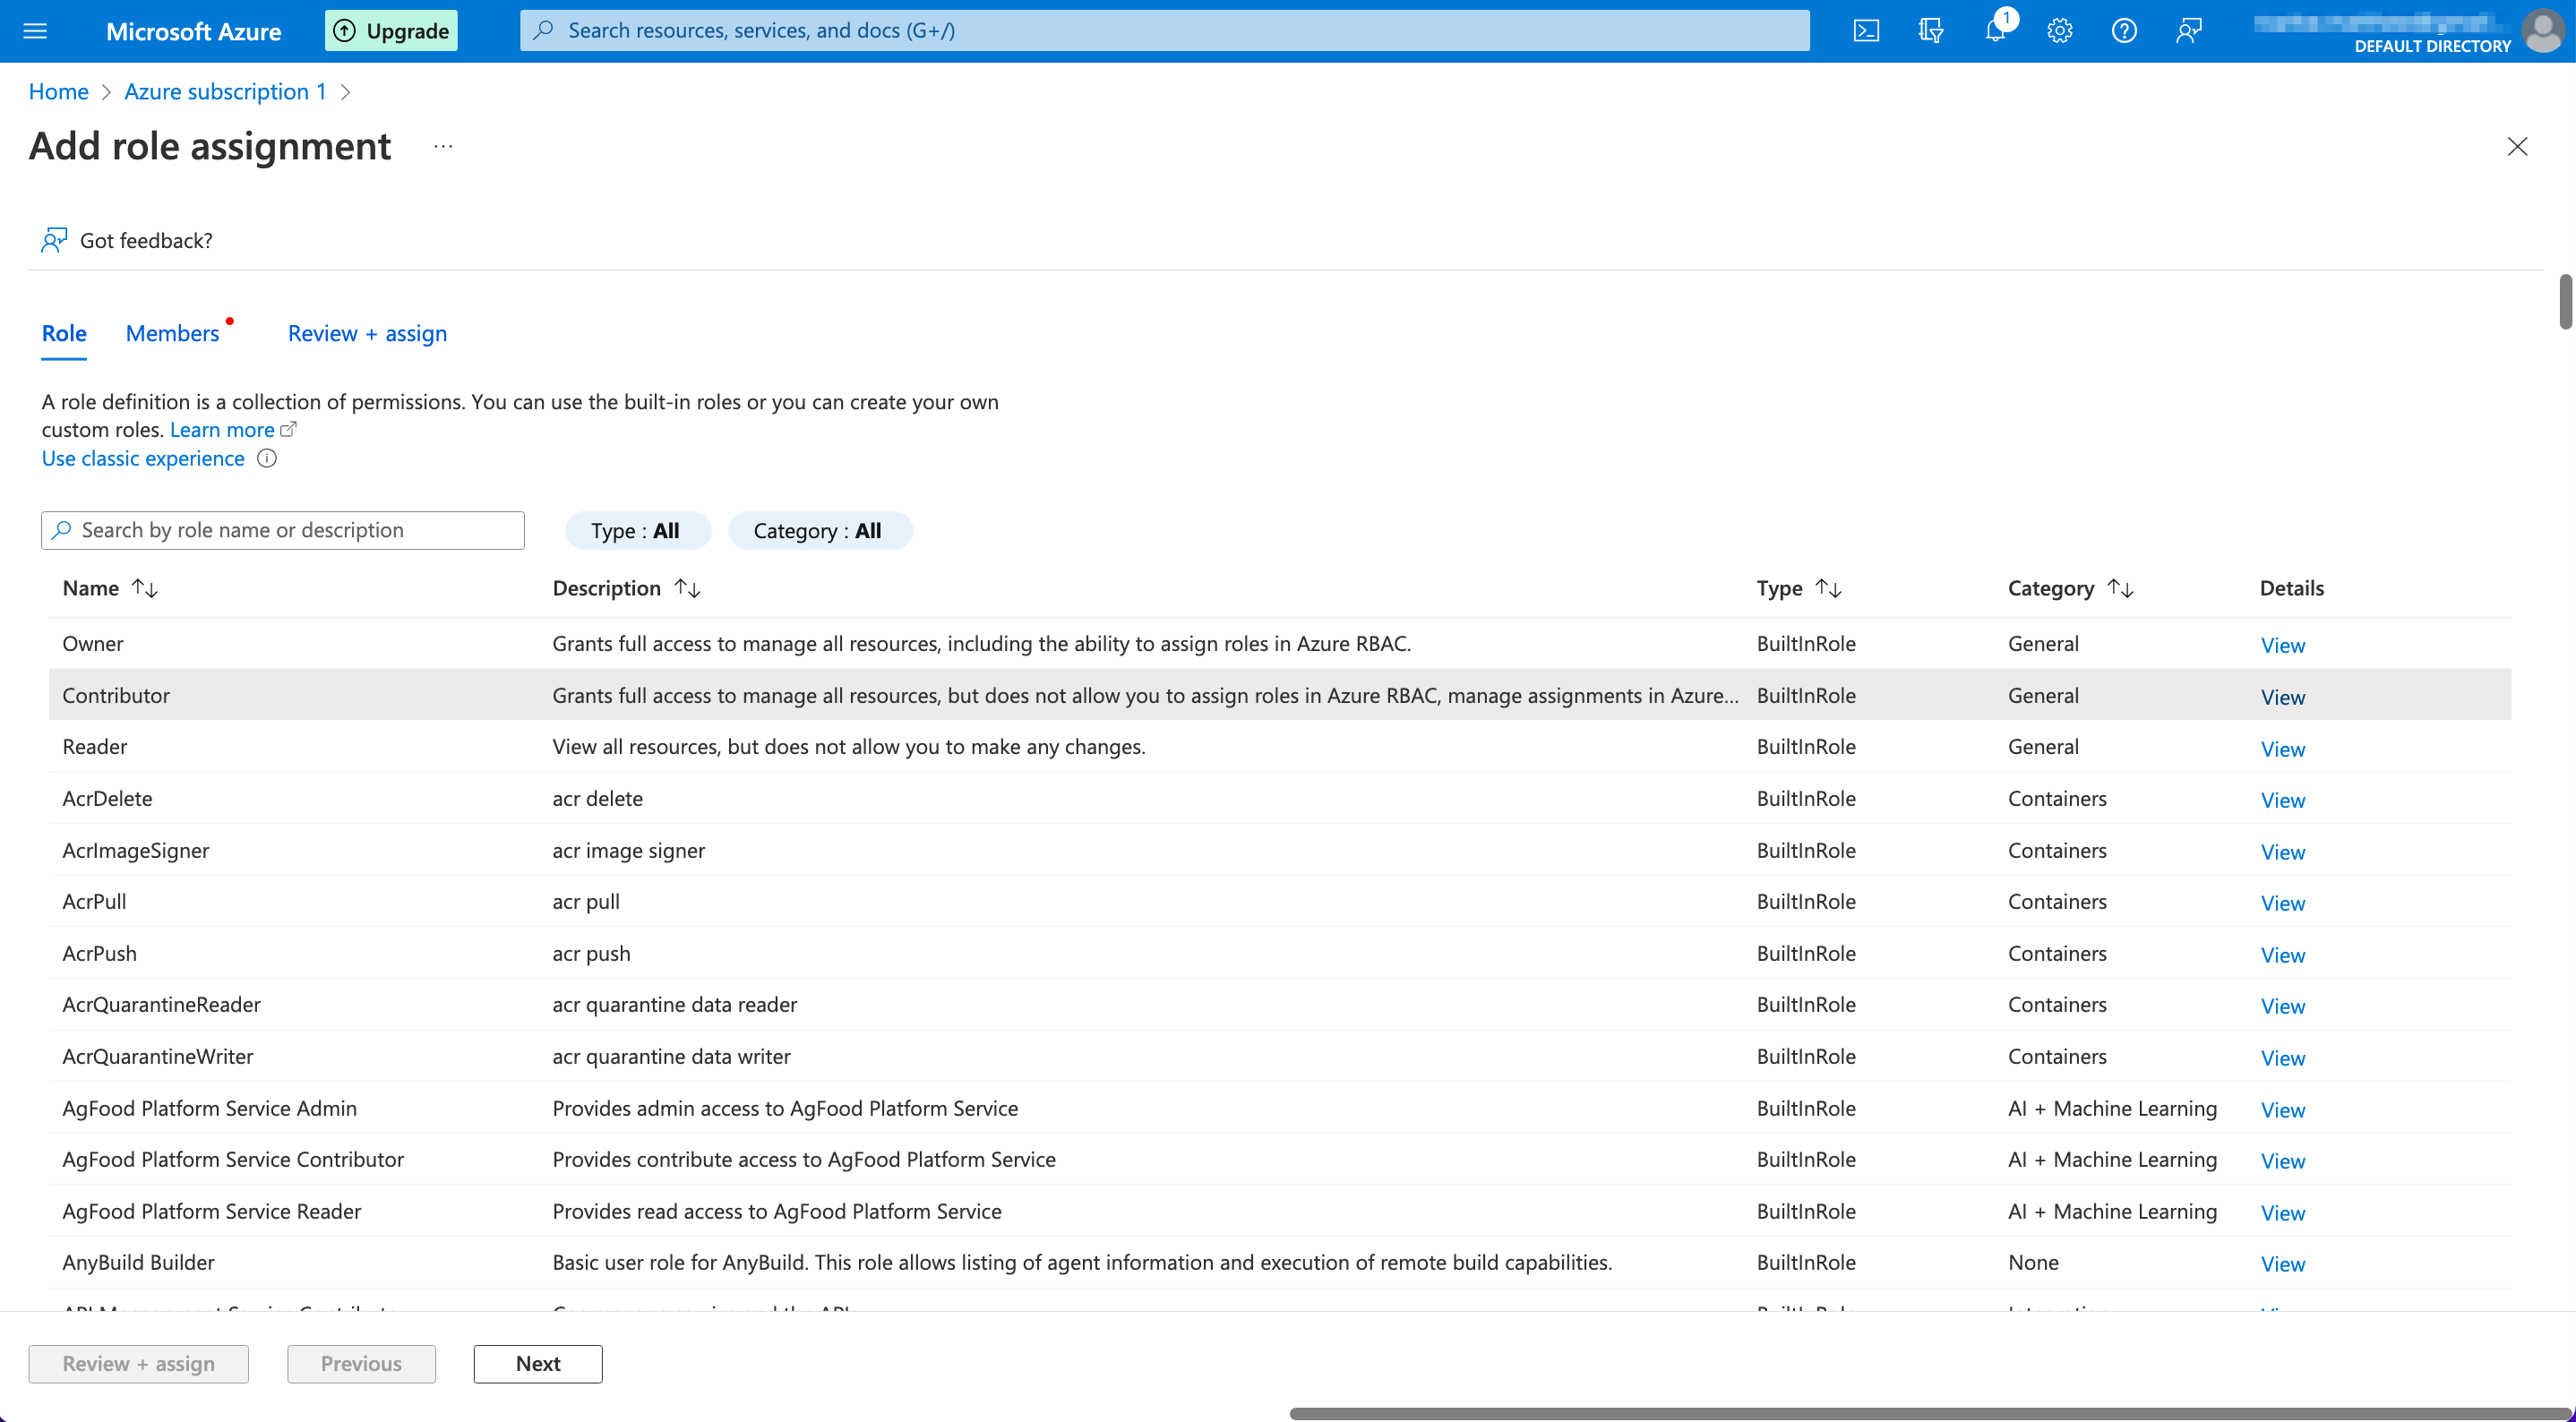
- Select "Contributor" from the list displayed under the "Role" tab, and then click "Next".
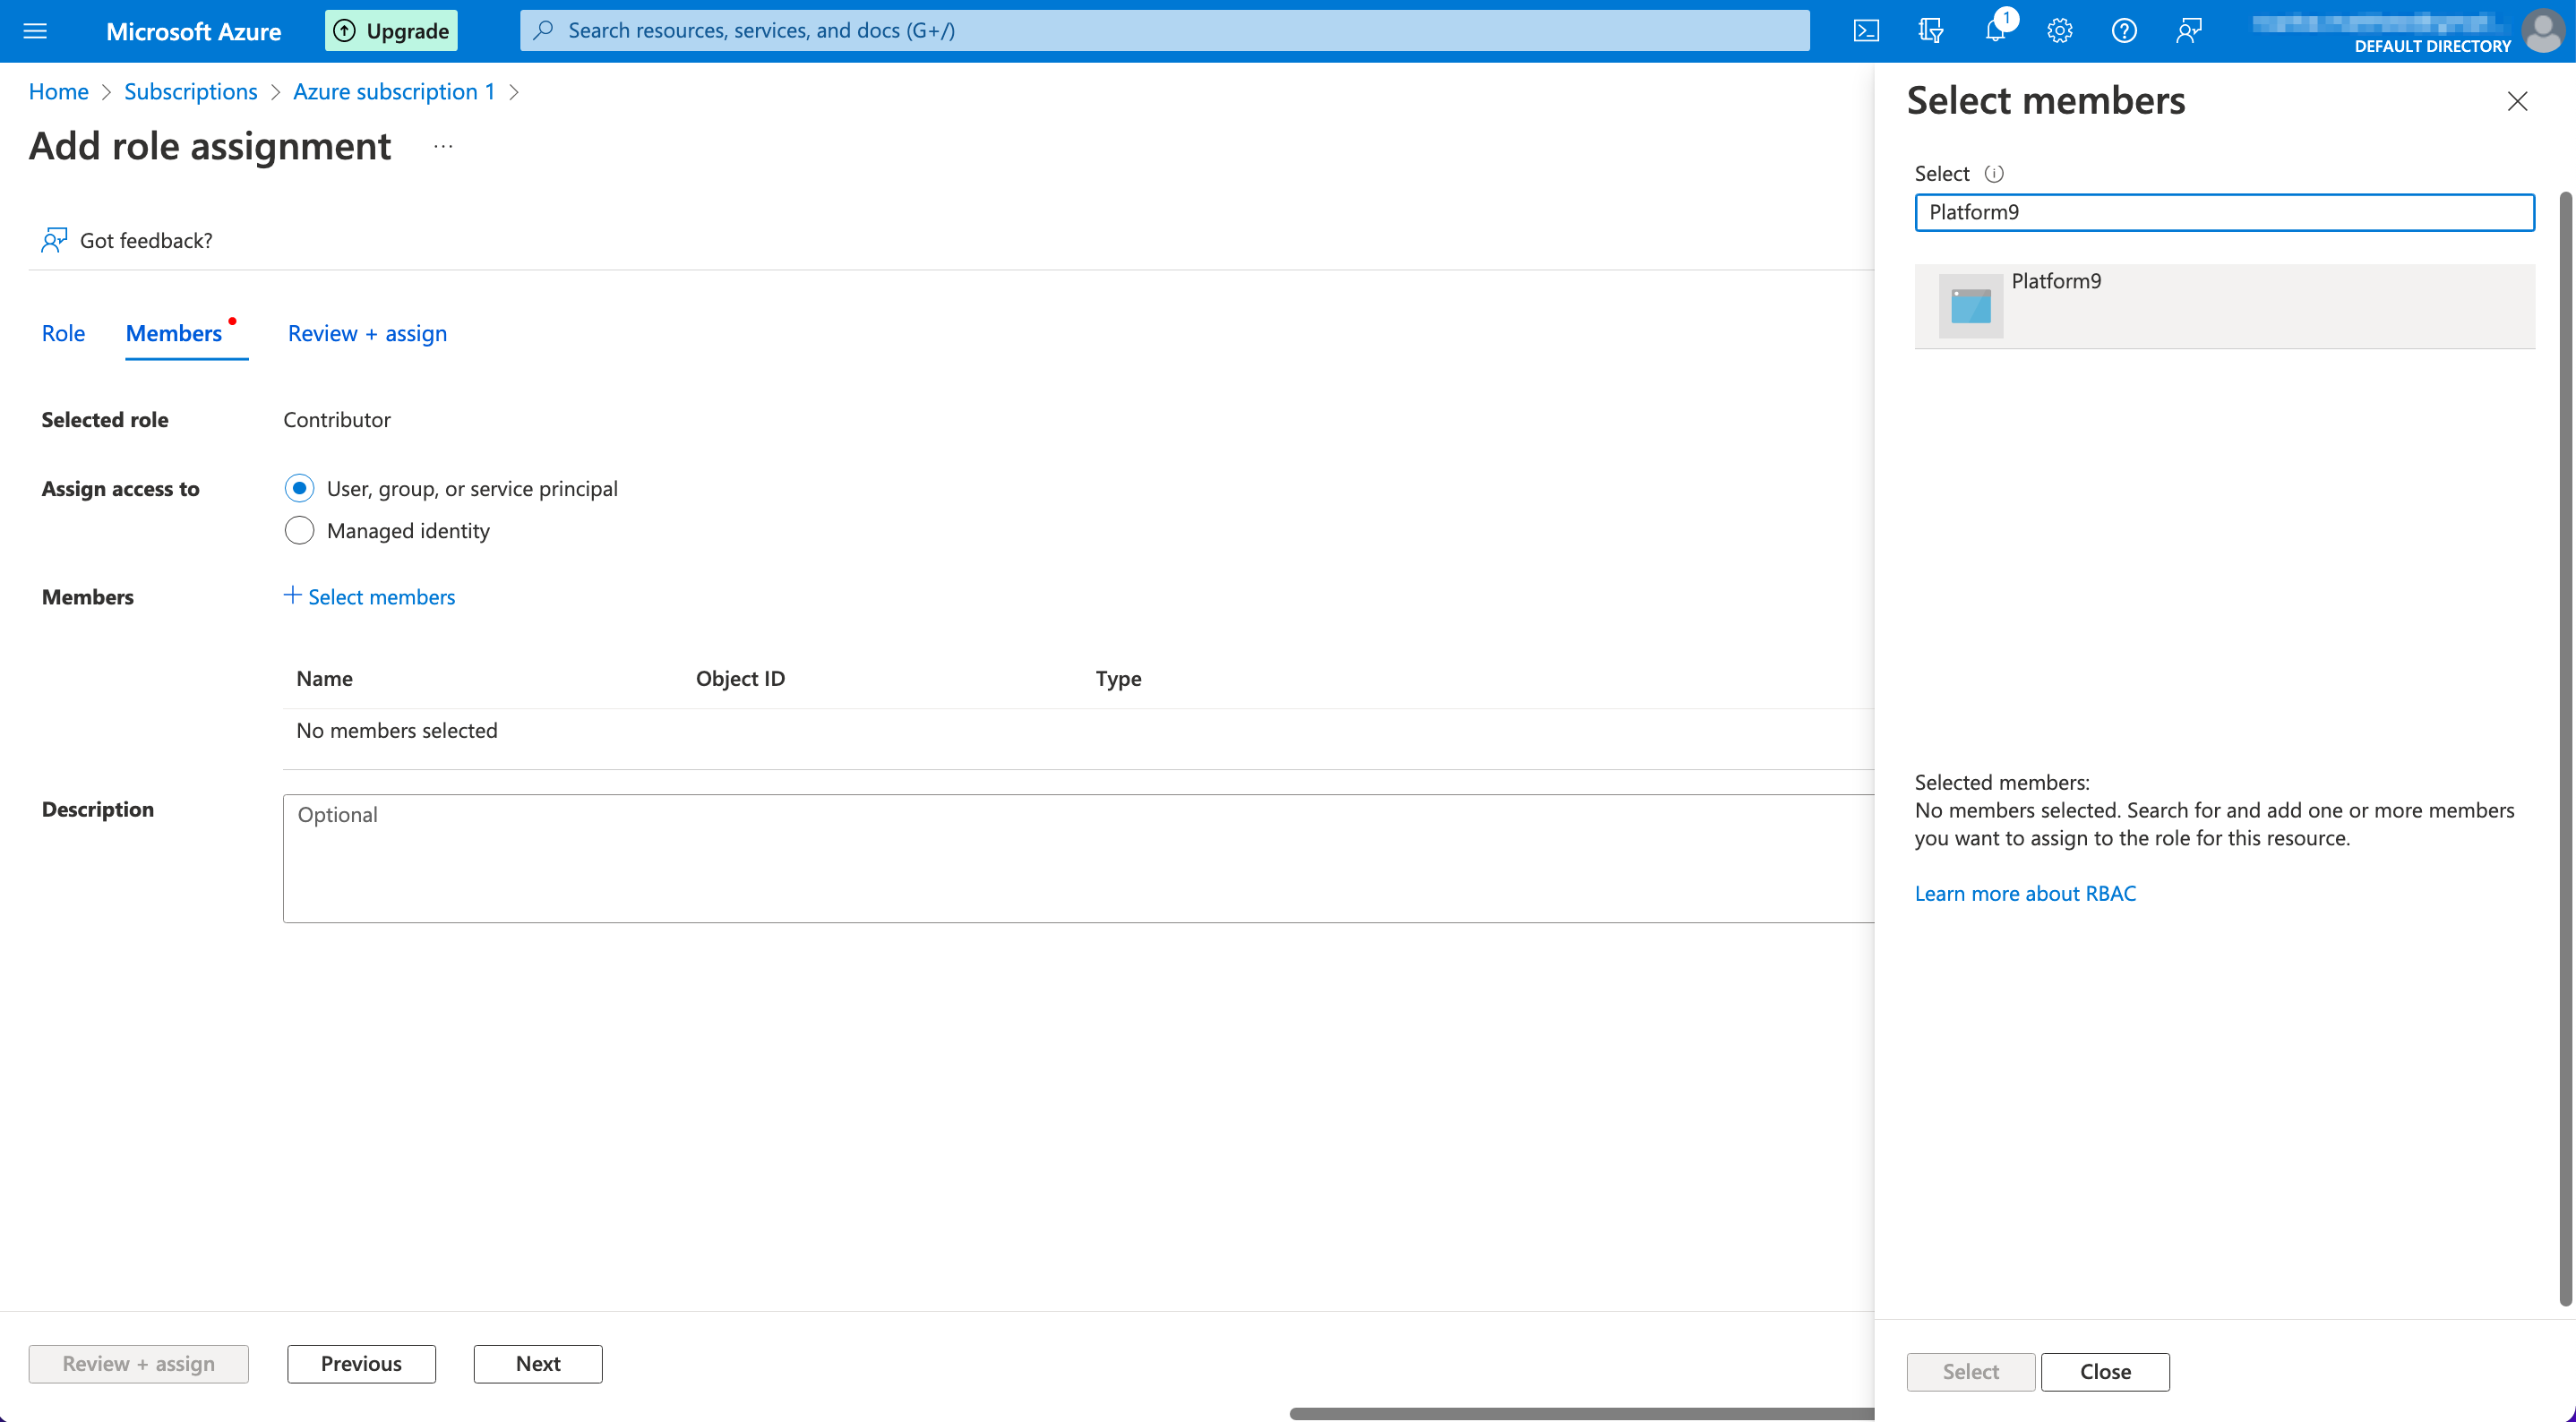
- Click "Select members", and search for "Platform9" (the name of the Azure AD app created earlier). Select the application, and then click on "Select".
- Click "Next".
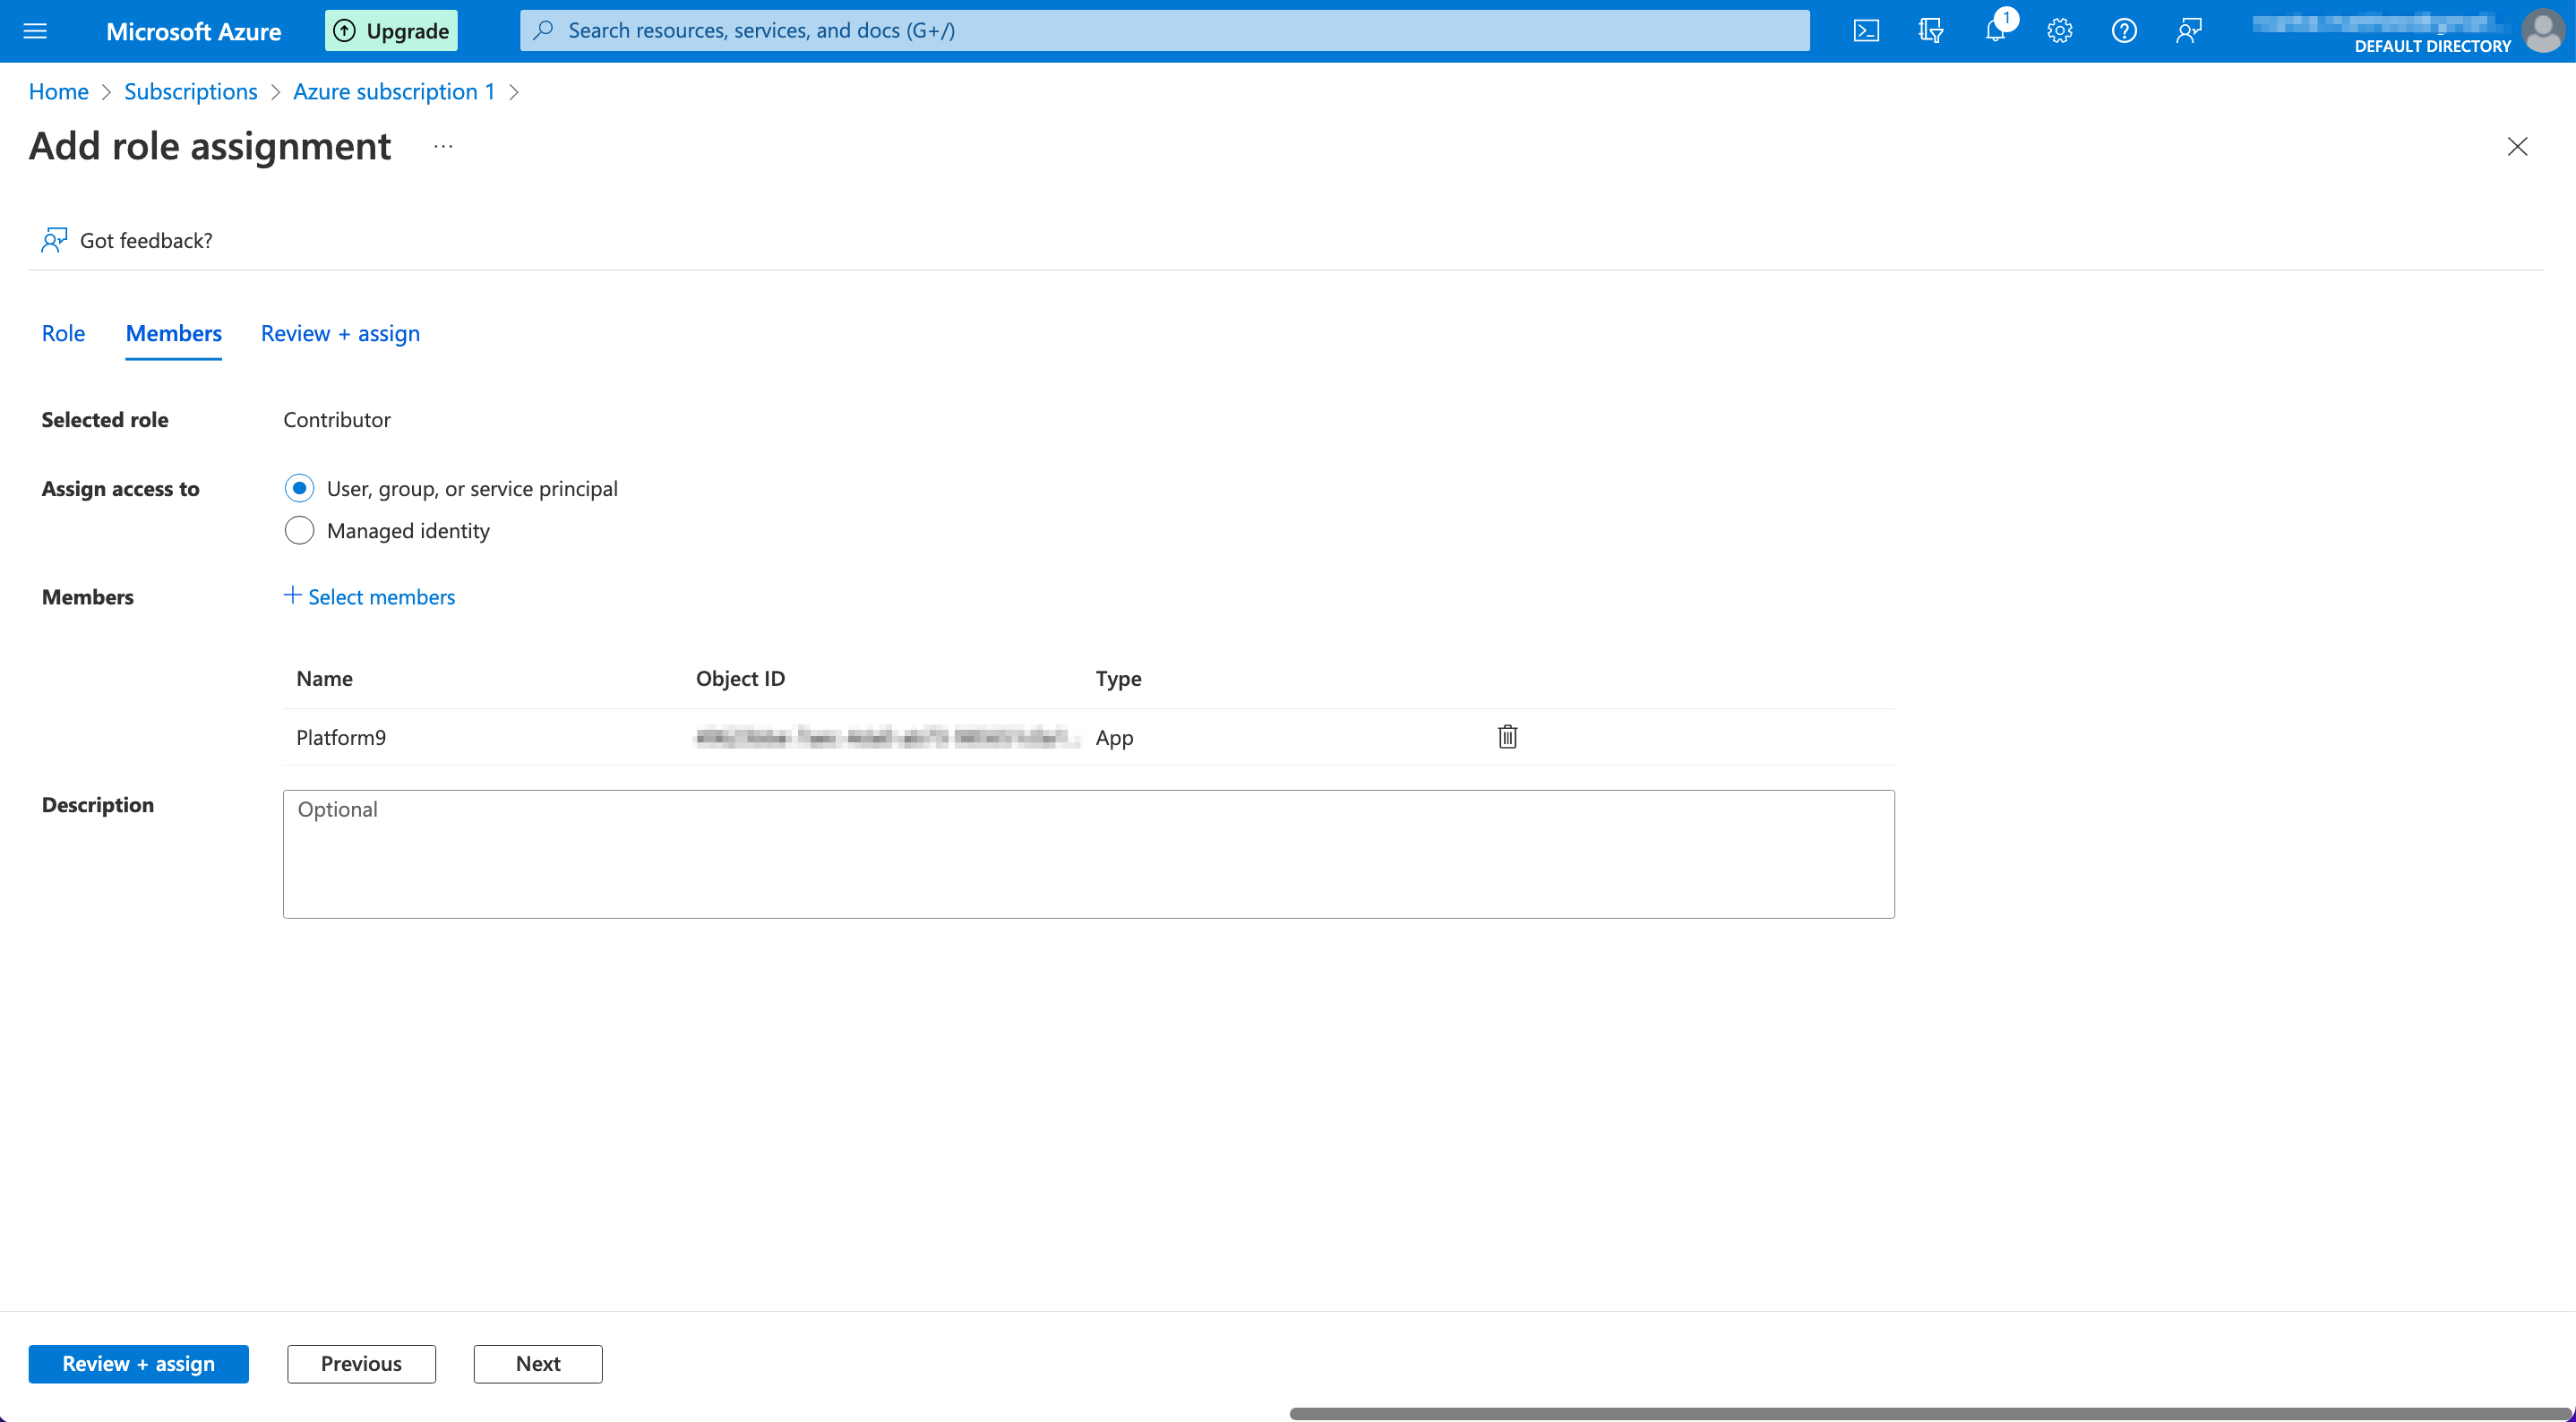
- Click on "Review + assign" to complete.
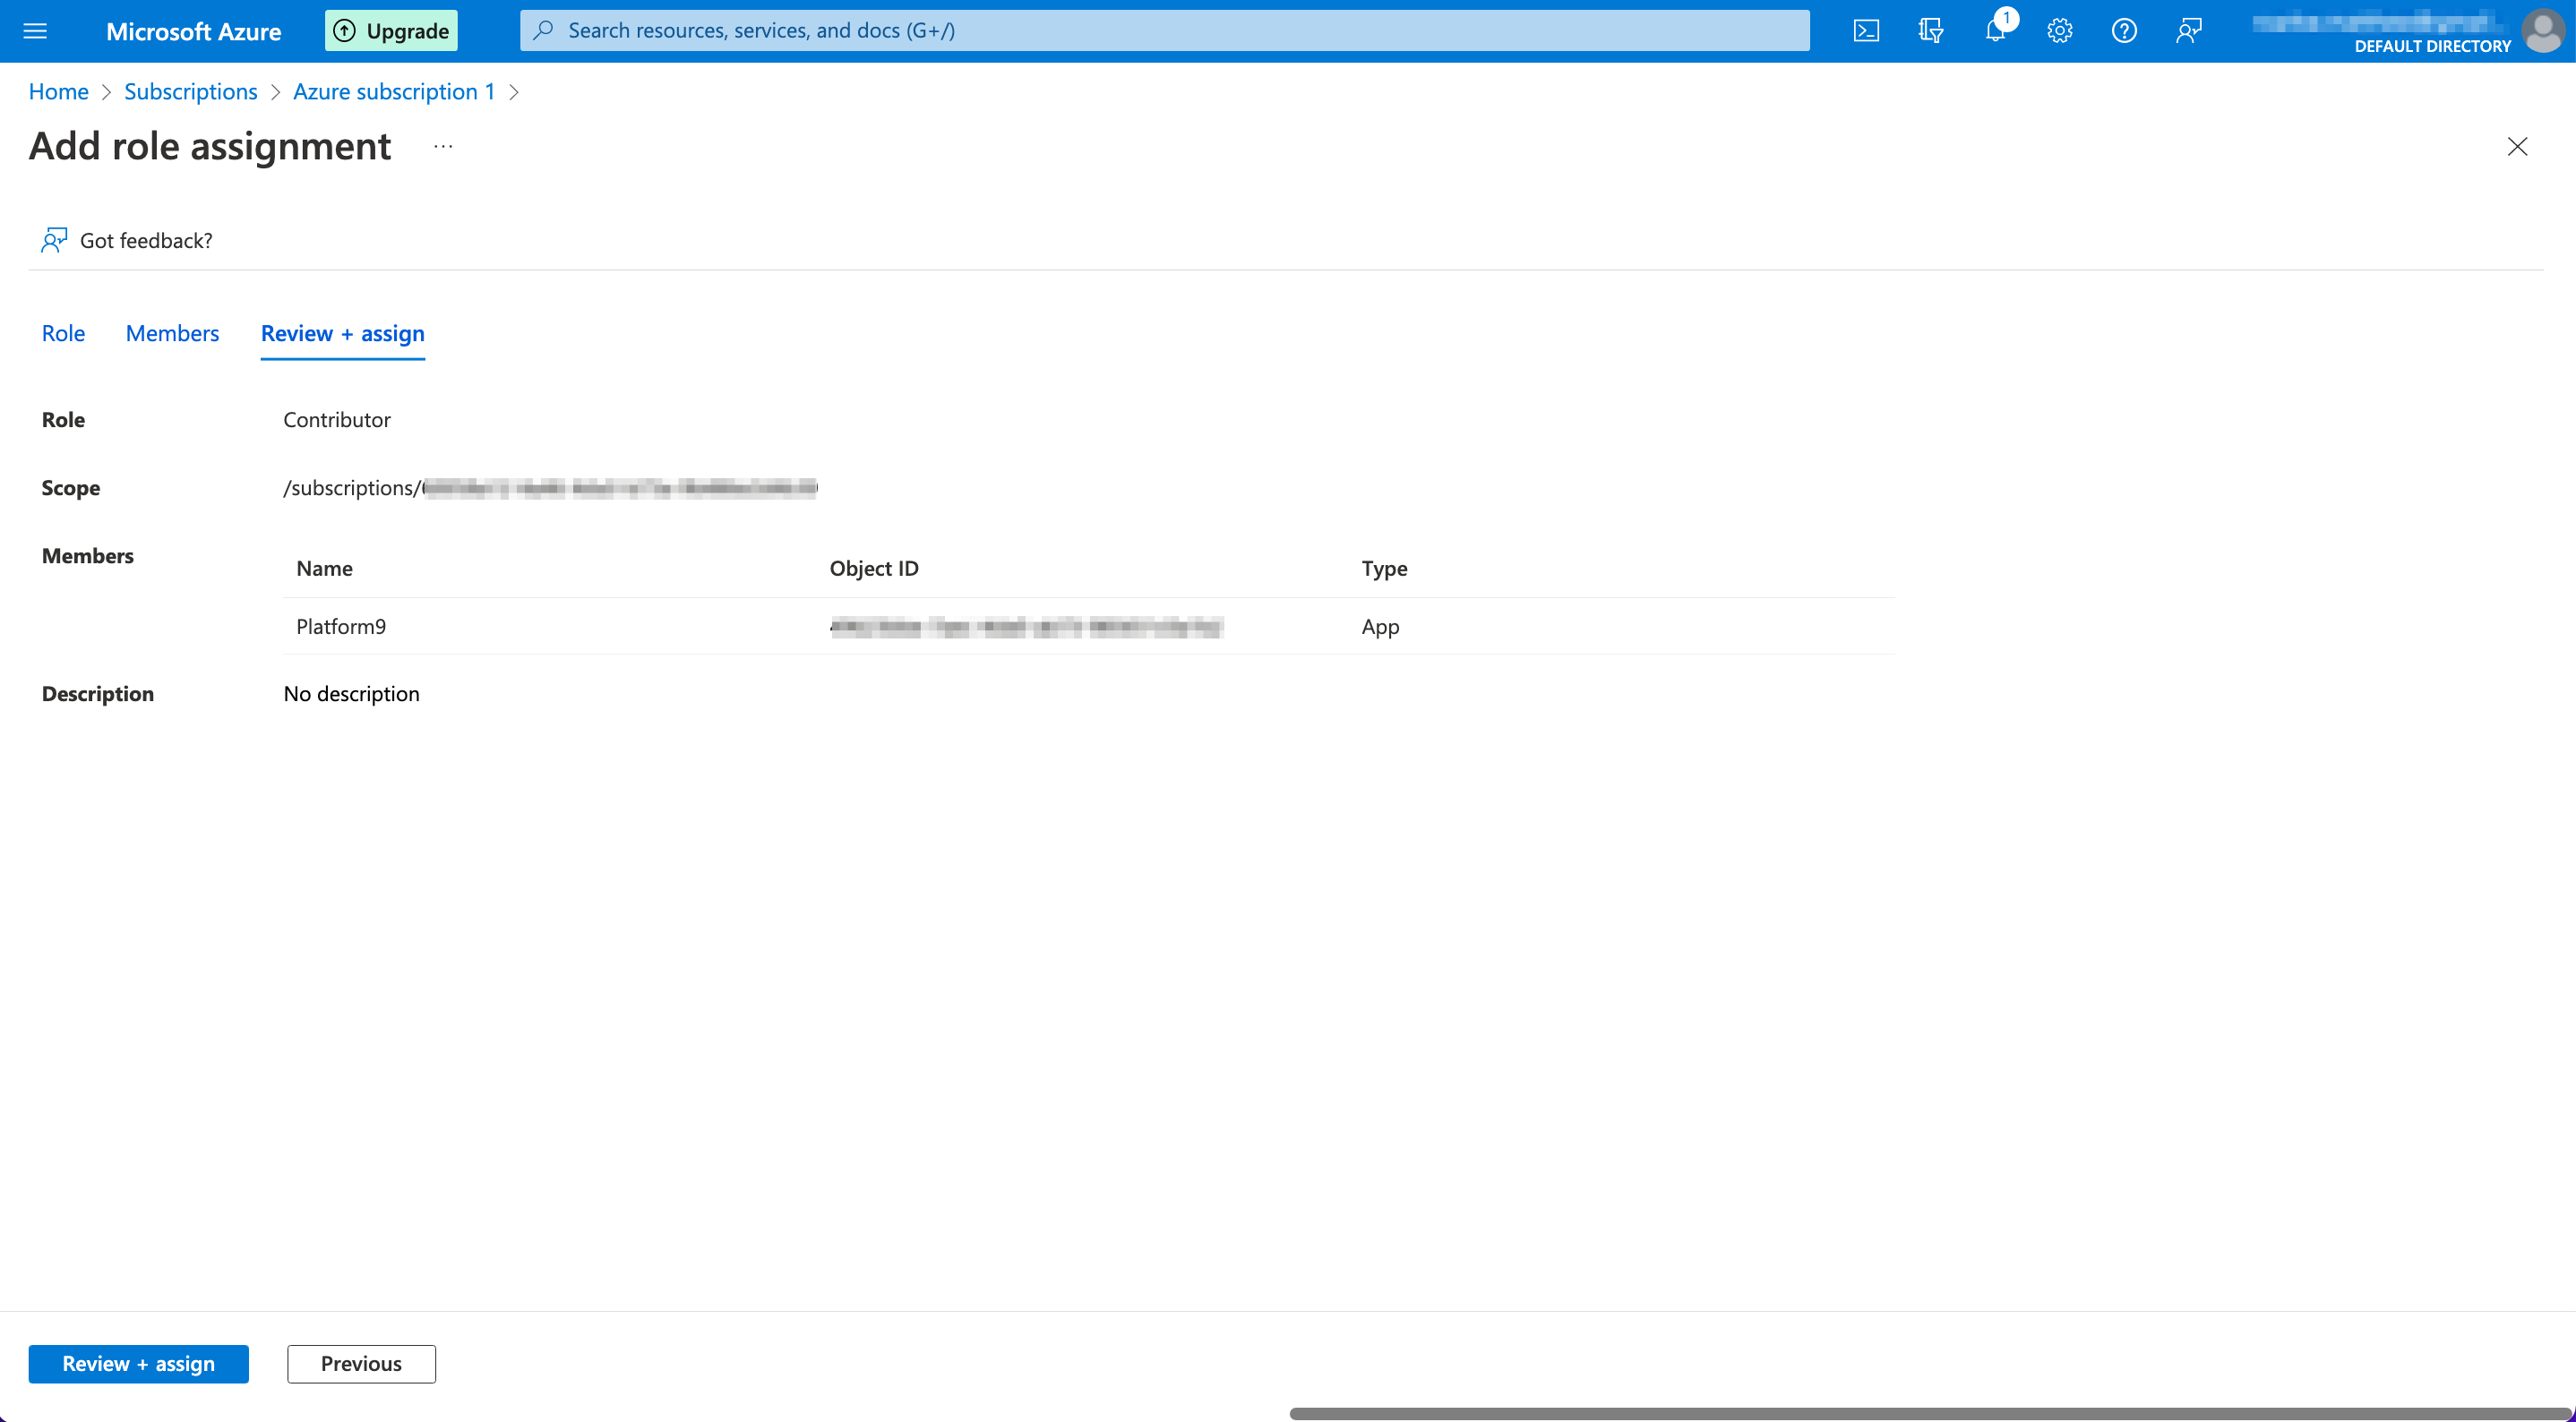
The Contributor role is now successfully assigned to the Service Principal associated with the Azure AD app.