Creating CentOS VM Image using RedHat Virtual Machine Manager
This tutorial describes how to populate your PMO private cloud image store with CentOS images using RedHat’s Virtual Machine Manager. In general, there are three basic ways to get started with a brand new OpenStack/KVM compatible virtual machine image from scratch.
- Download cloud-image from publicly available distributions of popular Linux operating systems
- Create a new virtual machine using Virtual Machine Manager, then capture it as an image
- Create a new virtual machine using
virsh-installcommand line utility and capture it as an image
In this tutorial, we will explore option 2 above - creating a virtual machine using Virtual Machine Manager - then capturing it as an image for Platform9’s image catalog.
Virtual Machine Manager is a Linux desktop tool built by RedHat for creation and management of virtual machines on a Linux physical server. For more information, read more here
Step 1 - Get Prerequisites
You will need to prepare the Linux physical server that you would like to run Virtual Machine Manager on with KVM virtualization prerequisites. There are two ways to do this:
- Deploy the Platform9 agent on the physical server and authorize the server to be part of Platform9 private cloud. During this process, Platform9 agent will pull in the appropriate virtualization dependencies and install them on the server.
- Follow the "Manual install of Platform9 host agent packages" section from the tutorial on How to Enable a CentOS Server with KVM Virtualization.
If you haven’t done this as part of installing the prerequisites in the previous step, start by installing virt-manager package on the physical server.
yum install virt-managerNext, get the ISO image for the version of CentOS you wish to deploy in the virtual machine. You can download latest CentOS distributions from here: http://wiki.centos.org/Download
We recommend that you download the full CentOS Image, so that you have the option of selectively installing various packages during the installation process. Using the minimal image works as well, but you will need to pull in any additional packages post install.
For example, to get CentOS 6.6 full image, go to http://vault.centos.org/6.6/isos/x86_64/ and download the CentOS-6.6-x86_64-bin-DVD1.iso ISO image.
Step 2 - Start Creating Virtual Machine Using Virtual Machine Manager
Start Virtual Machine Manager: Applications -> System Tools -> Virtual Machine Manager

Follow the wizard.

Select appropriate values for CPU and Memory. (These can be changed later during creating a new VM from this Image). Select at least 8 GB in disk size. Keep all the other parameters to their default values. For the last page of the dialog, make sure to select the option “Customize configuration before install”
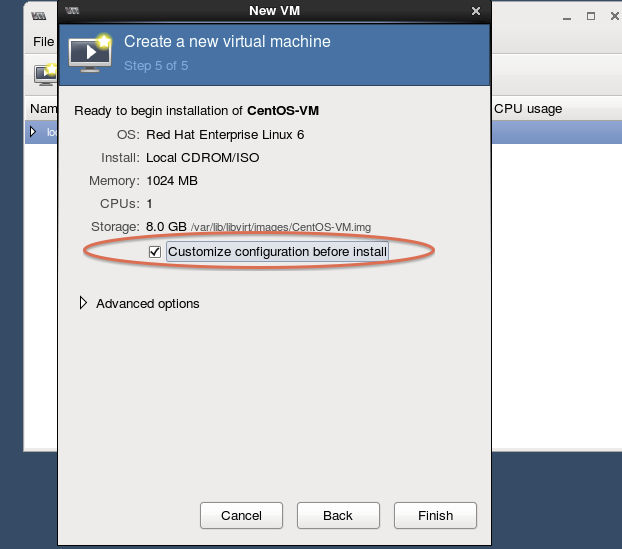
This will open the Virtual Machine customization wizard before launching operating system installation. Select the Disk in the left menu, then expand “Advance options” and select “Virtio” for the Disk bus.

Do the same thing for NIC.
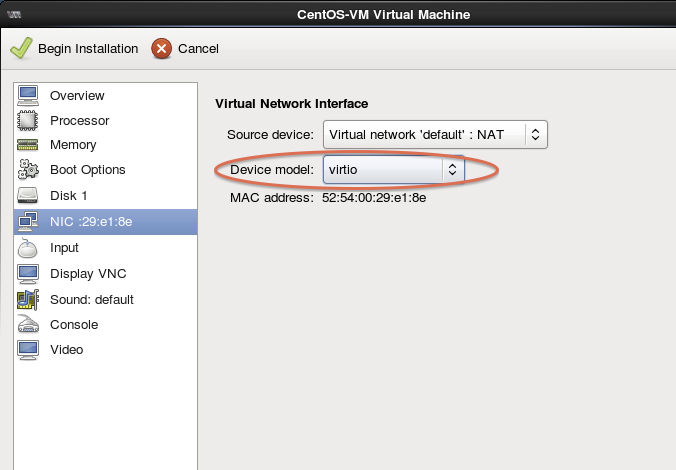
Apply the changes. Then begin Installation.