Create Multi-Master Cluster on VMware
This article describes how to build a multi-master Kubernetes cluster on VMware using PMK. We recommend reading Multi-Master Architecture to understand how PMK multi-master cluster works behind the scene.
PMK allows you to easily create a single master single node, or multi-master multi-node Kubernetes cluster on VMware.
PMK comes with a built-in software load balancer - MetalLB, that runs alongside the cluster. This enables you to create a multi-master cluster, with an application load balancer that allows you to run production micro-services on VMware without requiring integration with NSX or any other external load balancers.
Pre-requisites
Following is a list of pre-requisites for creating a PMK multi-master cluster on VMware.
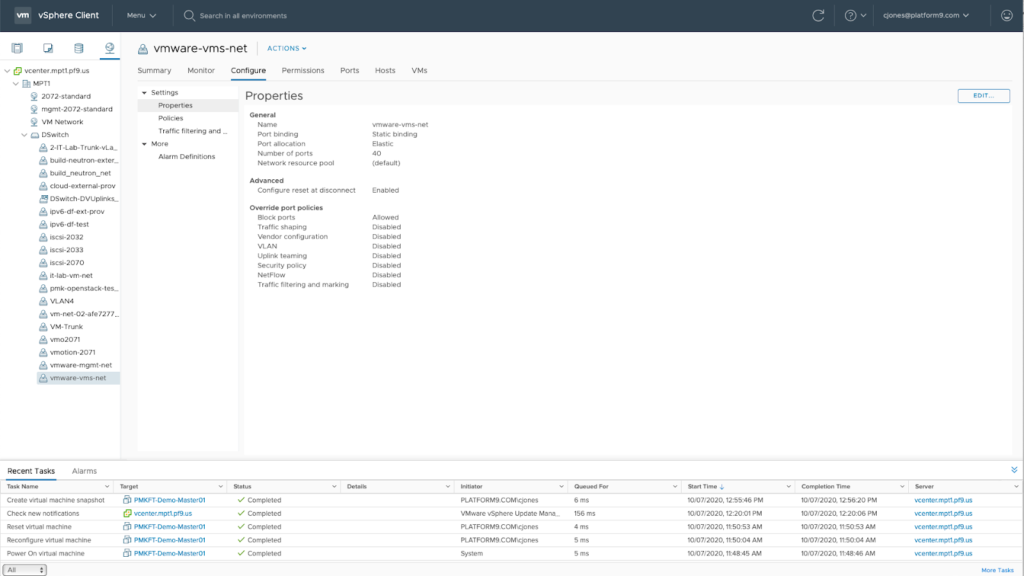
- A VMware environment configured with Virtual Switch or Distributed Virtual Switch based networking - This article assumes that your VMware environment is configured with vSwitches or DVSwitches. If your VMware environment is configured with VMware NSX for networking, you may need to take additional steps to configure your VM networking before you can use the VMware VMs as nodes for a Kubernetes cluster. That configuration is out of scope for this article.
- Reserved IP for the Multi-Master Virtual IP. This is an elastic IP (Virtual IP) that will act as a proxy in front of the multiple masters. The Virtual IP is used to load balance requests and provide high availability across master nodes. The Virtual IP must be reserved. If any other network device is provisioned and claims the IP, the cluster will become unavailable.
- VMware network security configured to allow unknown IP traffic - Make sure that port security is not blocking IP traffic that is not from the ‘known’ interface attached to the VM. This is unlikely to be an issue in a VMware environment; however, it is worth checking with your VMware and/or network administrator to ensure that the virtual network will allow all traffic to a VM, irrespective of the IP Address.
- Reserved IP range for MetalLB - This is reserved IP range for the Application Load balancer MetalLB. MetalLB can operate in 2 modes: Layer-2 with a set of IPs from a configured address range, or BGP mode. This article uses MetalLB in a Layer-2 configuration. MetalLB will use the IP range and make it available to any Pod that is deployed with a 'Service Type: Load Balancer' configuration.
- 1, 3, or 5 Virtual Machines for master nodes, each with 2 CPUs, 8GB RAM, 20GB HDD minimum.
- Single network interface for each VM
- Identical interface names across all master node VMs (example: ens03)
- At lease 1 VM for a worker node, with 2 CPUs, 16GB RAM and 20GB HDD minimum
- Firewall: Outbound 443 allowed to platform9.io (platform9.net for Enterprise Plan)
For this article, we are using 10.128.159.240-253 as a reserved IP range for all components, workers, masters, Virtual IP and MetalLB.
Network settings for this tutorial:
- Master Virtual IP: 10.128.159.240
- Master 01: 10.128.159.241
- Master 02: 10.128.159.242
- Master 03: 10.128.159.243
- Worker 01: 10.128.159.246
- Worker 02: 10.128.159.247
- Worker 03: 10.128.159.248
- MetalLB IP Range:
- Start: 10.128.159.250
- End: 10.128.159.253
VMware settings for this tutorial:
The vCenter used in this tutorial is running following configuration:
- Standard ESXi licensing
- Using distributed virtual switches for networking.
- The storage used for this tutorial is Pure Storage which can be directly attached using CSI or via vCenter’s CSI Driver.
- For simplicity, all VMs have been created in a single folder in vCenter and are running Ubuntu 18 each with static IP addresses.
Create a Multi-Master Cluster
Follow this article to auto$ using your VMware VMs. Note the following parameters to be specified in the cluster creation wizard.
If a Virtual IP isn’t provided, the cluster’s master nodes cannot be scaled ever. The Virtual IP and the associated Physical Network Interface provide load balancing and high availability across master nodes and is required for a multi-master cluster.
- Under 'Initial Setup' page, make sure that the 'Privileged Containers' checkbox is checked.
- Under 'Master Node' page, select at least 3 of your VMs as master nodes for your cluster.
- Under 'Worker Node' page, select at least 1 of your remaining VMs as a worker node for your cluster.
- Under 'Network' page, specify a virtual IP for your cluster. Ensure that the Virtual IP is a reserved IP within your network.
- Configure the Cluster CNI using Calico with all defaults.
- To enable MetalLB provide an IPv4 IP Range. For example: 10.128.159.250 - 10.128.159.253.
- Ensure that 'etcd backup' and 'monitoring' are enabled.
- Review the cluster configuration and ensure that MetalLB is enabled and a Cluster Virtual IP is set
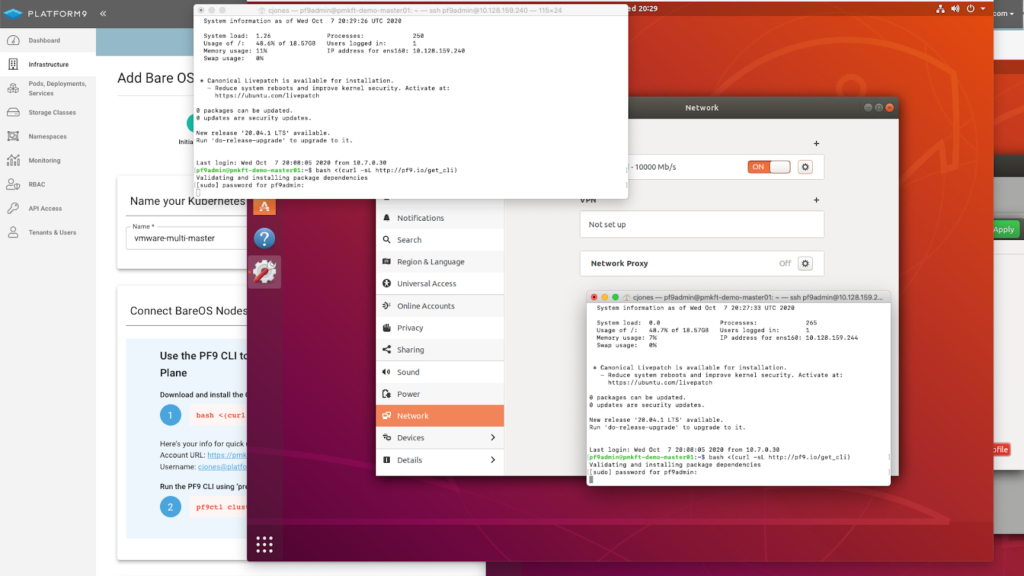
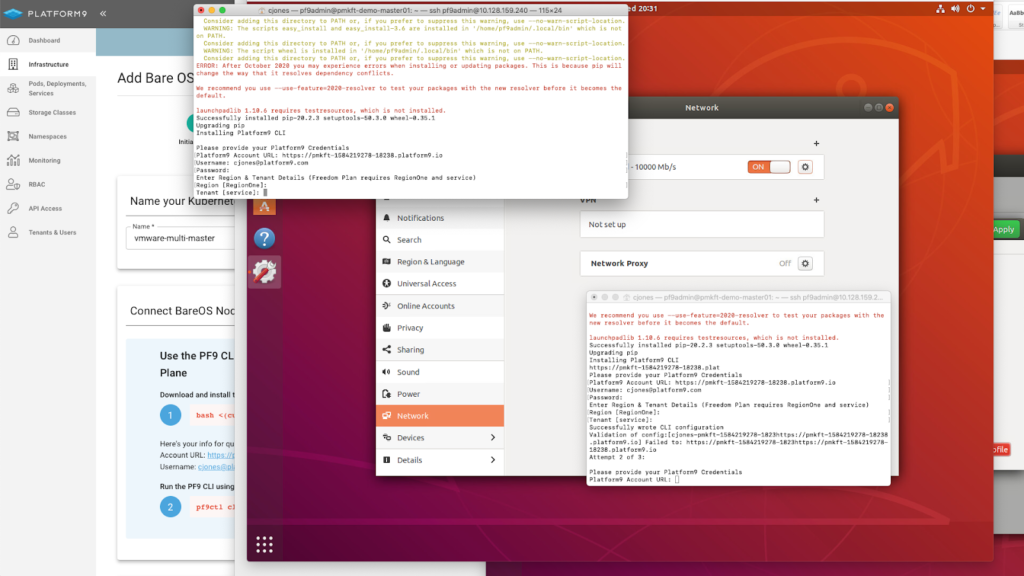
Platform9 CLI Installation
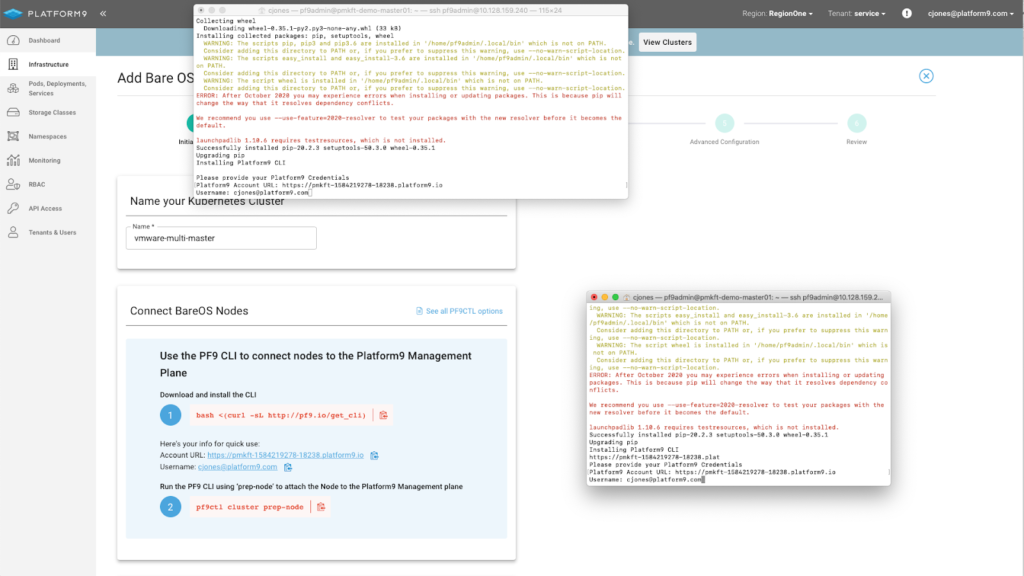
CLI Installation Platform9 Details

CLI Installation Tenant and Region Selection
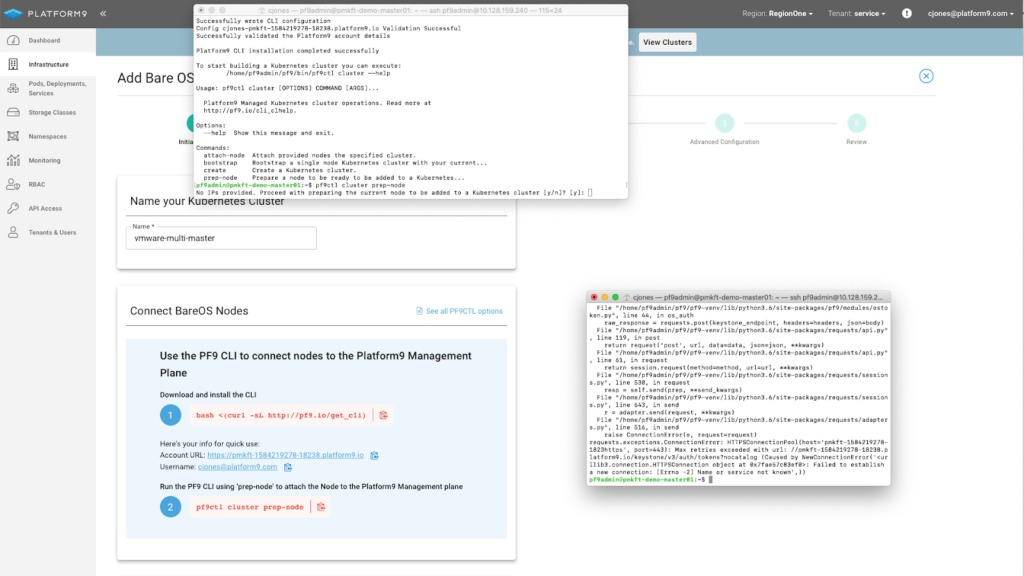
Platform9 CLI – Prep-node Command

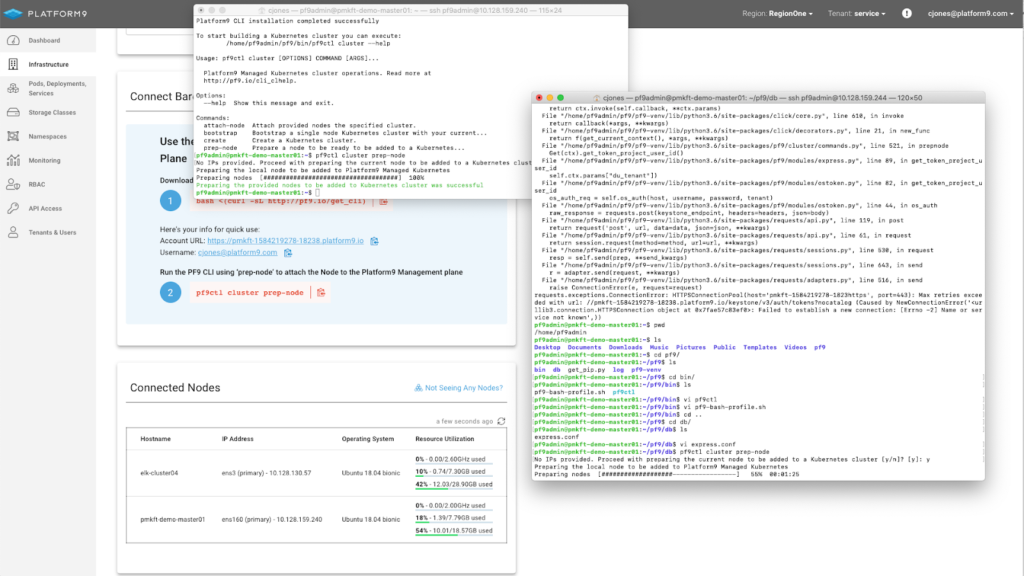
Platform9 CLI – Prep-Node Complete

Once all the settings are correct, click Complete and the cluster will be created.
The cluster will now be built. Once clicking complete, you will automatically be redirected to the Cluster Details > Node Health Page where you can watch the cluster being built.
At any time you can review the clusters configuration on the Cluster Details page.
Scale Worker Nodes Using 'Scale Nodes' Action
To scale your worker nodes ensure that the CLI has been installed and the ‘Prep-node’ command has been completed.
Once your nodes are attached navigate to Infrastructure, select your cluster and click ‘Scale Workers’ in the table header.
On the Scale Workers screen, click Add.
On the next step, select the nodes to be added as worker nodes and click Add Workers.
Once the nodes are added, you can view each of the completed clusters on the Nodes details page.
Done! You now have a highly available, multi-master Kubernetes cluster with a built-in application load balance on VMware.
There are many applications that can be deployed as helm charts which leverage a load balancer by default. Having MetalLB installed on your VMware cluster means you can make use of those helm charts with little to no changes.