Port Management
Create Port
You may create ports manually.
You must be a self-service user or an administrator to perform this operation.
To create a port, follow the steps given below.
1. Log in to Clarity.
2. Click Networks in the left panel.
3. Click the Ports tab.
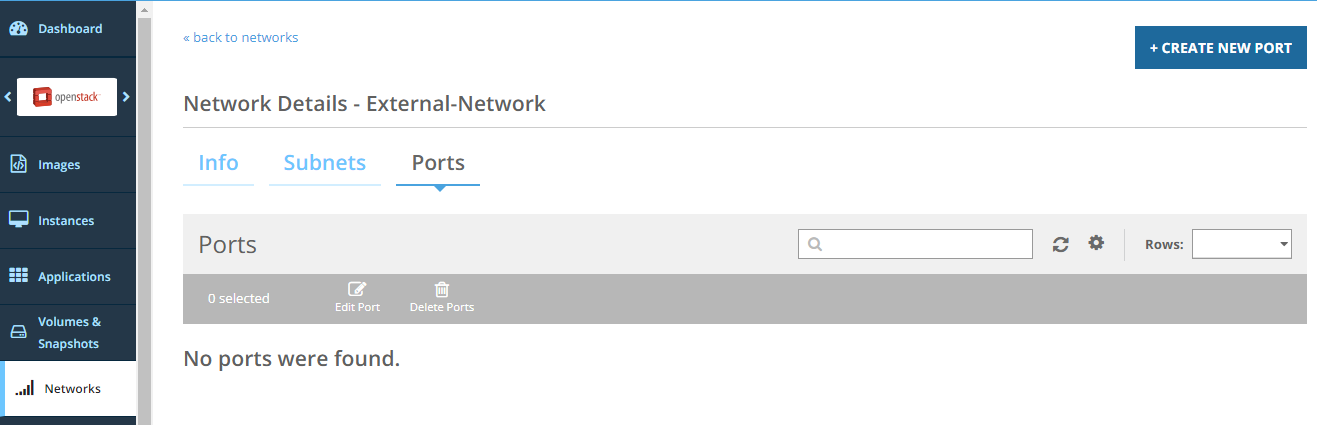
4. Click Create New Port.
5. Enter the following details.
| Field | Description |
|---|---|
| Name | The name of the port. |
| Subnet | The Subnet that the port is associated with. |
| Allowed Address Pairs | MAC address and IP address (CIDR) pairs that can pass through the port, in addition to the primary IP associated with port. |
| Fixed IP | Version of IP protocol selected. Currently only IPv4 is supported, hence IPv4 is the default value. |
| MAC Address | Ethernet hardware address associated with the port |
6. Select one or more security groups to apply to the port.
7. Click Create Port.
A port with the specified configuration is created.
Edit Port
You can edit a port to make changes to the port. You can edit all port details.
You must be a self-service user or an administrator to perform this operation.
To edit a port, follow the steps given below.
1. Log in to Clarity.
2. Click Networks in the left panel.
3. Click the Ports tab.
4. Select the checkbox for the port to edit from the list of ports.
5. Click Edit Port on the toolbar seen above the list of ports.

6. Make the required changes.
7. Click Update Port.
The port is updated with the changes.
Delete Port
You can delete a port that is no longer required for use. You can delete multiple ports at a time.
You must be a self-service user or an administrator to perform this operation.
To delete one or more ports, follow the steps given below.
1. Log in to Clarity.
2. Click Networks in the left panel.
3. Click the Ports tab.
4. Select the checkbox for the port to edit from the list of ports.
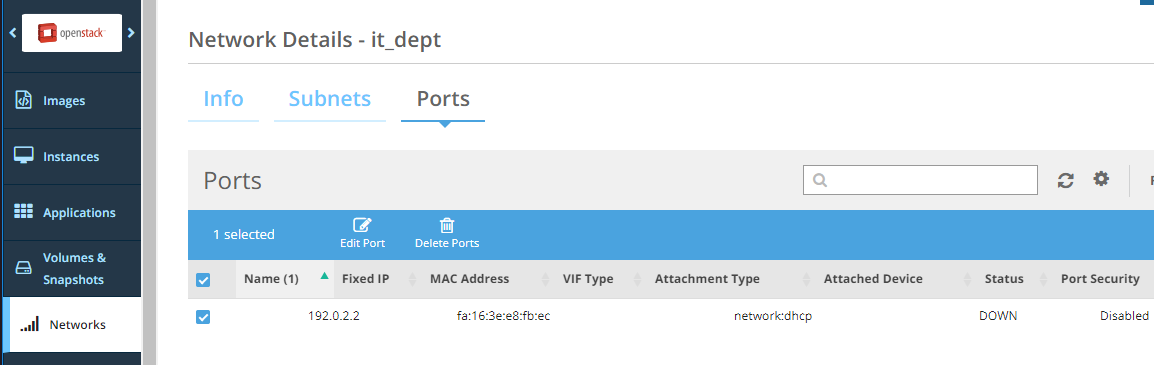
5. Click Delete Ports on the toolbar seen above the list of ports.
6. Click Delete Ports.
The selected ports are deleted and are no longer available for use.