Create a CentOS Virtual Machine Image from Scratch
There are multiple ways to create a CentOS image compatible with OpenStack Glance image repository. You can:
- Download a pre-built image from RedHat RDO: https://openstack.redhat.com/Image_resources (default user is ‘centos’ on these images)
- Create the image from Scratch with or without cloud-init (NOTE: The benefit of cloud-init is that it allows customization of virtual machines)
Recommendation: Platform9 recommends that you create your virtual machine images from scratch, as this gives you full flexibility to customize the image per your specific requirements, and ensure that it’s configured appropriately, to reduce future errors.
This tutorial describes how you can create a CentOS guest image from scratch and also optionally install cloud-init.
Step 1 – Download ISO
ISO images are available form CentOS and its mirrors http://wiki.centos.org/Download
Assuming you have a CentOS/Ubuntu system with libvirt and all the dependencies installed (see here for details: http://virt-manager.org/), go to /var/lib/libvirt/images and copy the downloaded iso.
cd /var/lib/libvirt/images

wget http://mirror.hmc.edu/centos/6.6/isos/x86_64/CentOS-6.6-x86_64-minimal.iso
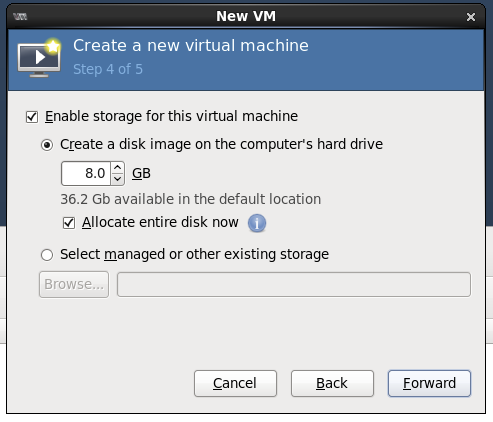
Step 2 – Create a Virtual Machine
Fire up your virt-manager and create a new virtual machine.
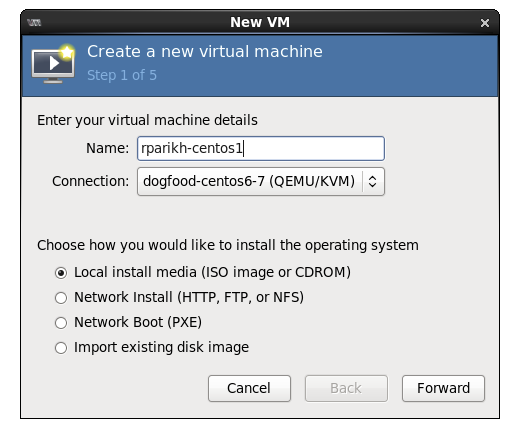
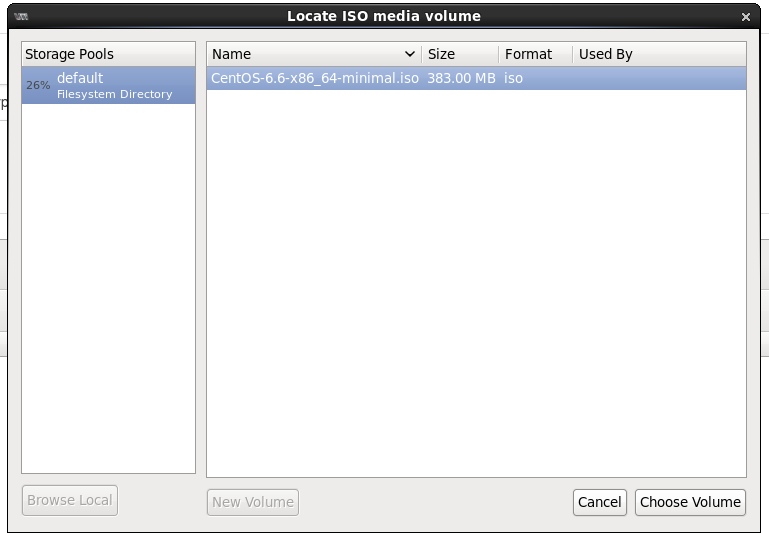
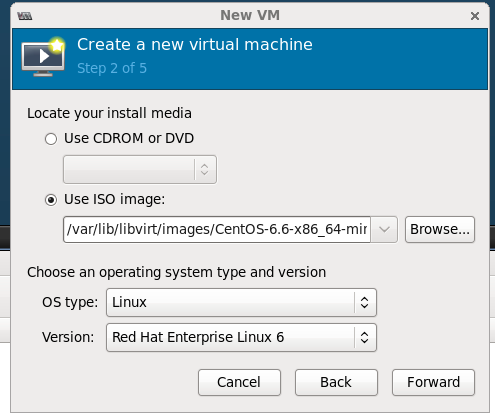
Pick the ISO you just downloaded.
Use OS type = Linux, Version= Red Hat Enterprise Linux 6
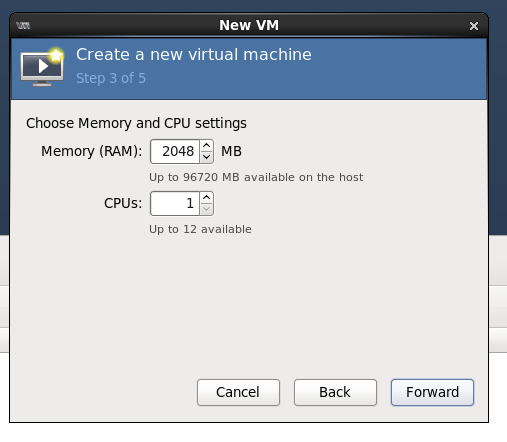
Pick the amount of CPU, Memory and Storage.
Step 3 – Install & Configure OS
Pick the options you like, I generally install minimal with just SSH. Depending upon how you want your consumers to logon to the virtual machine, you can configure the users, password and SSH configuration (no-password vs password logon). I suggest putting a specific admin user with a password/ssh key that can be used by your system administrators to logon. Platform9 (and OpenStack), will allow the owner of the virtual machine to pass a SSH key at boot time, but this specific admin user can be used exclusively by a system administrator as a powerful debugging tool.
Step 4 – (Optional) Install cloud-init
Once the OS is installed, reboot and log in; by default OS comes up with DHCP configured.
Install epel repository to fetch cloud-init and then install cloud-init.
sudo yum install epel-release

sudo yum install cloud-init
Step 5 – (Optional) Configure cloud-init
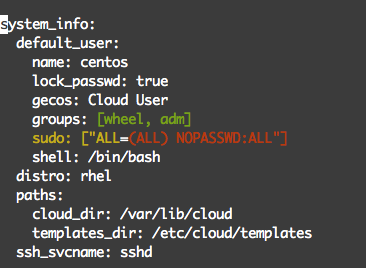
Cloud-init is a popular tool for Linux OSes that lets you configure the OS on first time boot (when creating a new instance) on various cloud platforms including OpenStack.
Most important of these settings is the user account that you want your users to logon as. On EC2 images it is typically ec2-user, but we prefer to create our own user account. Go ahead and edit /etc/cloud/cloud.cfg to change the user setting at the end of the file. Make sure that user exists on the system and is part of admin group with sudo access. The following example uses a user: centos, but you may want to pick something completely different.
Step 6 – Power Off the Virtual Machine
Now go ahead and power-off the virtual machine. You are one step away from the setup.
Step 7 – Call virt-sysprep
cd /var/lib/libvirt/images/

virt-sysprep -a
Congratulations! Your image is ready, copy it to the “ImageLibrary” in Platform9 or any other glance installation and it is ready to go.